Monday, August 26, 2013

Mom's Skirt To Girl's Dress DIY

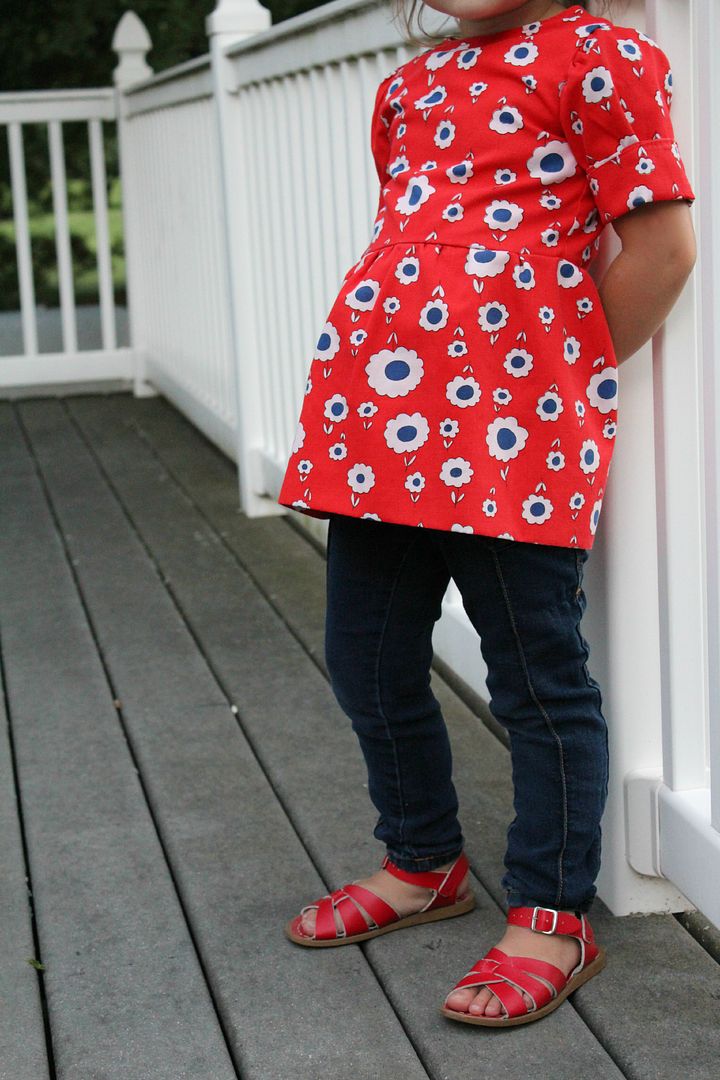
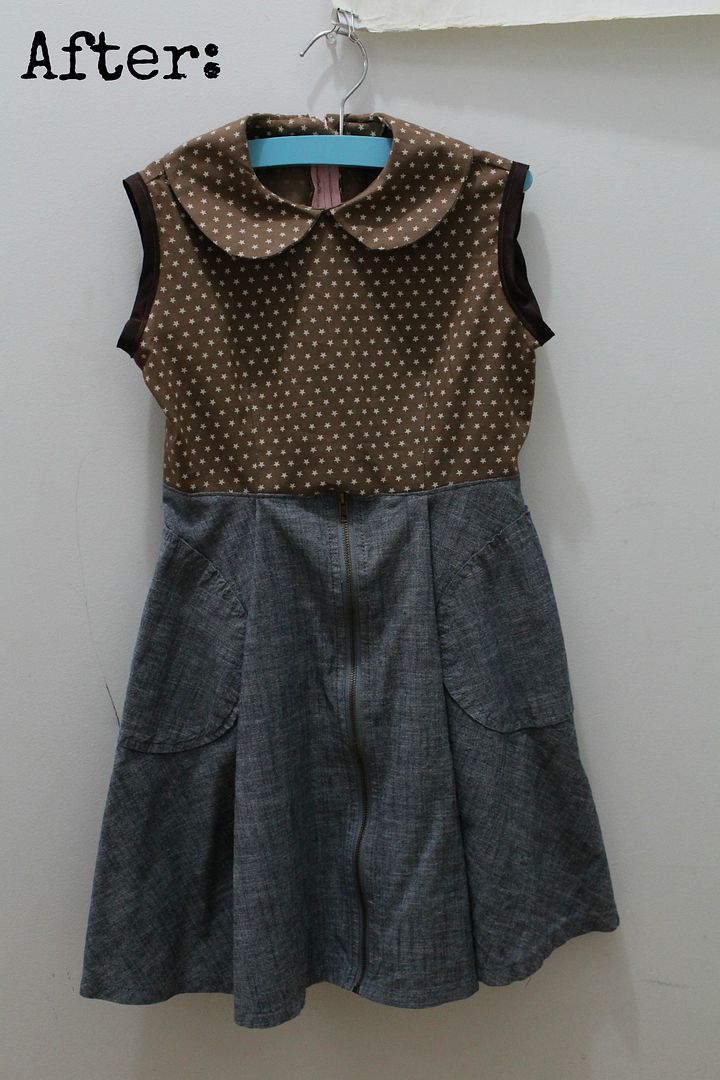
It started with this skirt. I liked it but for some reason I never wore it. 
So I decided I'd rather have a dress for little  Miss Liv to wear.
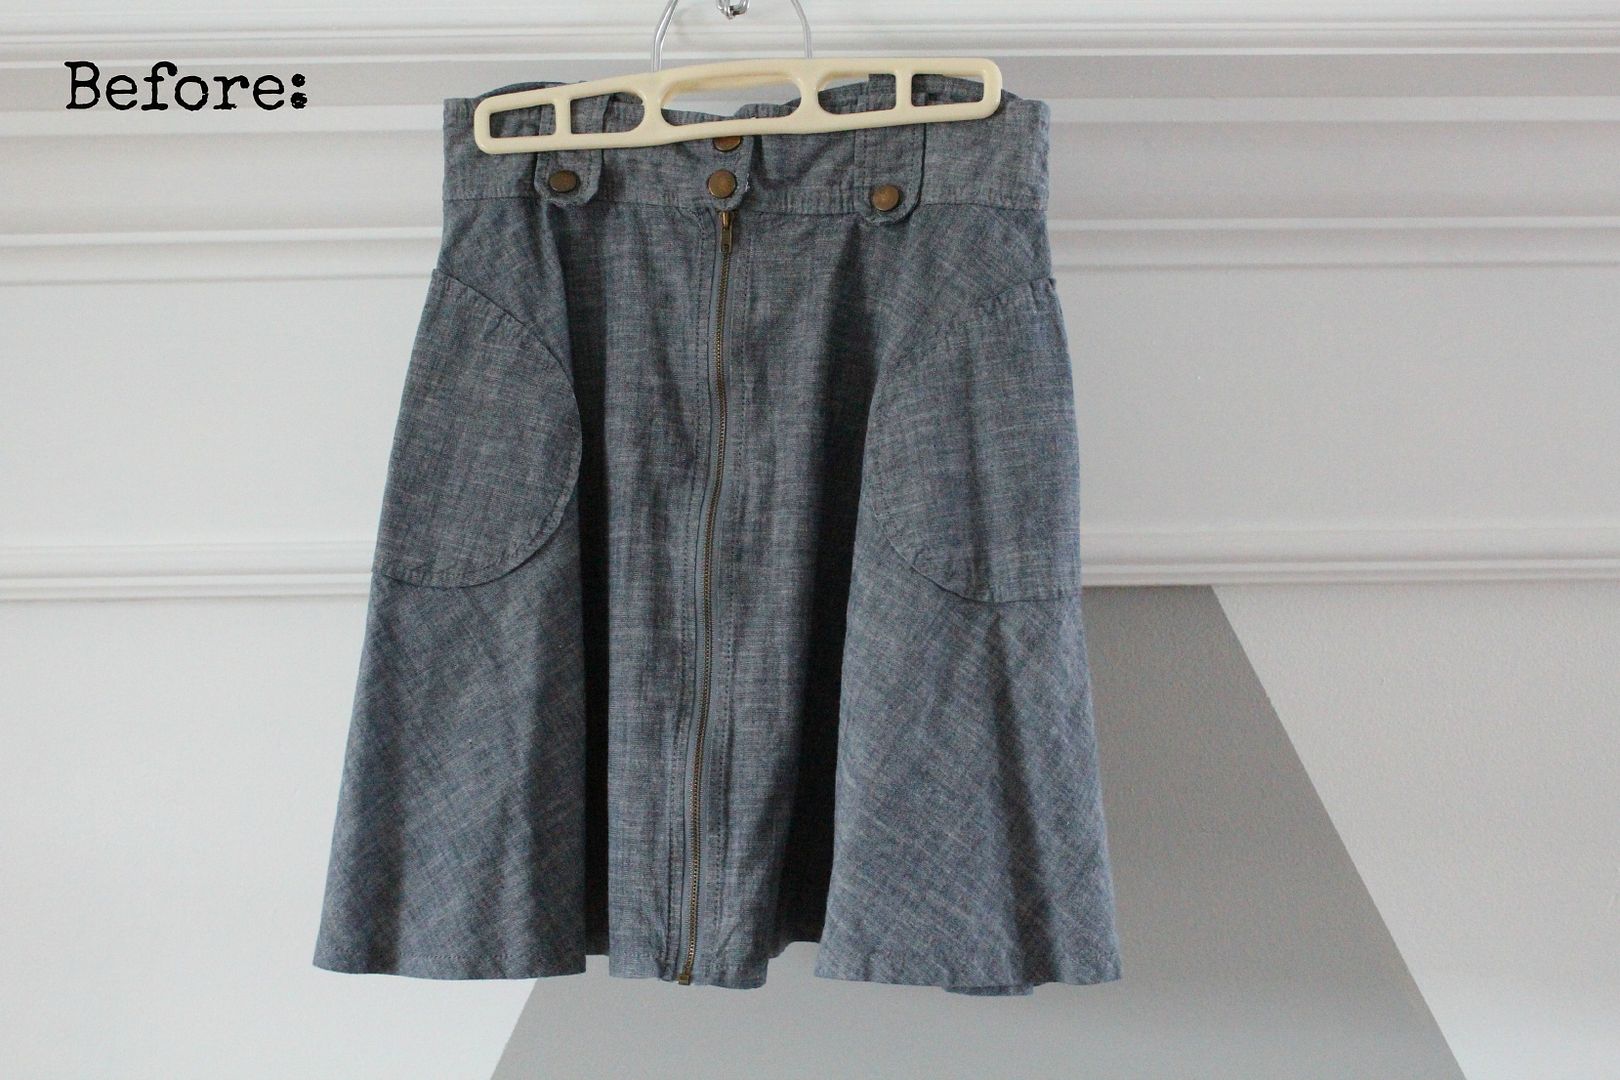
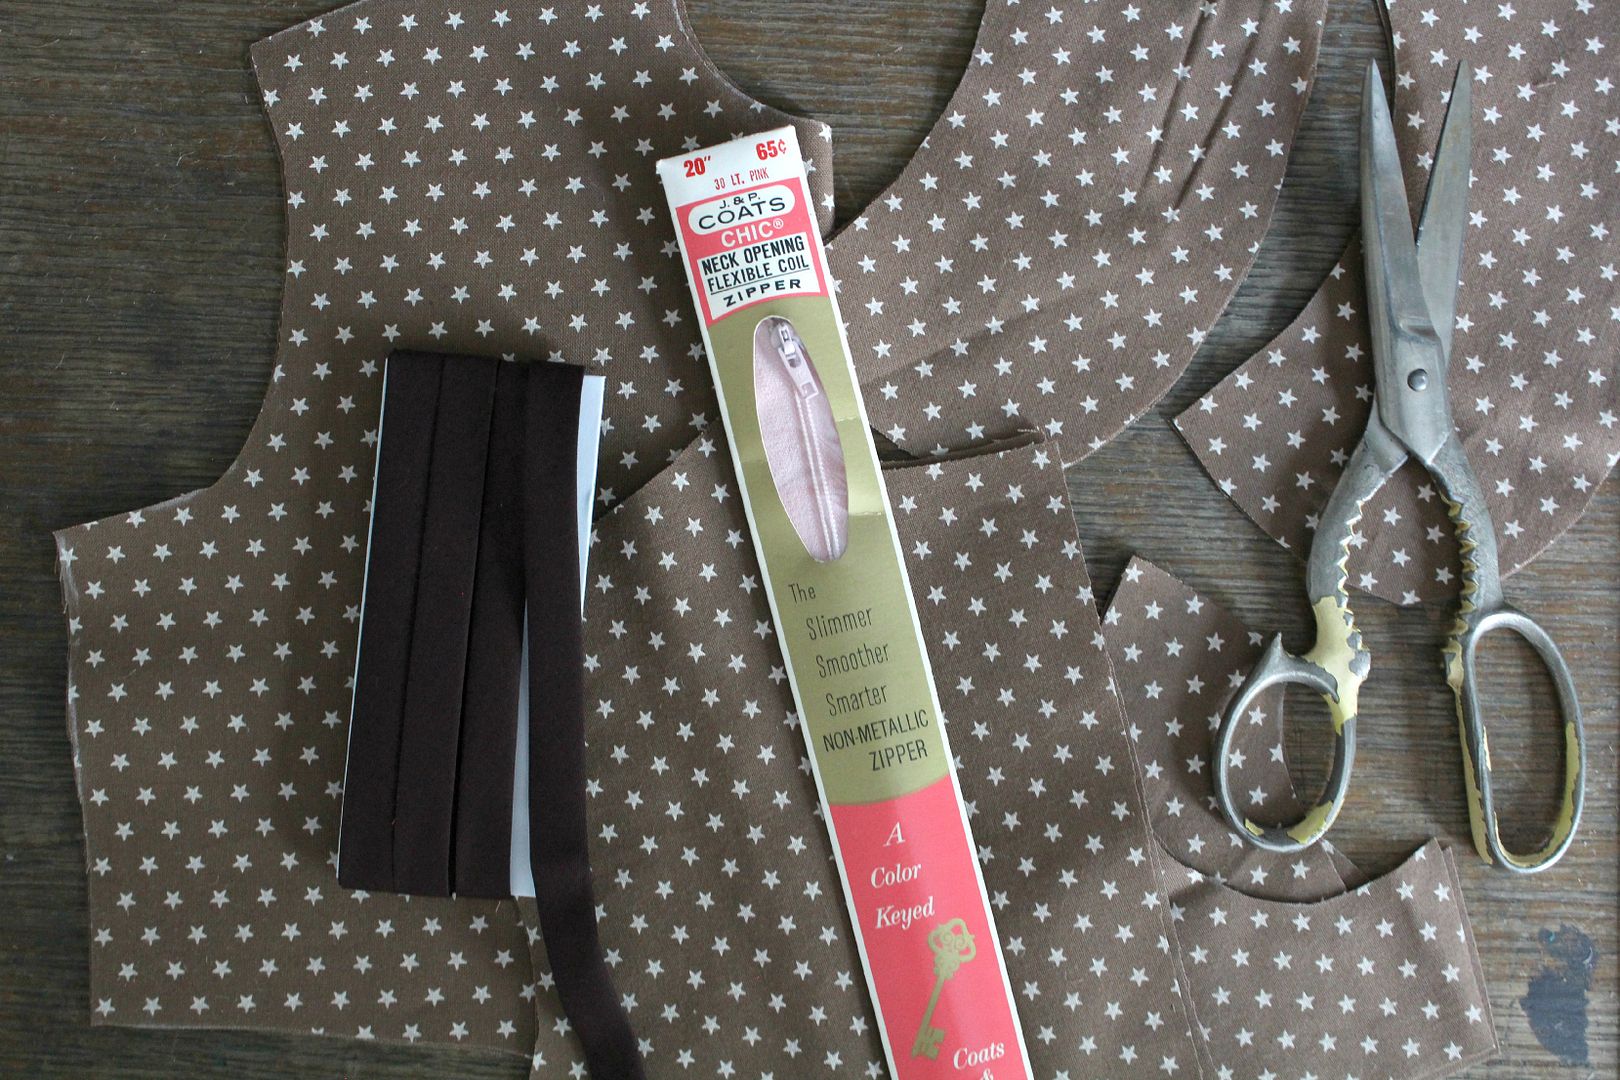
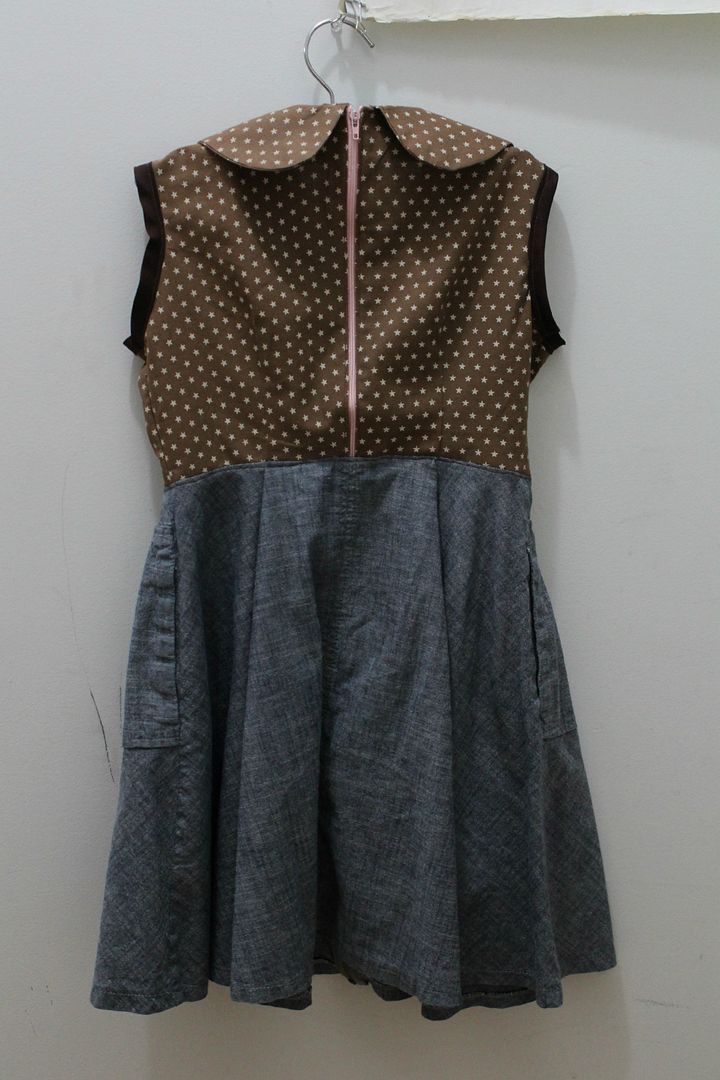
I assembled the bodice first, cut the waist off of the skirt, and then sewed the skirt onto the bodice.
Little Miss Liv is pleased and is wearing it as I write this. :)
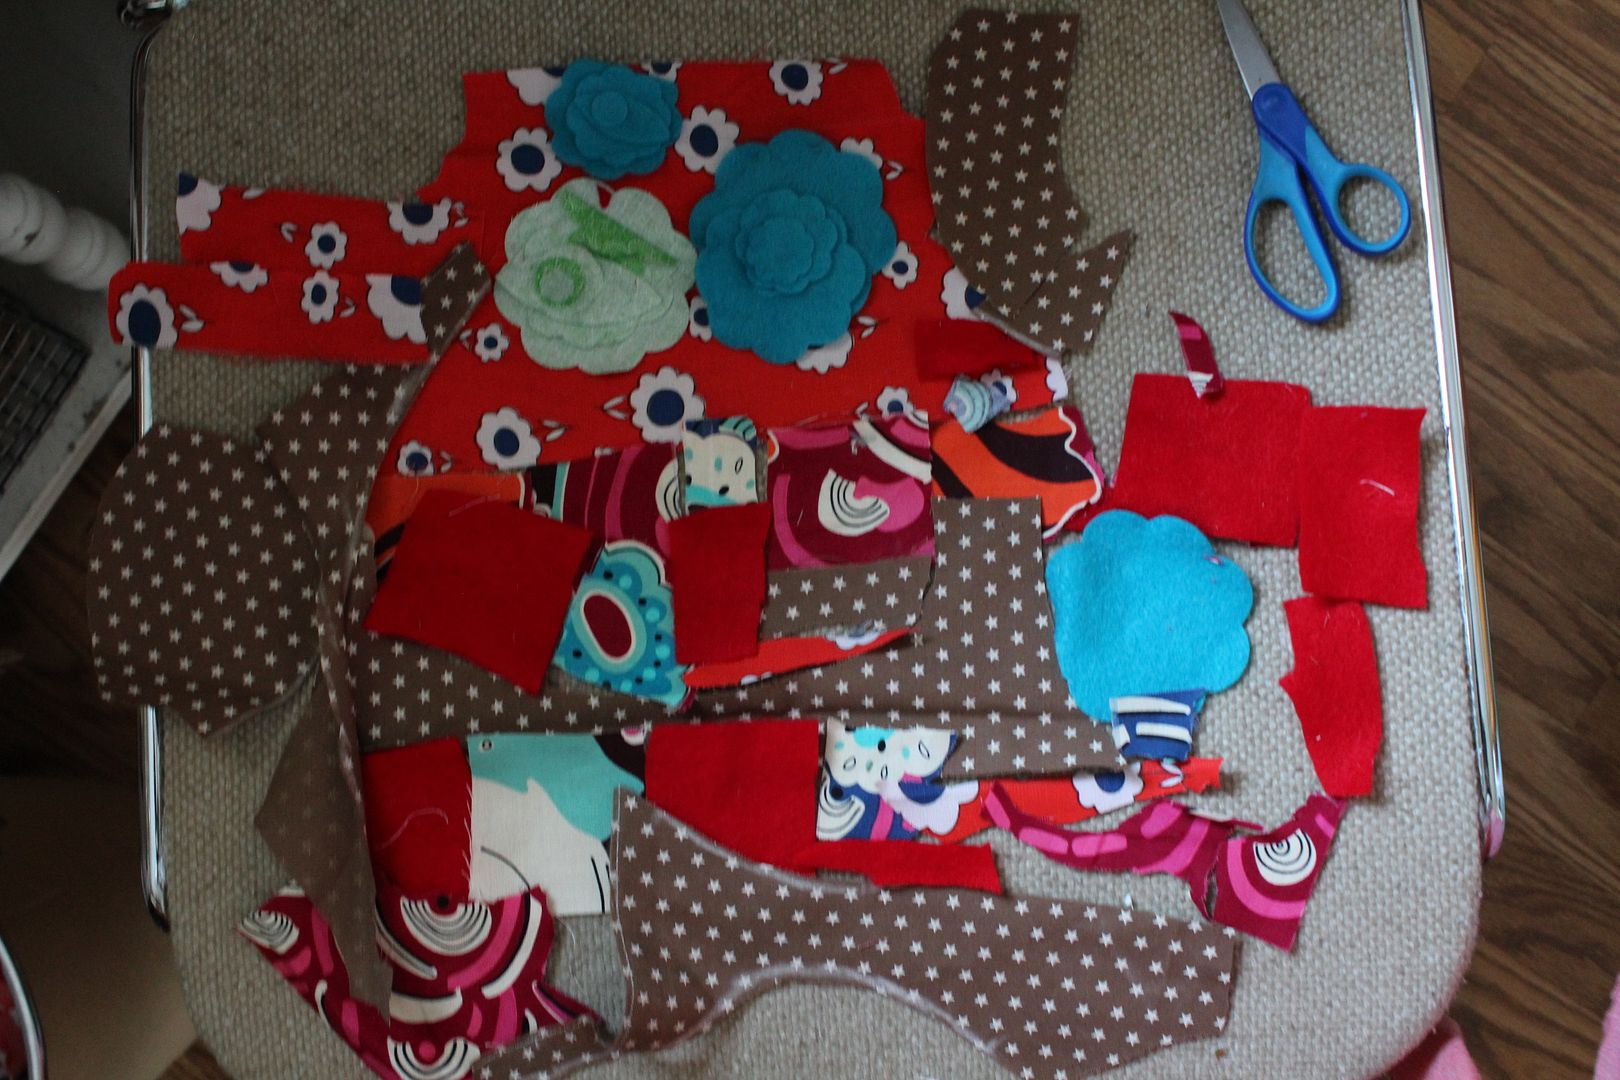
She was "making a dress" for her little sister while I made her dress.
Isn't it lovely!? ;)
Happy Sewing!

Sylvie

P.S. Thank you so much to my sweetest Mother In Law for sending me the cute star fabric! 
You're the best! :)
Saturday, August 24, 2013

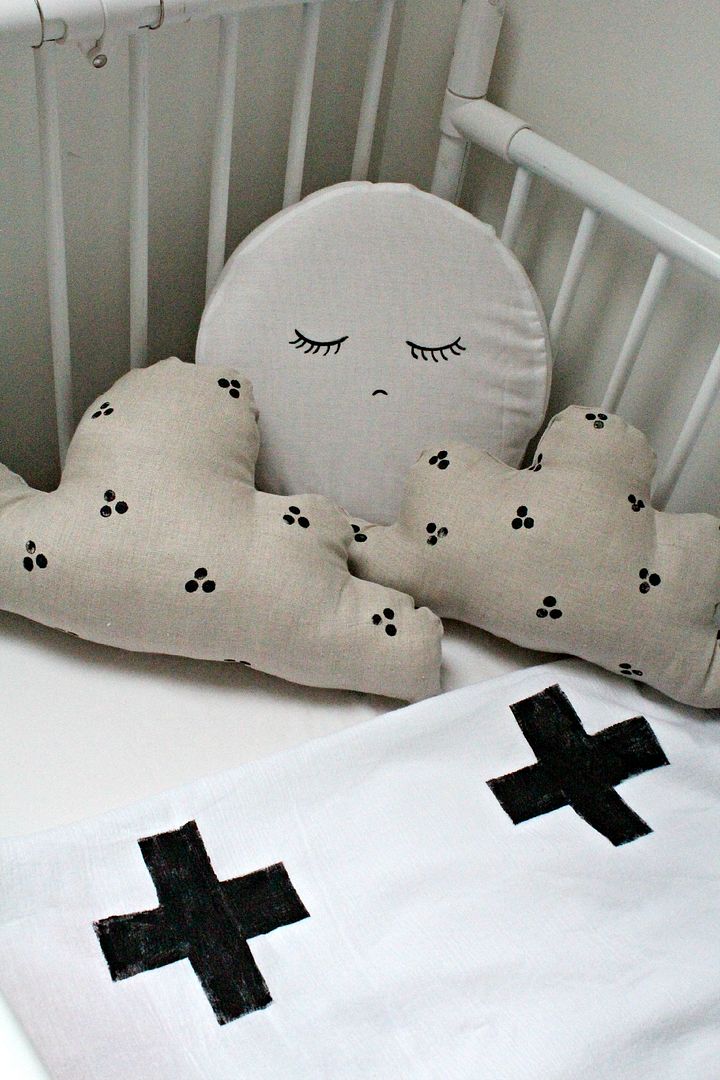
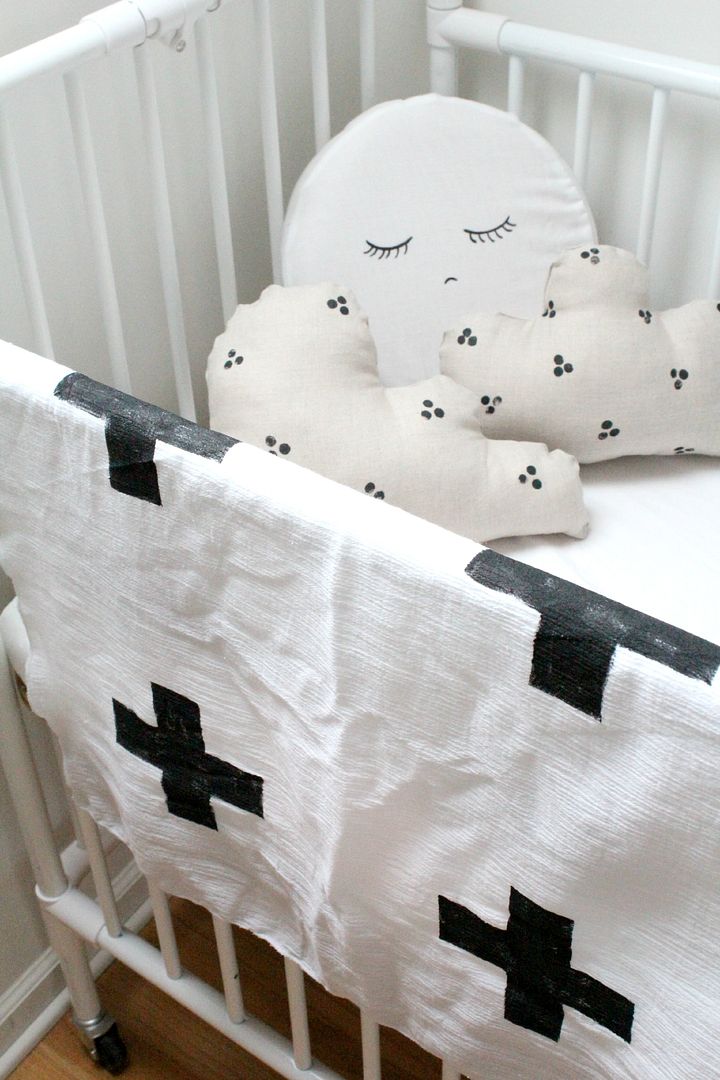
Plus Sign/ Swiss Cross Stamped Baby Blanket DIY Tutorial

I've been liking the plus sign/ Swiss cross blankets I've seen around the web. But. They are all out of my price range. So I figured out a simple and cheap way to make one for my little one! Here is how...

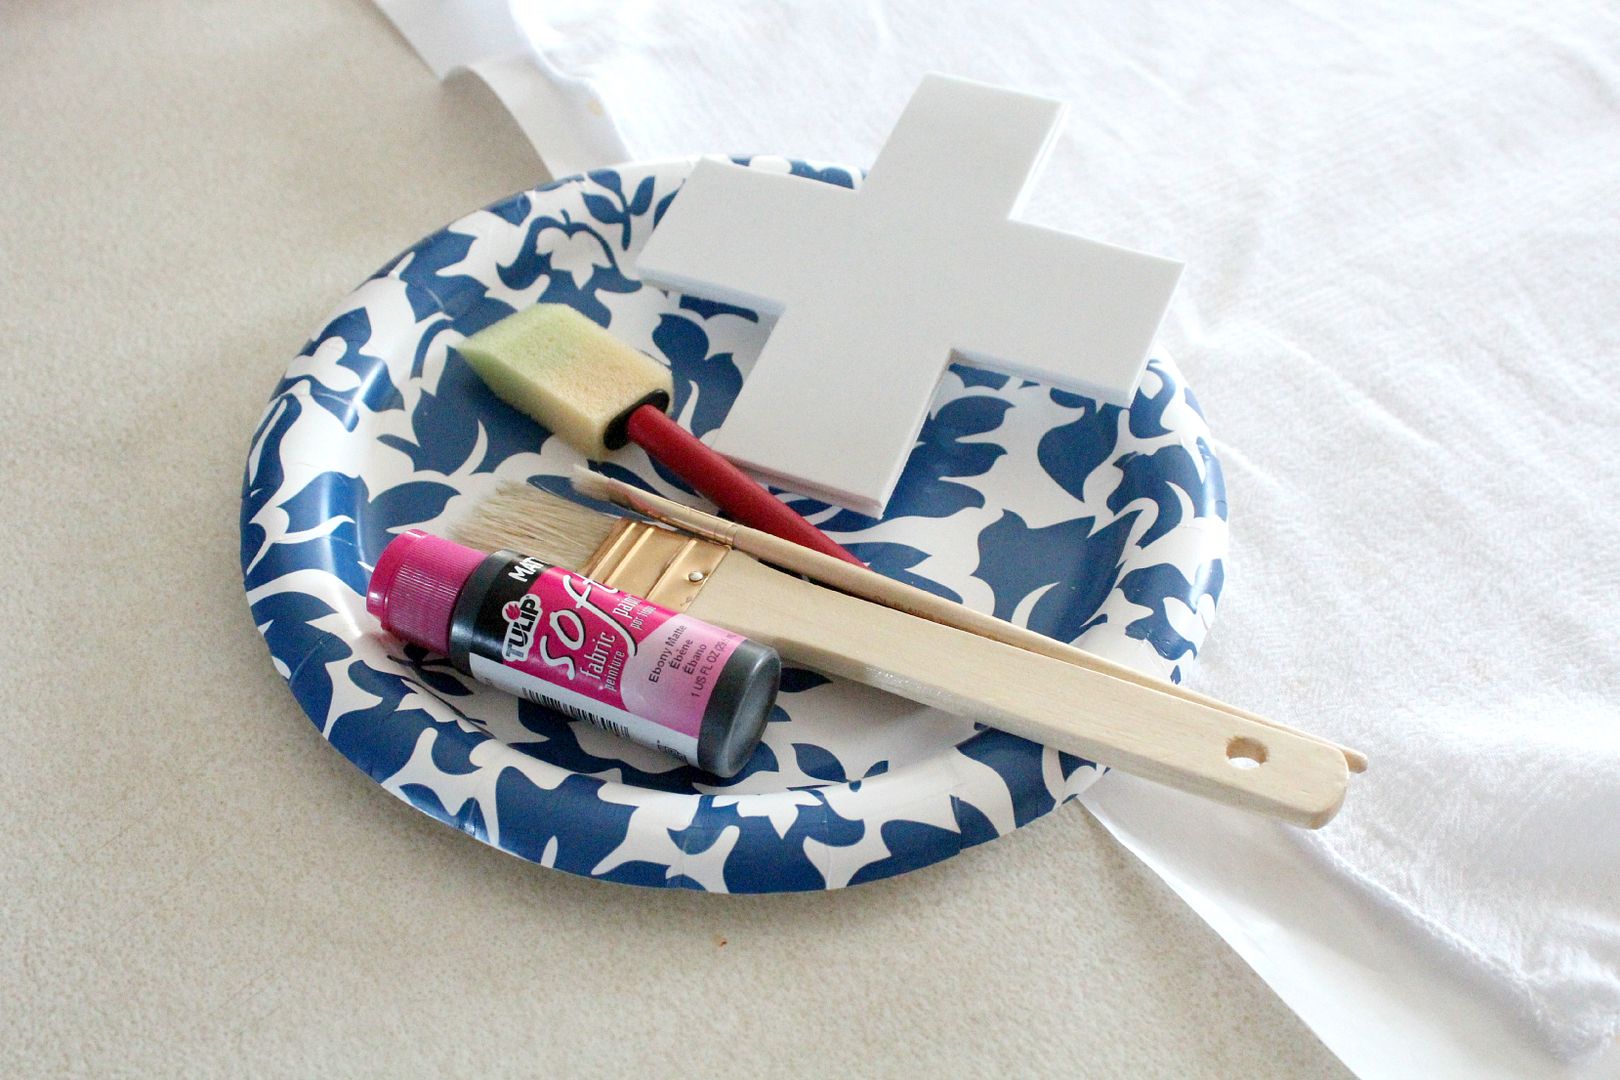
You will need:
1 Sheet of Craft Foam
Xacto Knife
Hot Glue or Super Glue
Pencil/ Pen
Blanket
Fabric Paint
Sponge Brush/ Paint Brush 
Paint Tray
Freezer Paper or Wax Paper

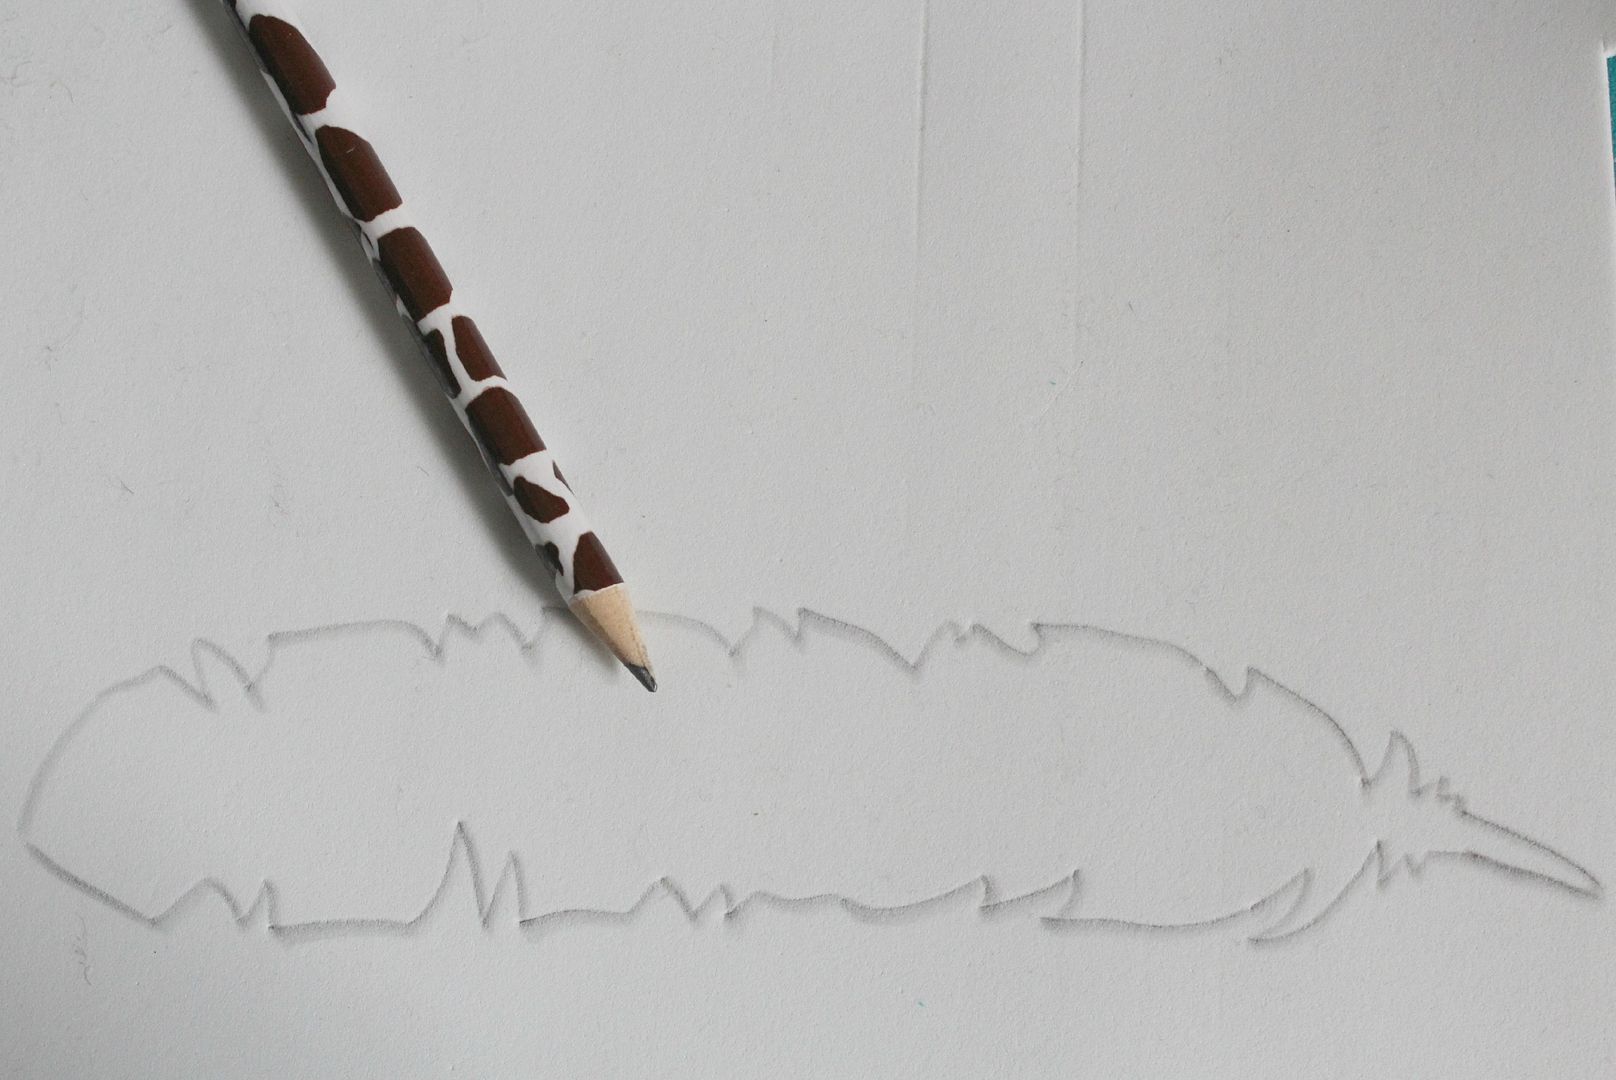
First, draw your shape onto the craft foam. 
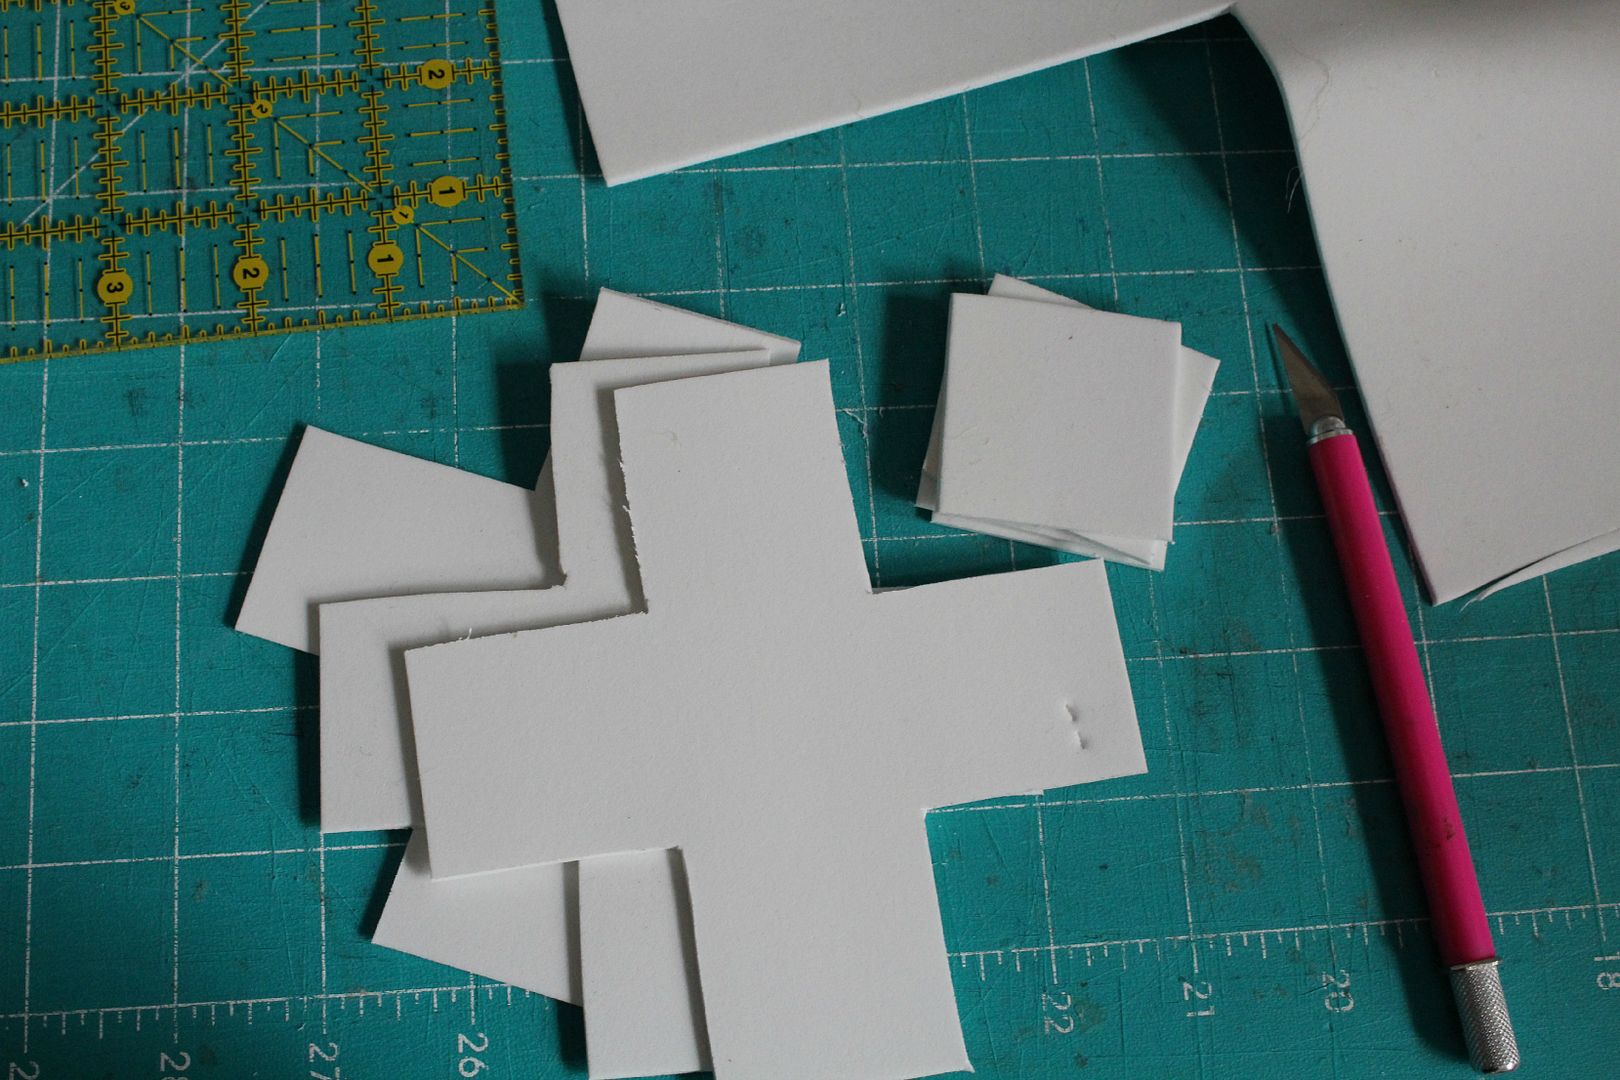
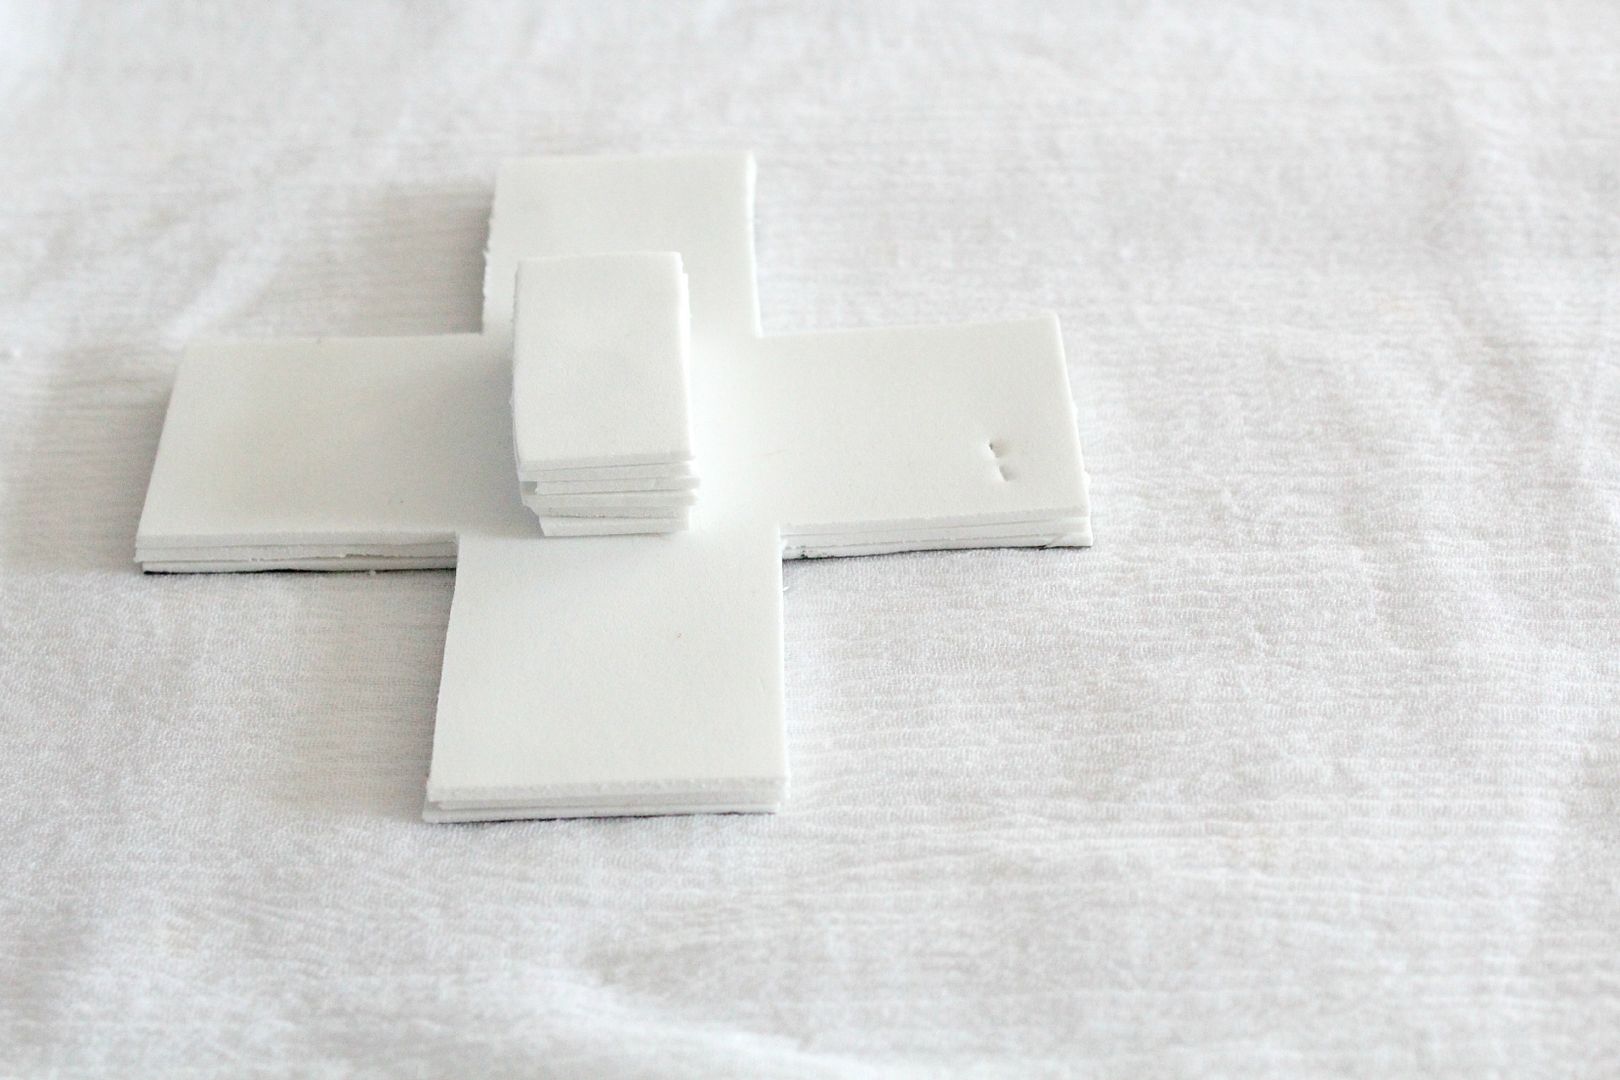
Cut out your shape three times. Also cut out two or three smaller pieces to use as a handle.
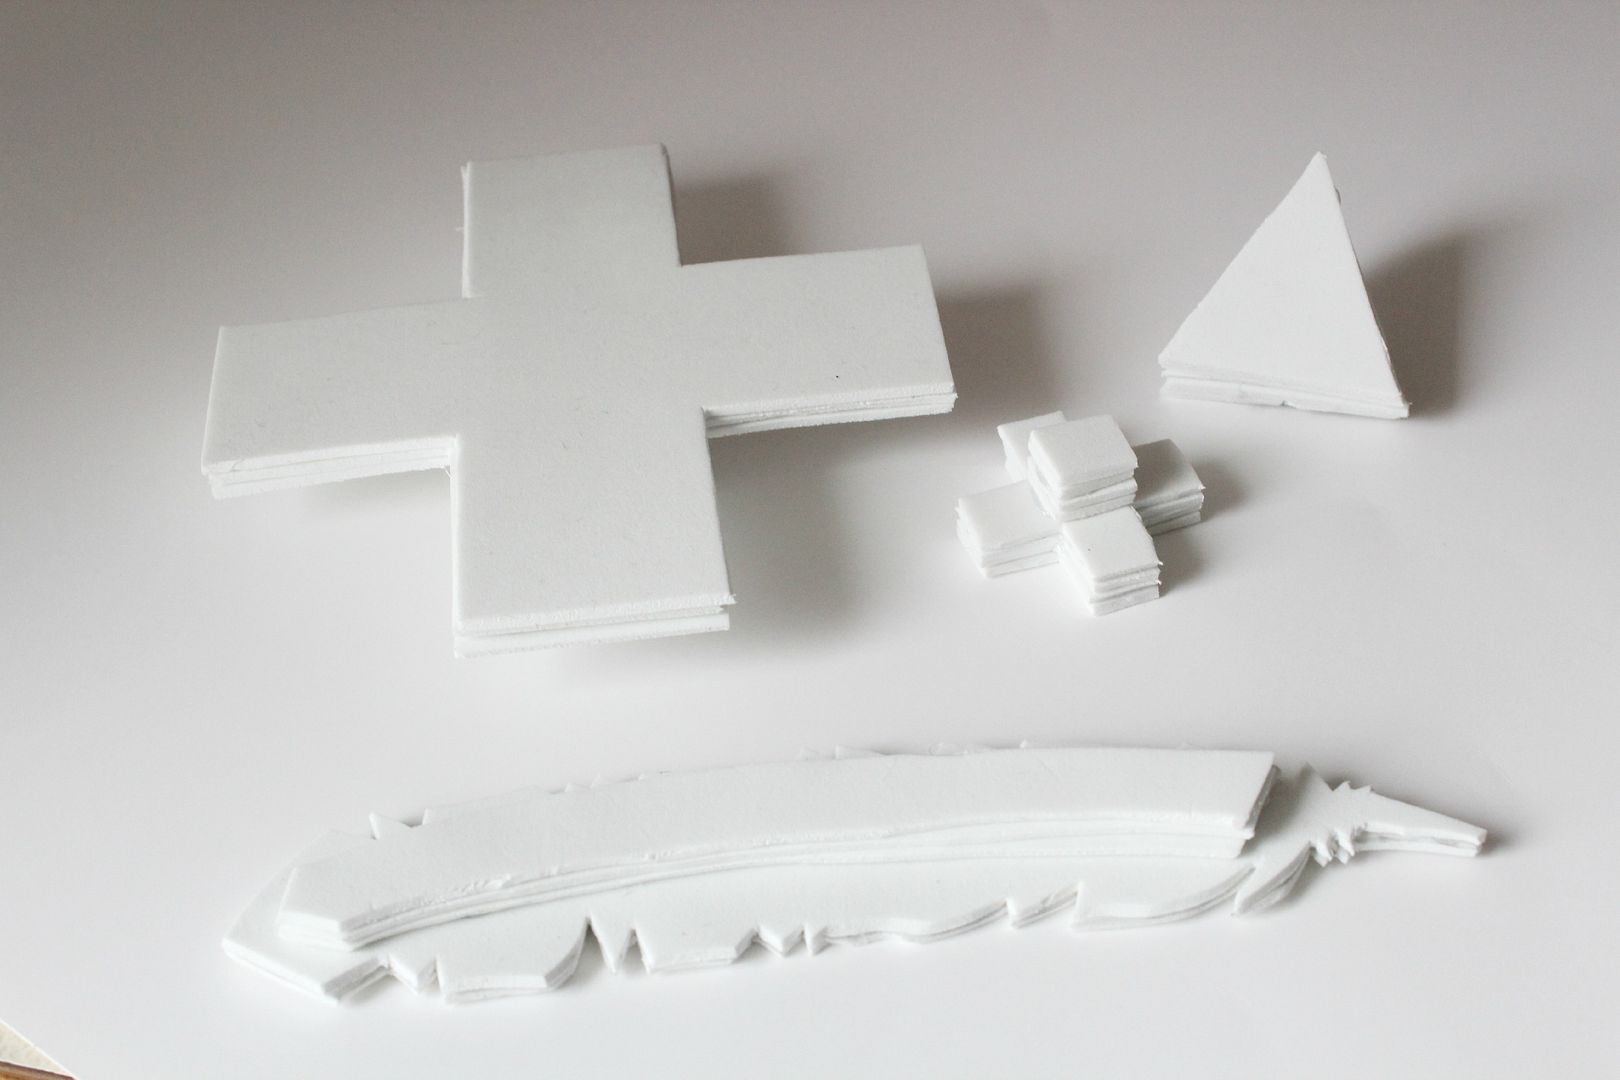
Glue your pieces all in a stack, with like pieces together.
Lay your blanket out on freezer paper to protect your work surface.


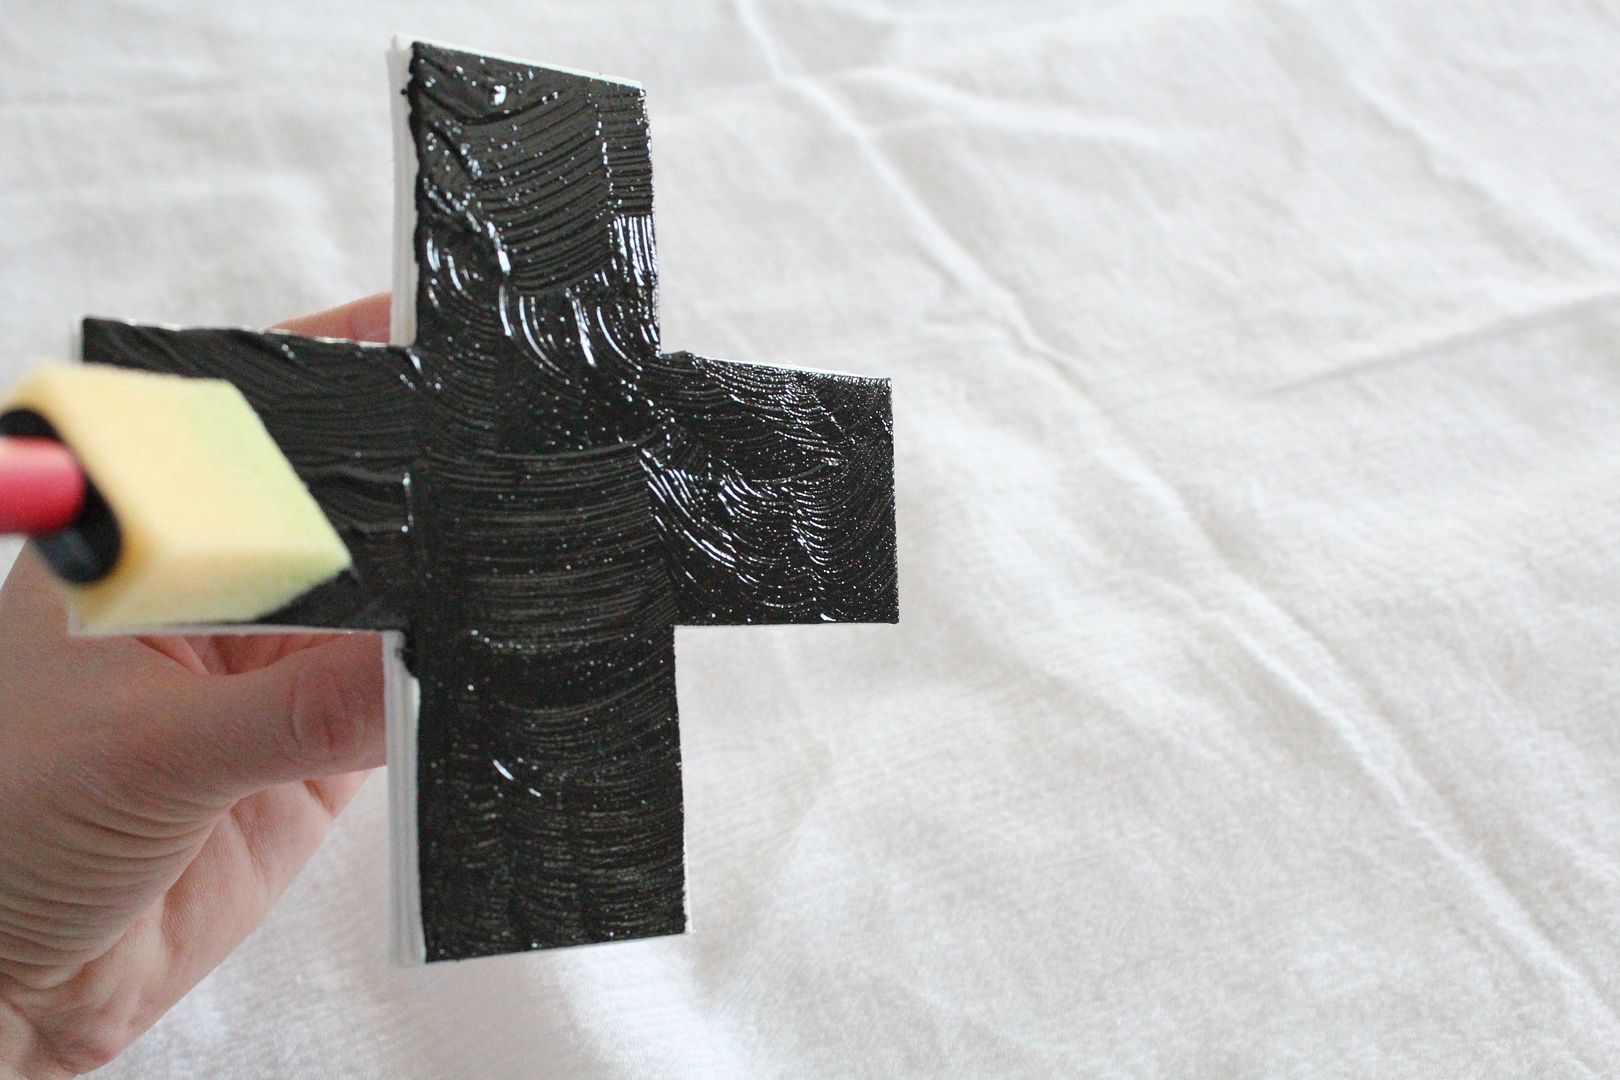
Using your sponge and paint brushes, put a good thick layer of paint onto your foam stamp.
Place it straight down onto your blanket. Press all over it to be sure the fabric is gathering all the paint.
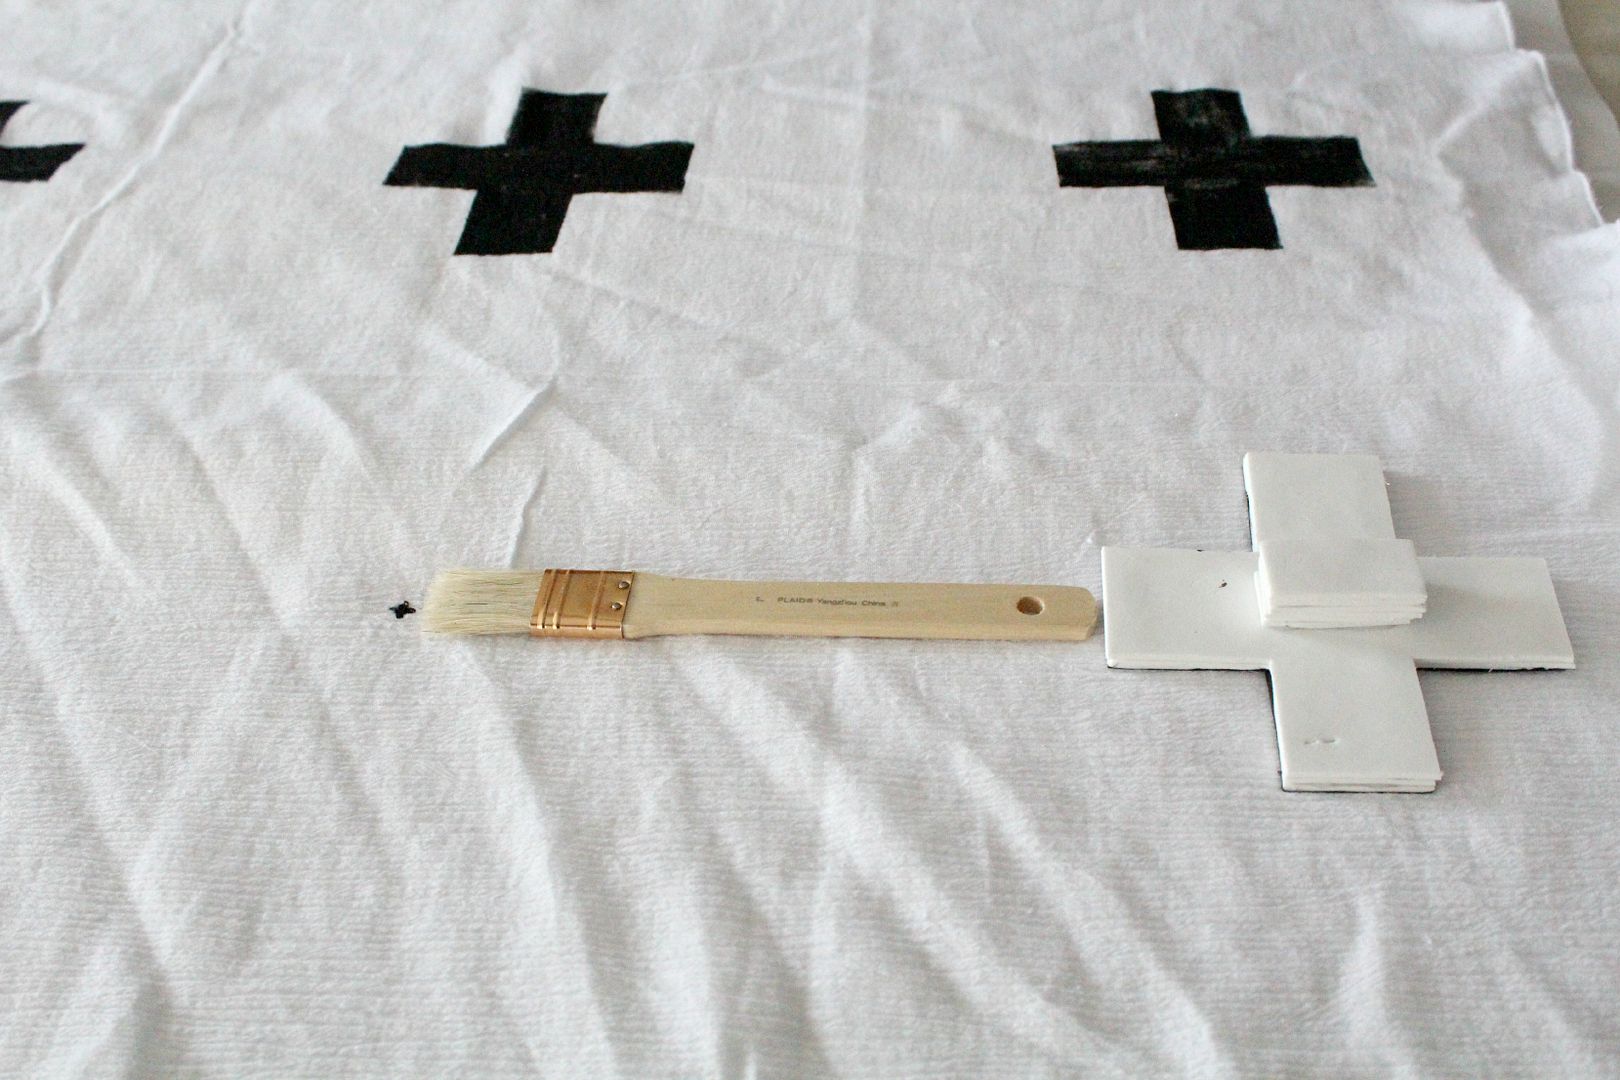
I used a paintbrush for a ruler to measure and mark where the center of my next stamp should be. 
Once the paint has dried, repeat on the other side of blanket.
You could do all different shape stamps! 
Have fun!

Sylvie

Wednesday, August 14, 2013

Unexpected Targets, Unexpected Visitor, and Life With Little Ones

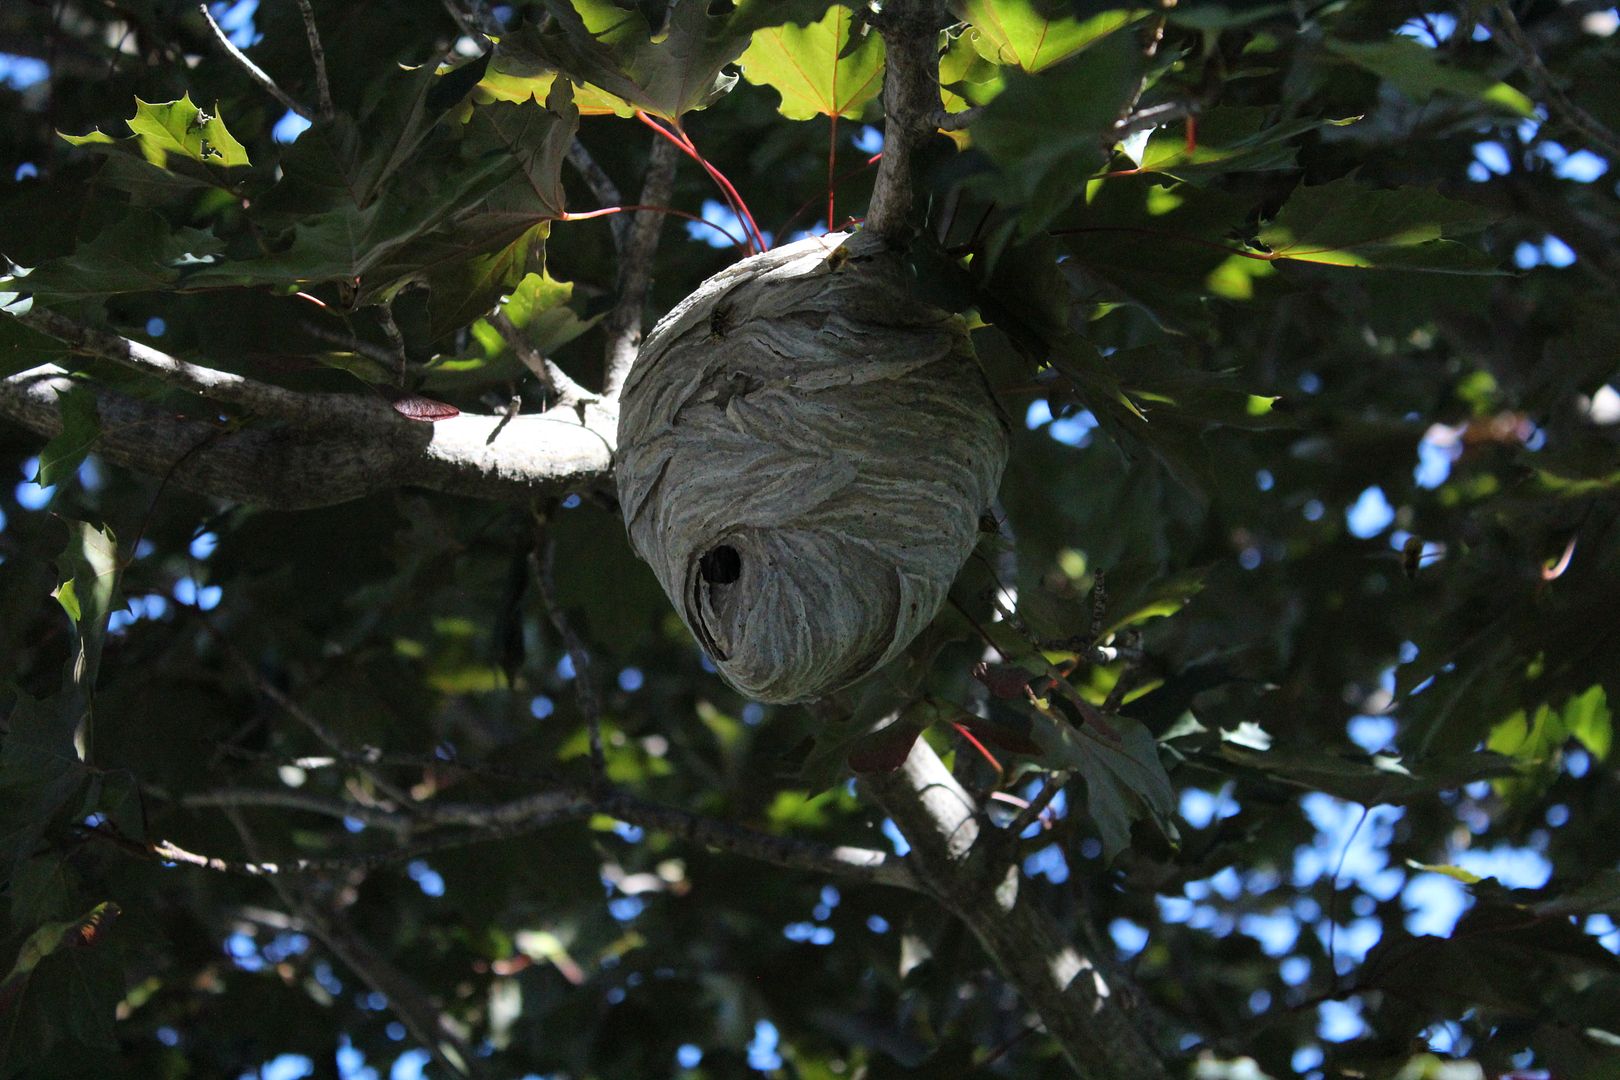
"Mom! There is a bee nest in the tree, and I shot it with my bow!"

Sometimes kids do things that make us jump up from our chair. 
We wonder if they ever think. 
The truth is, they don't always think. 
That's why they are under our care, and not making their own way in this world. 

Sometimes, when all my little ones are sleeping in their beds, 
all I have energy left to to is flop on the couch and read. 
The other night, as I was reading on the couch, I got lost in the words I read. 
I tuned out all of my worries of my home and little ones. 
It felt good. But I was so absorbed, I didn't realize someone had crept up on me. 
Someone else still needed my care. 
And this time it wasn't one of my own. 
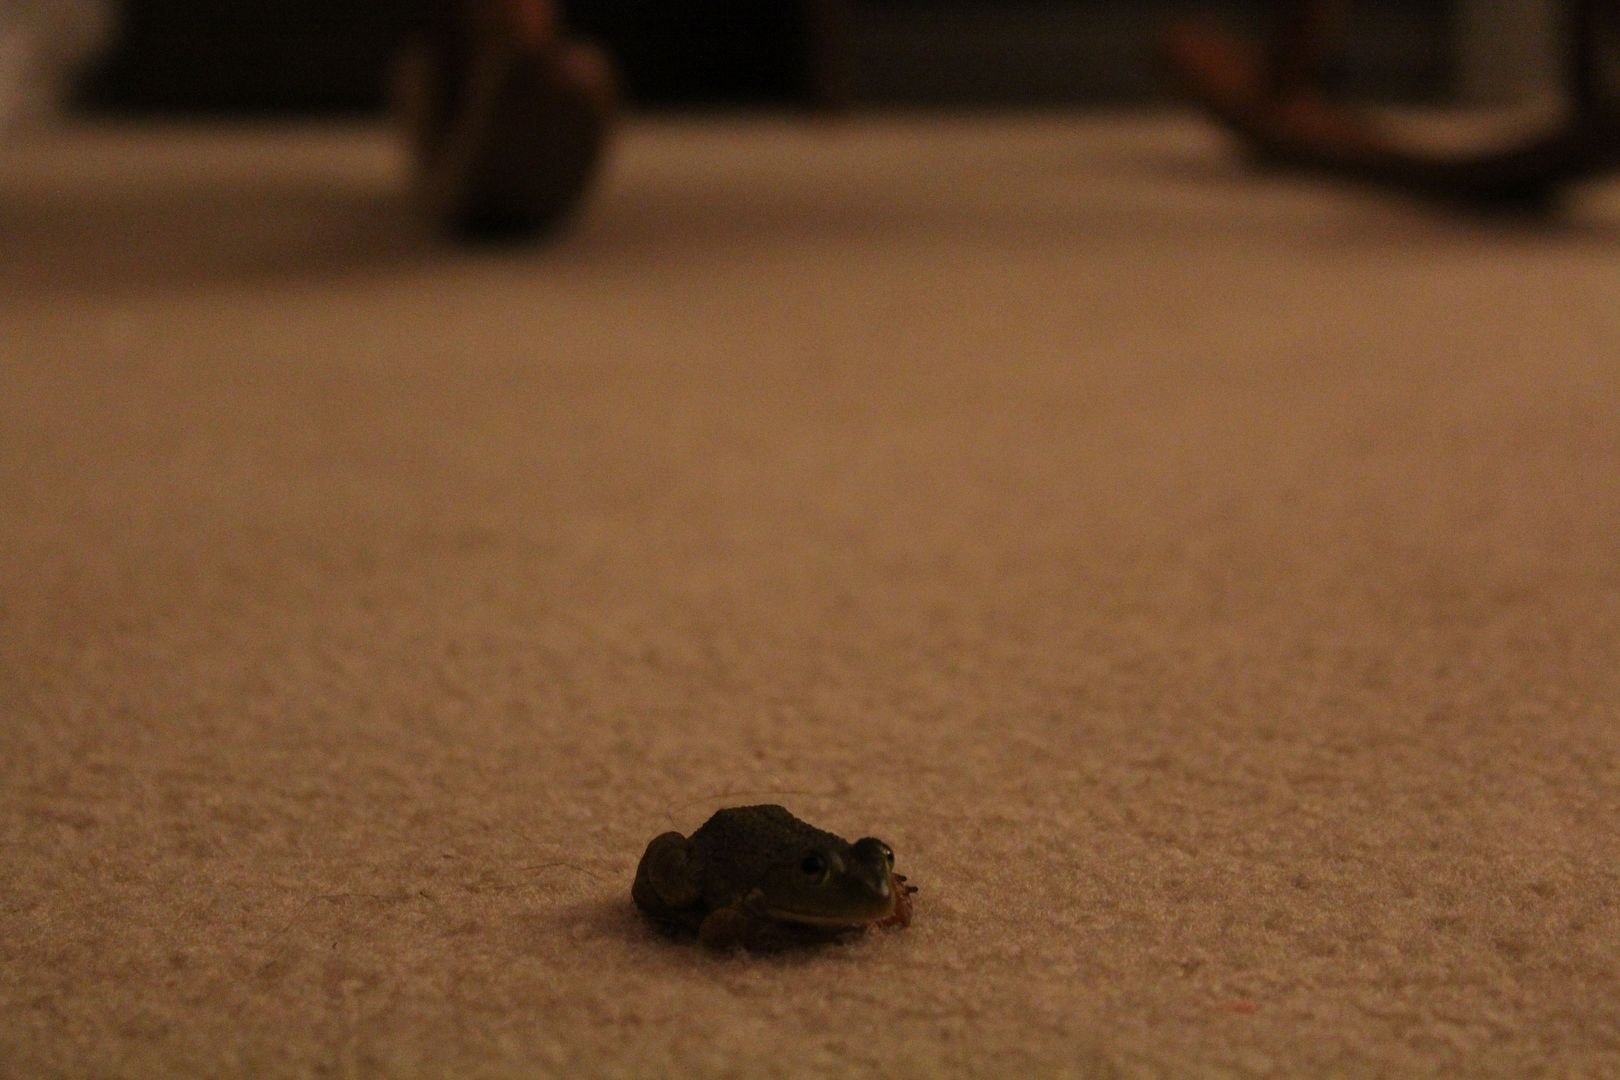
This little guy was patiently waiting right in the middle of the living room floor! 
He looked up at me at if to say, "Excuse me Ma'am, would you please let me out? 
Your darling little messy faced kid brought me in here, 
and I can't seem to find the door." 

I chuckled to myself, scooped him up, and let him outside. 
"Good night little frog. Watch out for little hands come morning time!"

You just never know what you'll find when your home is bubbling with littles!


Thanks for stopping by! :) 
Sylvie


Monday, August 12, 2013

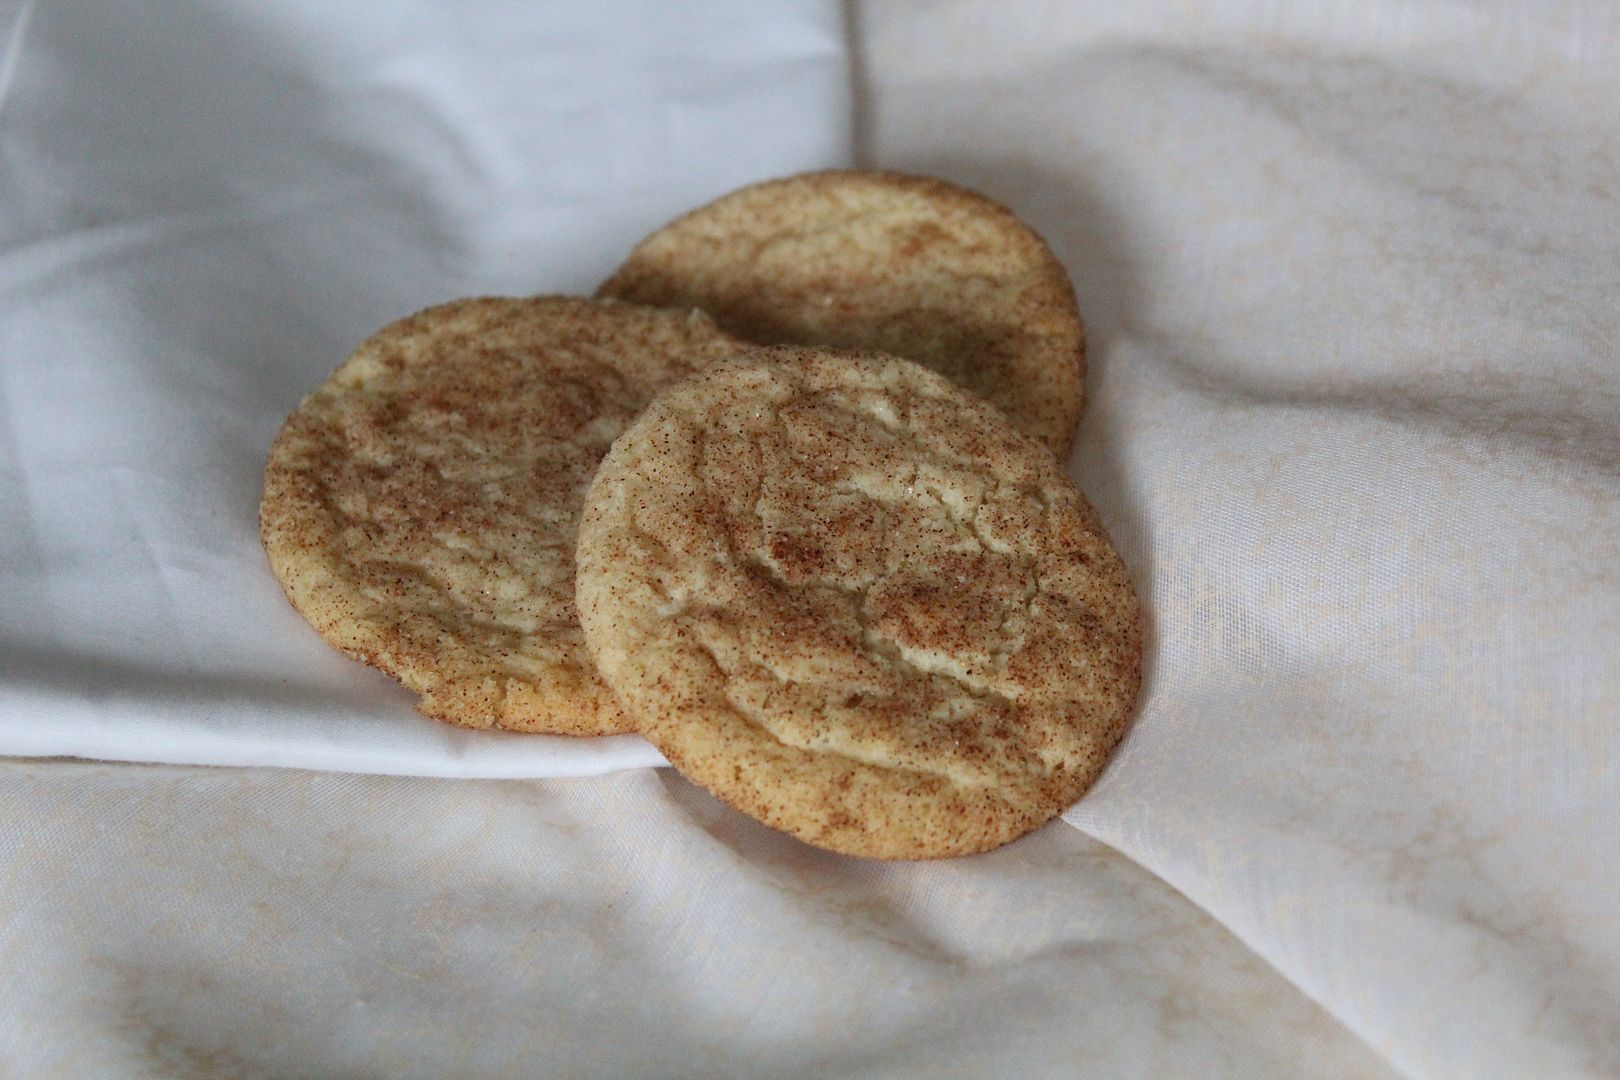
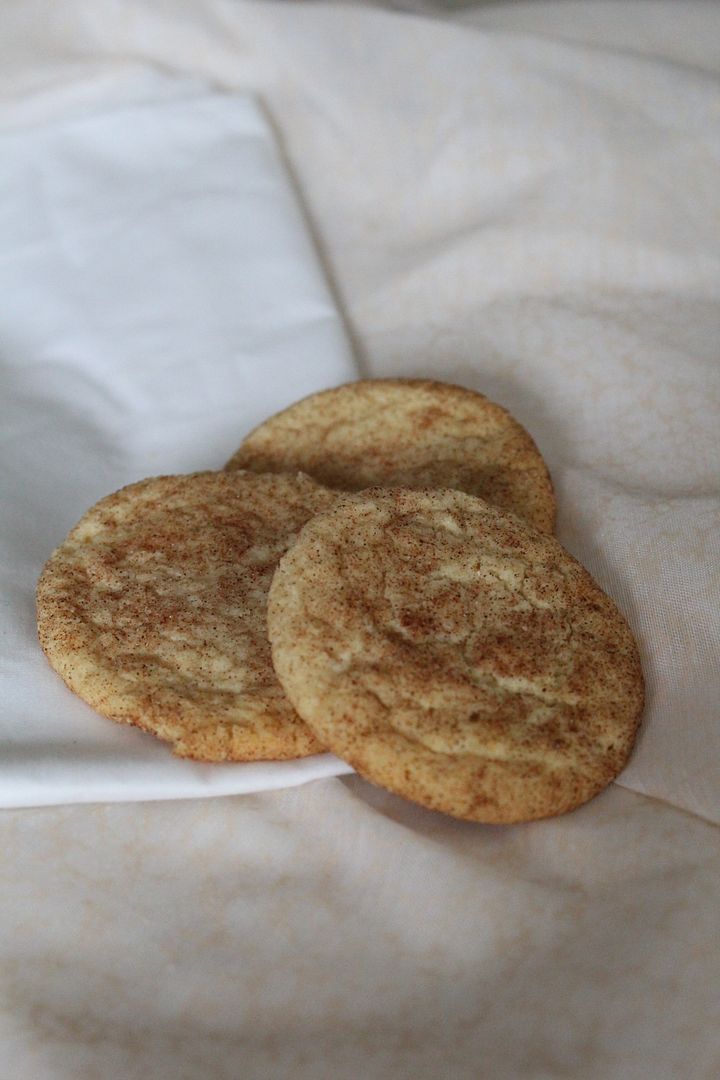
Best Ever Soft & Chewy Snickerdoodle Recipe

These are the softest, chewiest snickerdoodles you'll ever have!
Have you notices a trend over here? ...soft and chewy cookies are my weakness for sure!

Best Ever Soft and Chewy Snickerdoodles

1 cup Butter; softened
1 1/2 cups White Sugar
2 Eggs
2 tsp Vanilla Extract
1/2 tsp Salt
2 3/4 cups White Flour
2 tsp Cream of Tarter
1 tsp Baking Soda
1/2 tsp Baking Powder
Cinnamon/Sugar Mix 

Preheat Oven 400 degrees. 
In a stand mixer, mix butter, sugar, eggs and vanilla until combined.
Add remaining ingredients, mix until combined. 
Scoop balls of dough into sugar cinnamon mixture(I use a cookie scooper), and roll them around. Place them onto a parchment lined cookie sheet about 3 inches apart. 
Bake for 7-8 minutes. 
Enjoy!
Sylvie

Thursday, August 8, 2013

New Girls Tunics In The Shop

Today there are new tunics in the shop!
There are three available, in sizes 0-3 months, 18 months, and 3T.

They are handmade by me, using vintage fabric.
Check them out here!

Have a good day! :)
Sylvie

Tuesday, August 6, 2013

Textured Diamond Wall Art Tutorial, A Leather Scrap Project

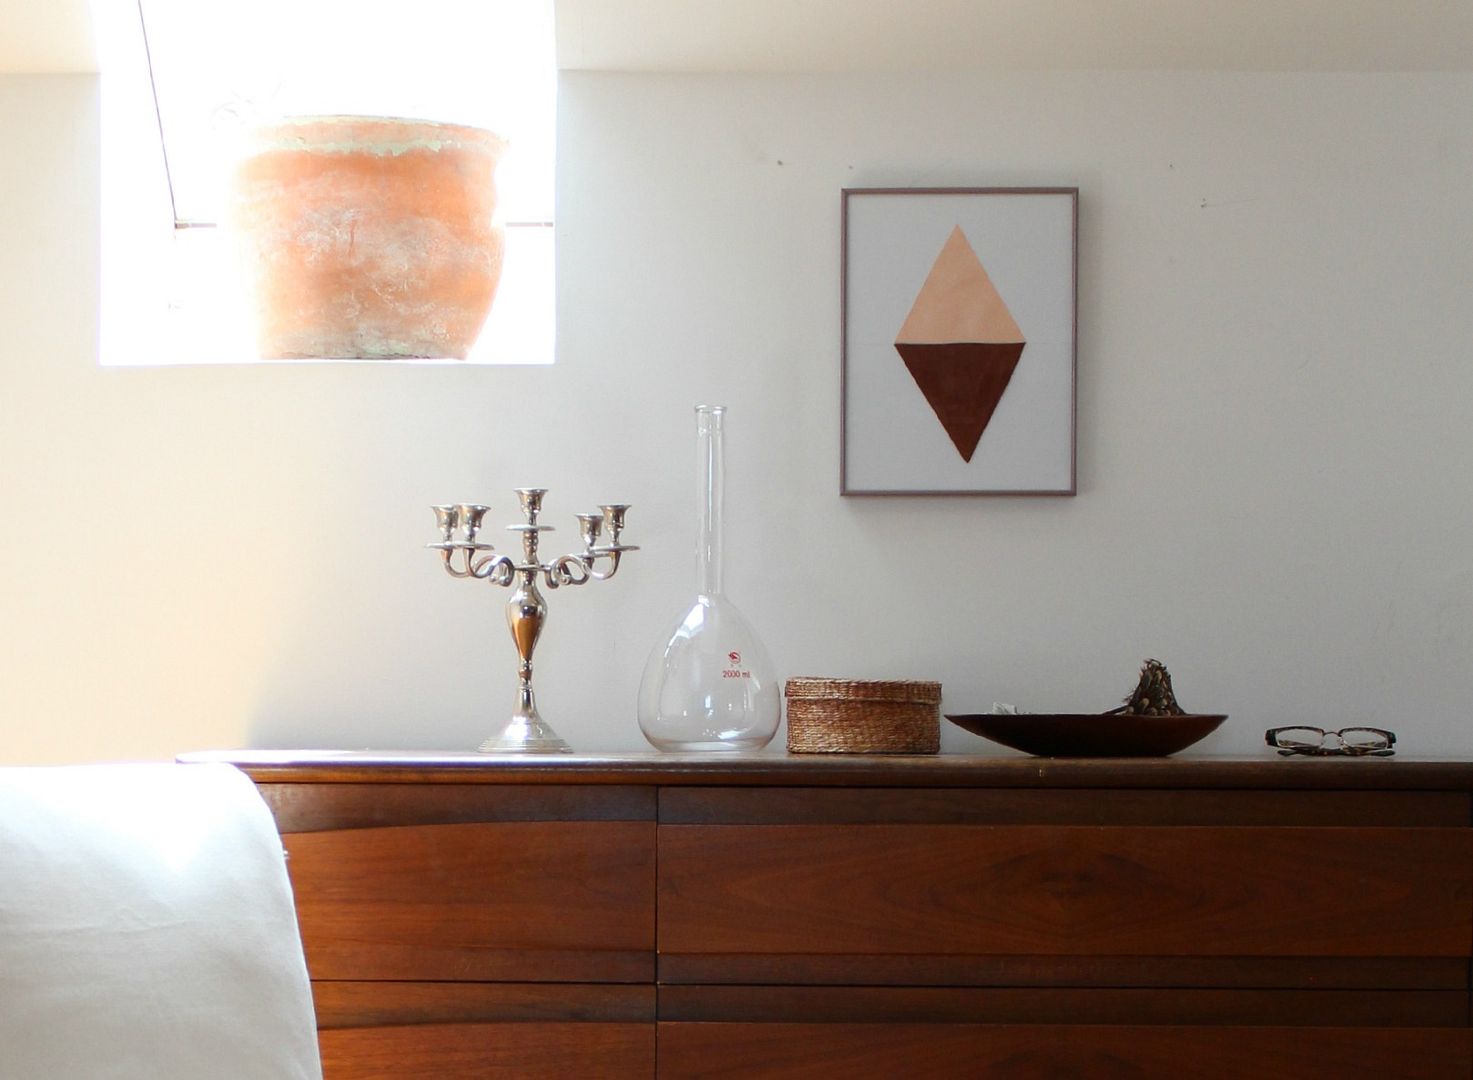
The wall above my dresser needed a little something. 
So I dug around, found an old frame, and made some art for the space!
I love the texture it has!

Want to make your own?
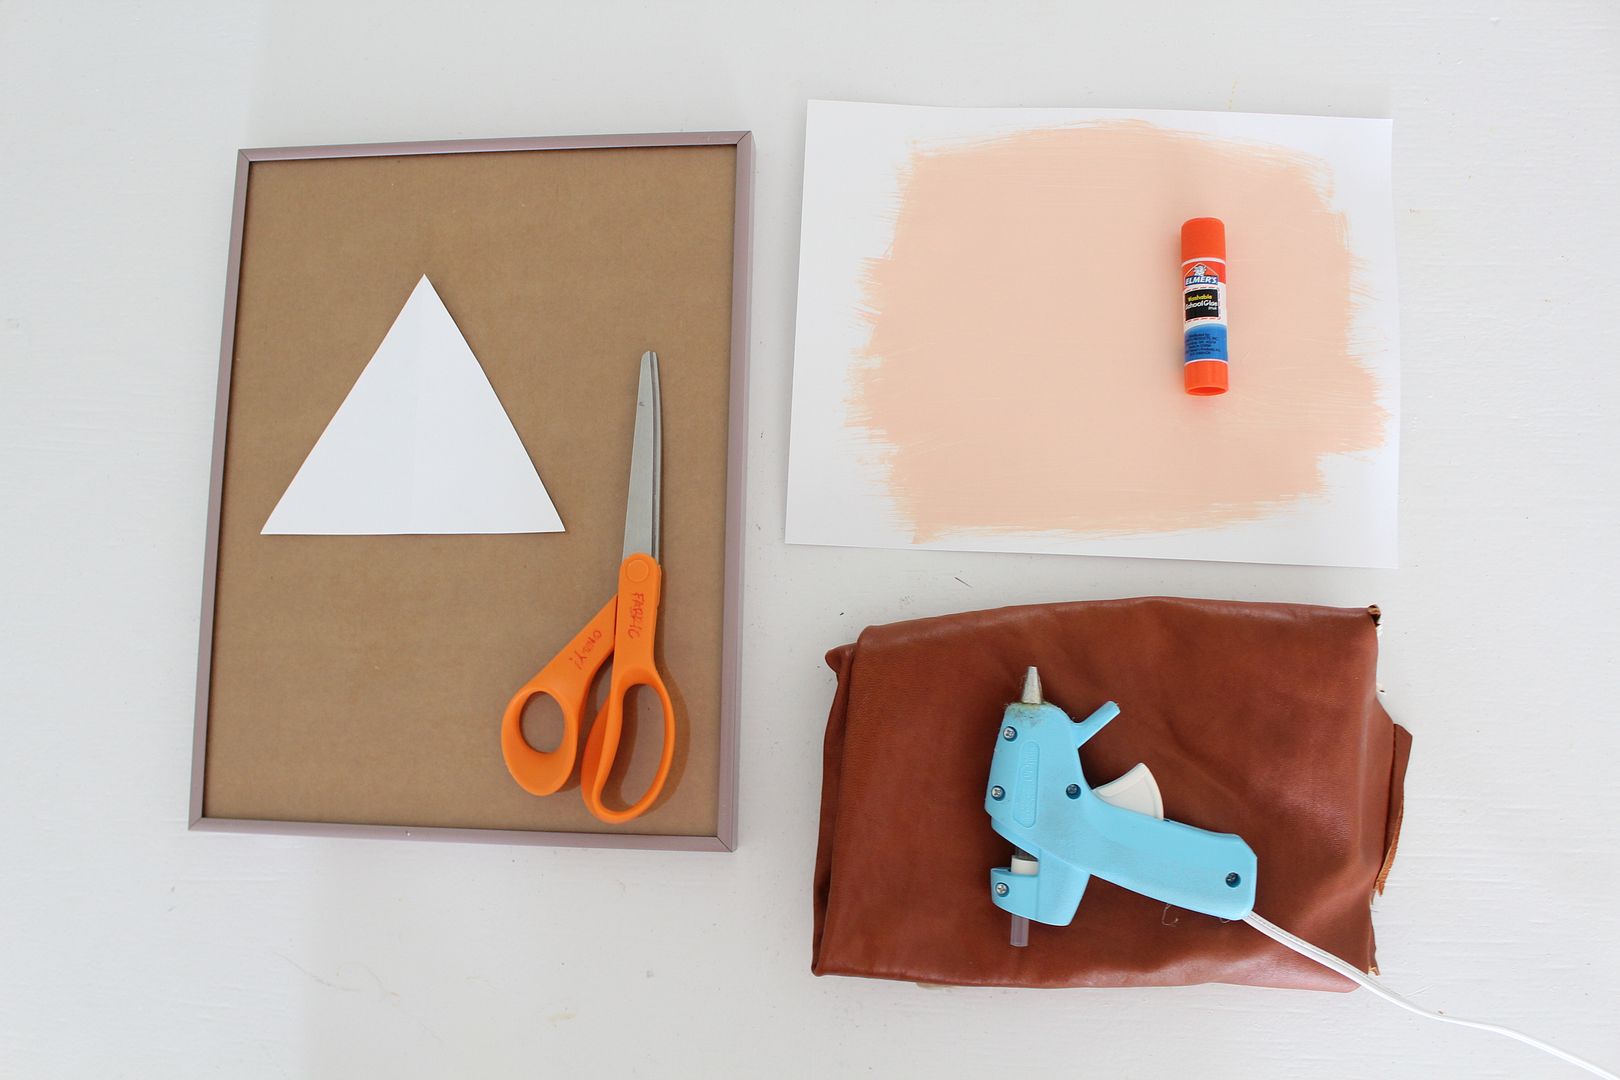
You will need:
A piece of card stock paper- painted(or just a colored piece)
Glue Stick
Leather Scrap
Scissors
Triangle Stencil(I made mine from card stock)
Hot Glue Gun
Blank White Card Stock Paper
Picture Frame
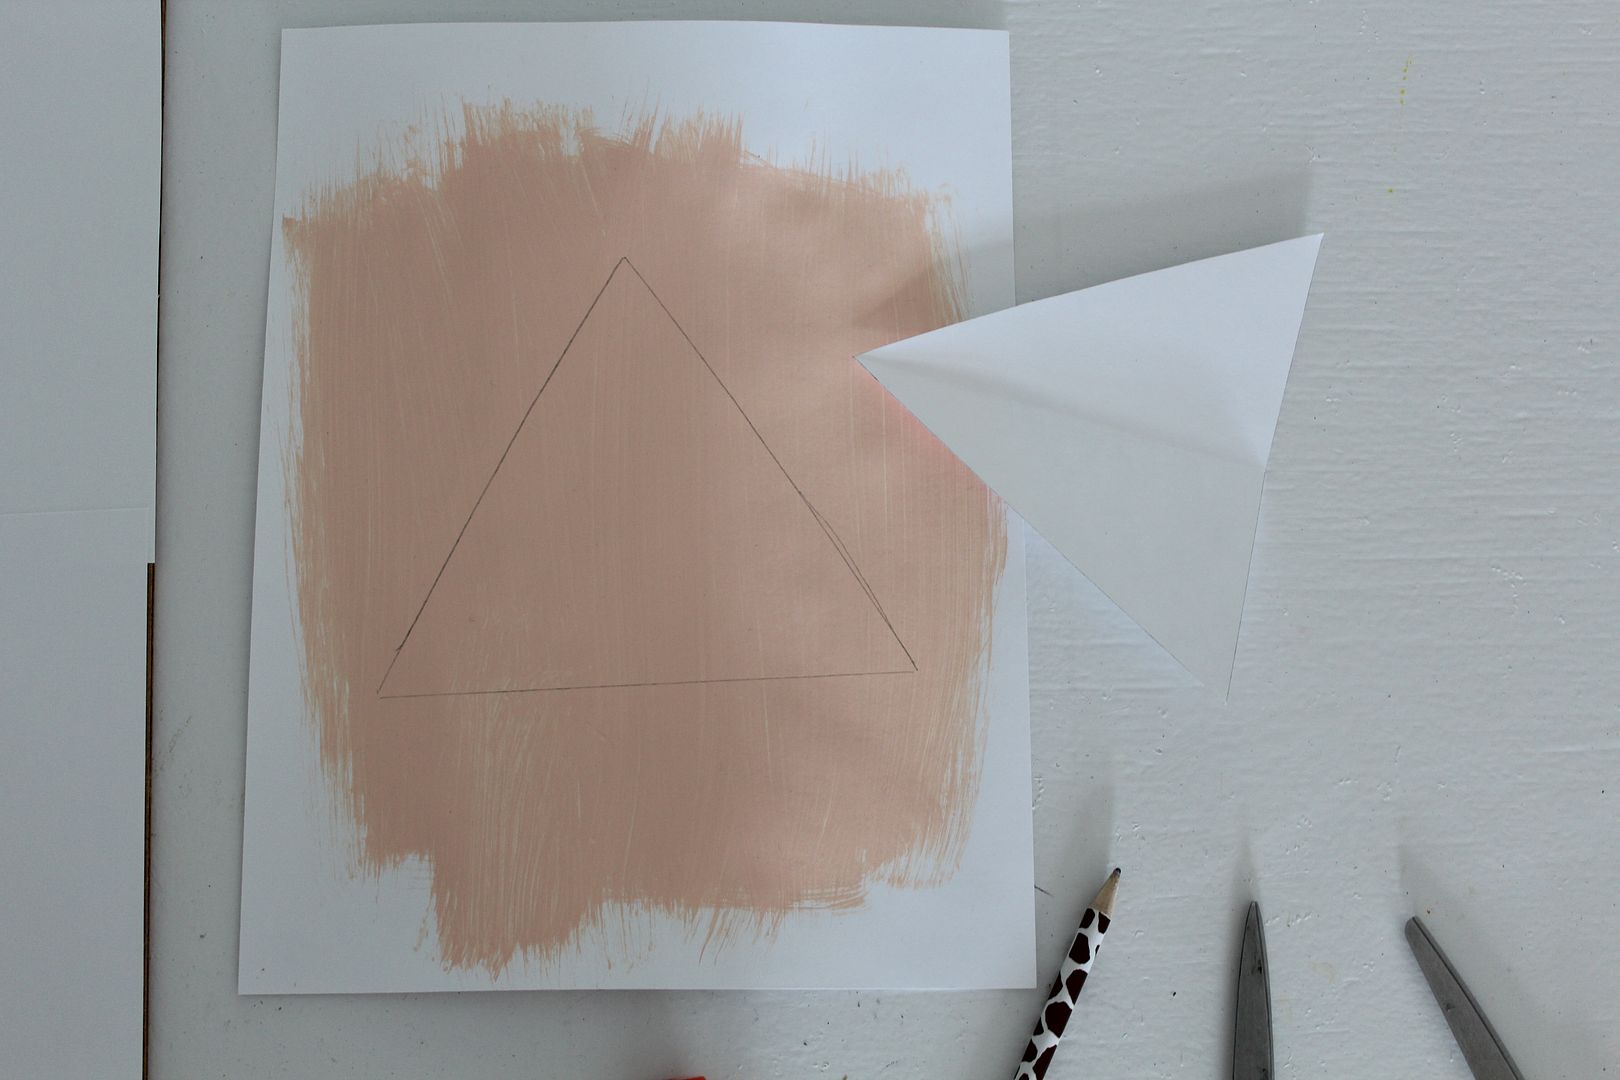
Use triangle stencil to trace and cut out triangle on painted paper
 and leather 
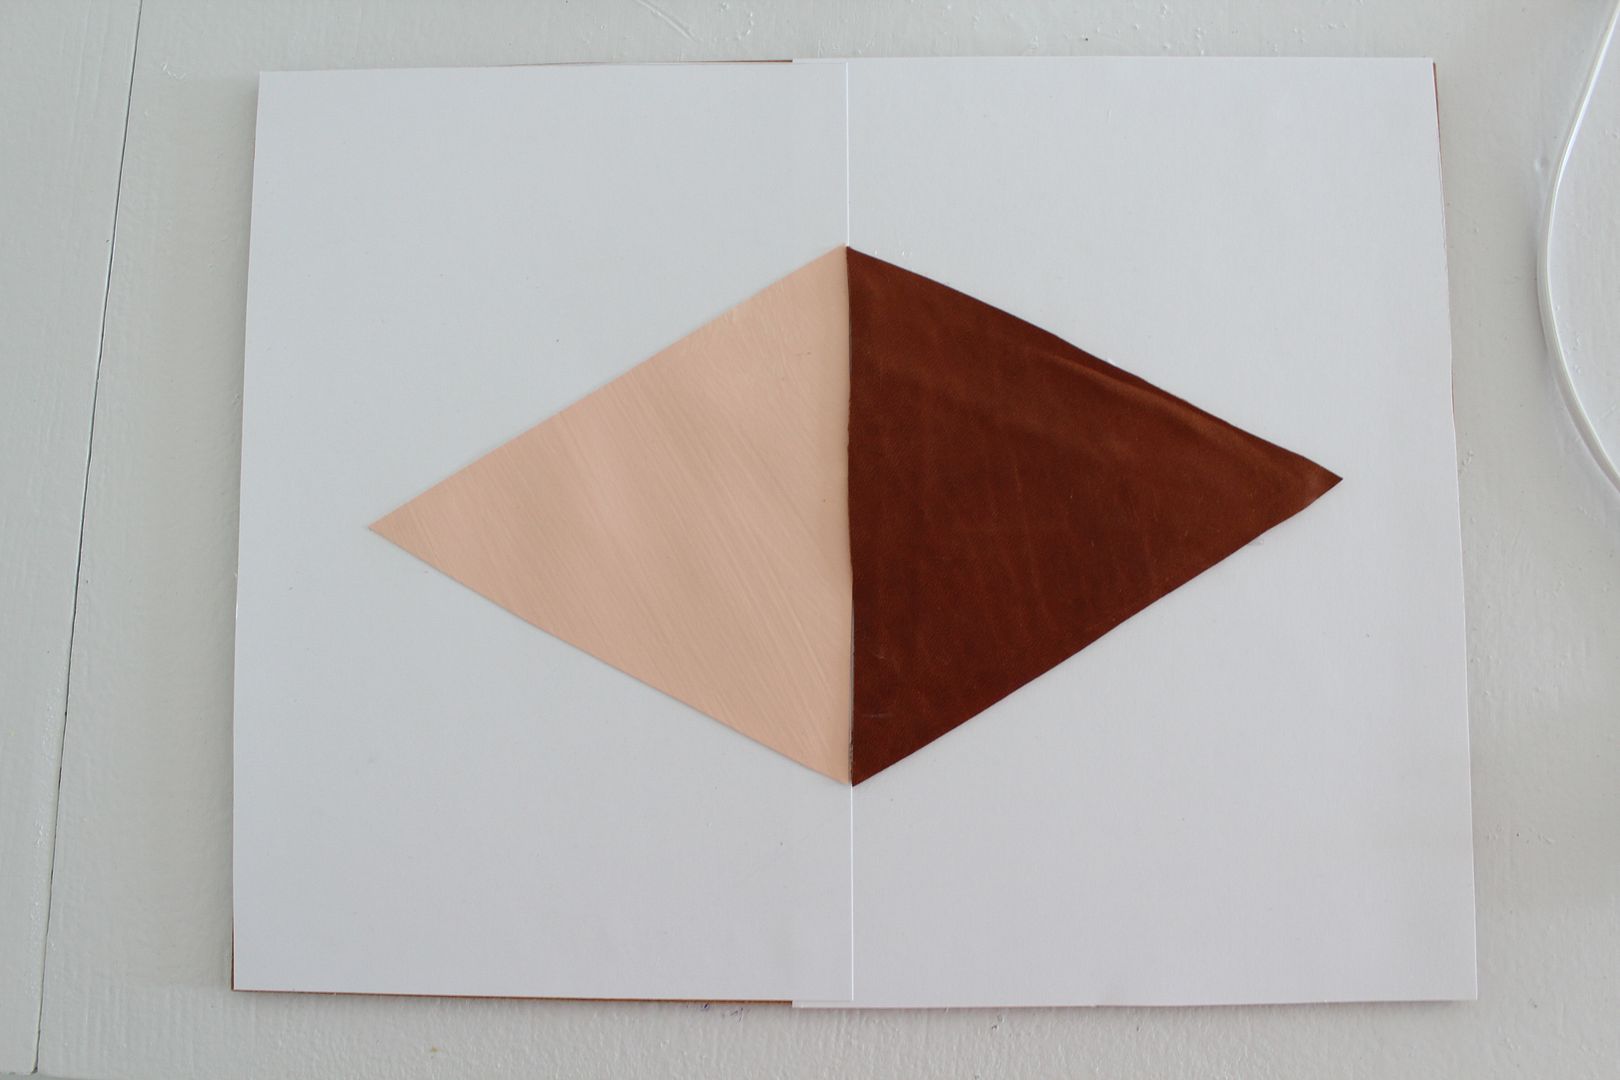
Use white card stock to cover back of frame- glue down with glue stick.
Glue leather and painted paper triangles onto card stock covered frame back.
Stick it in your frame and that's it! 
Such a fast project. Totally doable in one nap time! :)
Have a good week!
Sylvie


Friday, August 2, 2013

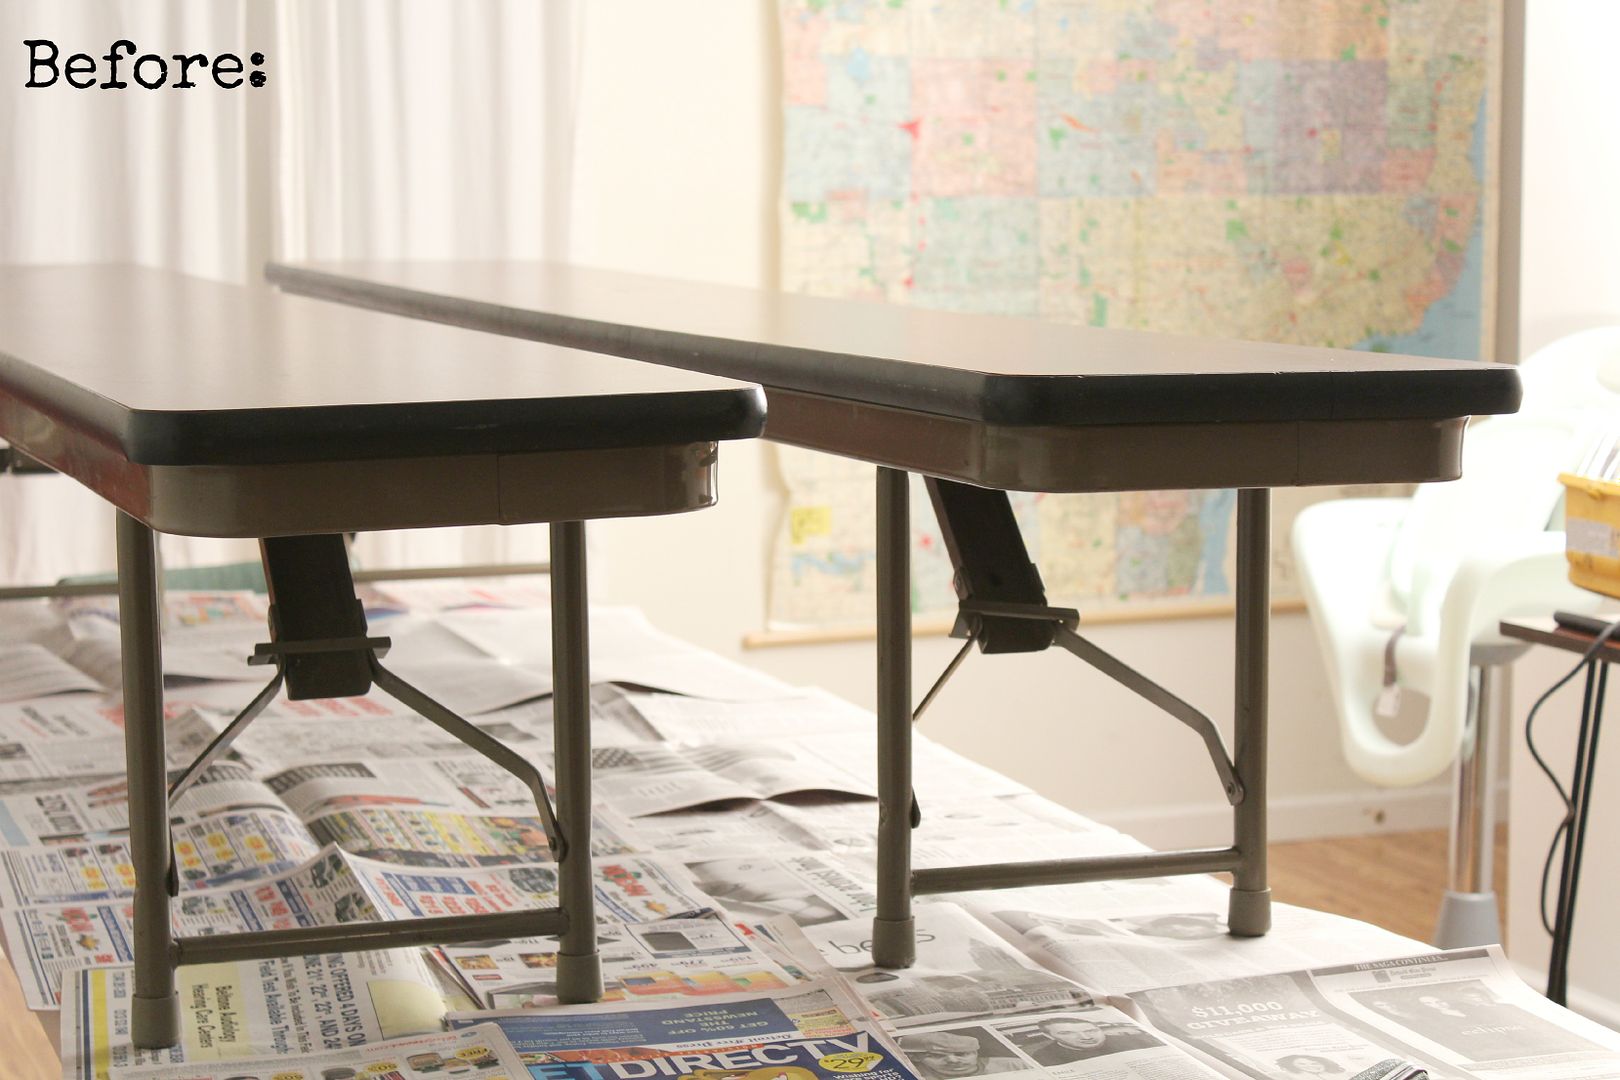
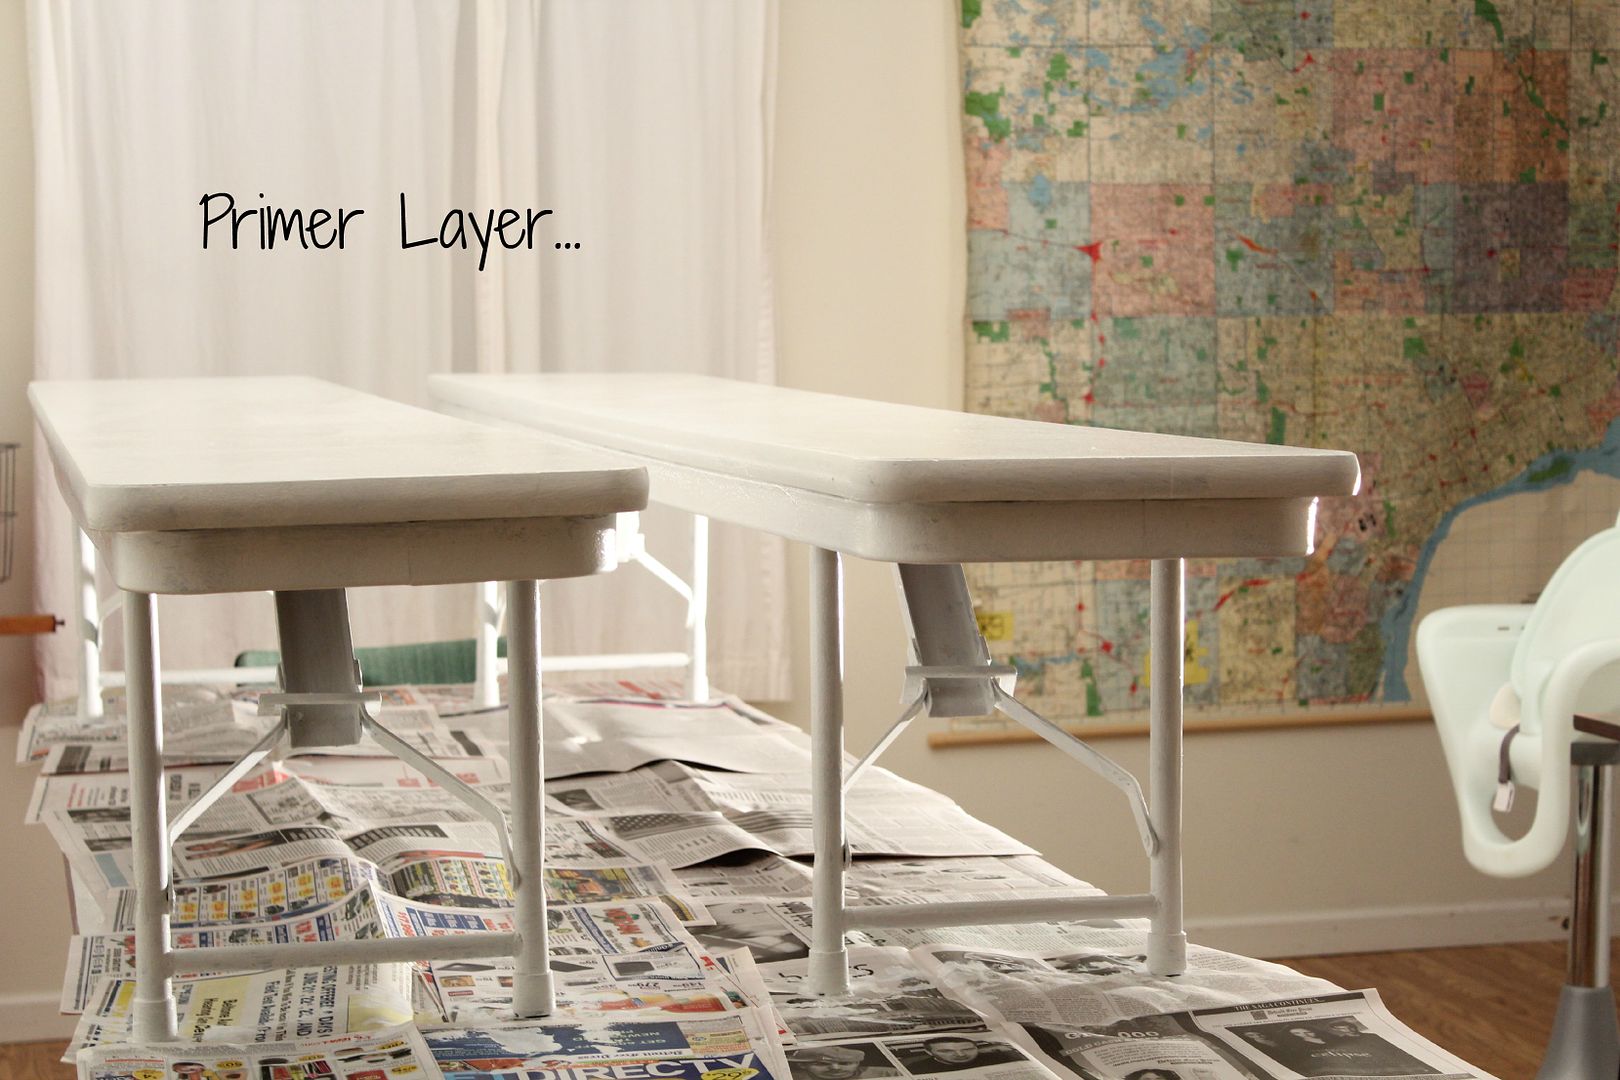
Dining Room Table & Bench Set Redo Photo Tutorial


No extra words today, just some photo inspiration from the Liv house to yours! :) 

-Sylvie

Wednesday, July 31, 2013

City Map Art DIY

One piece of decor in my home that I love is 
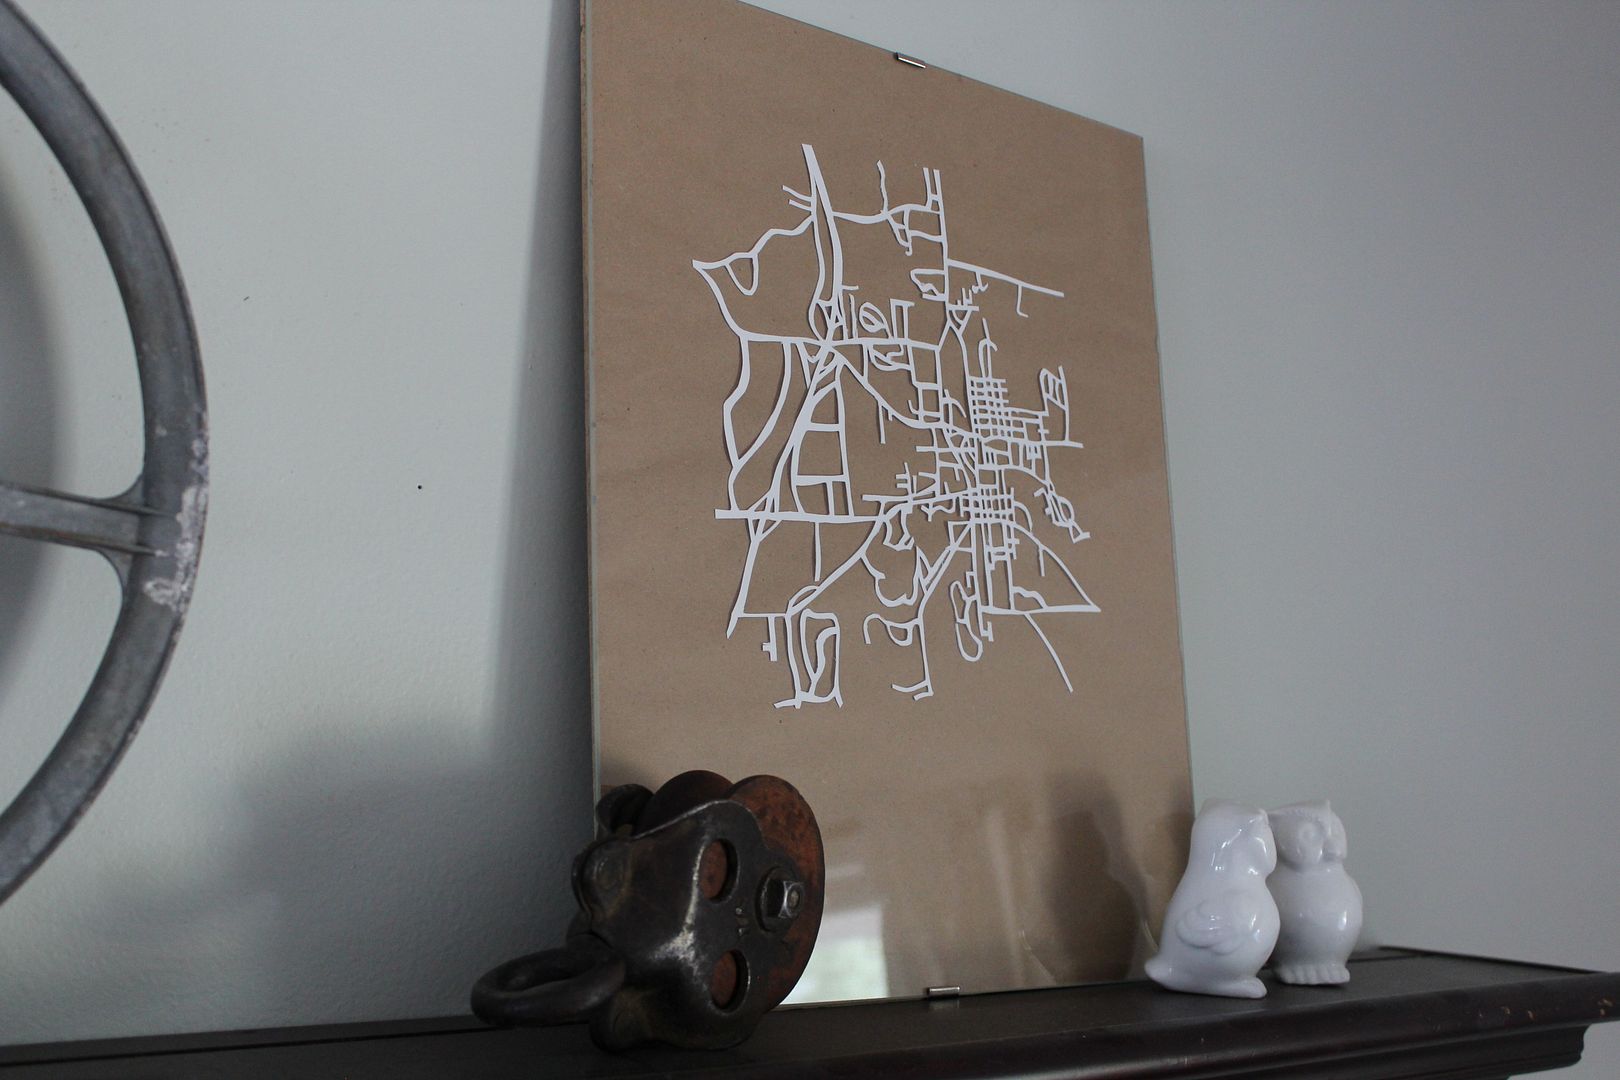
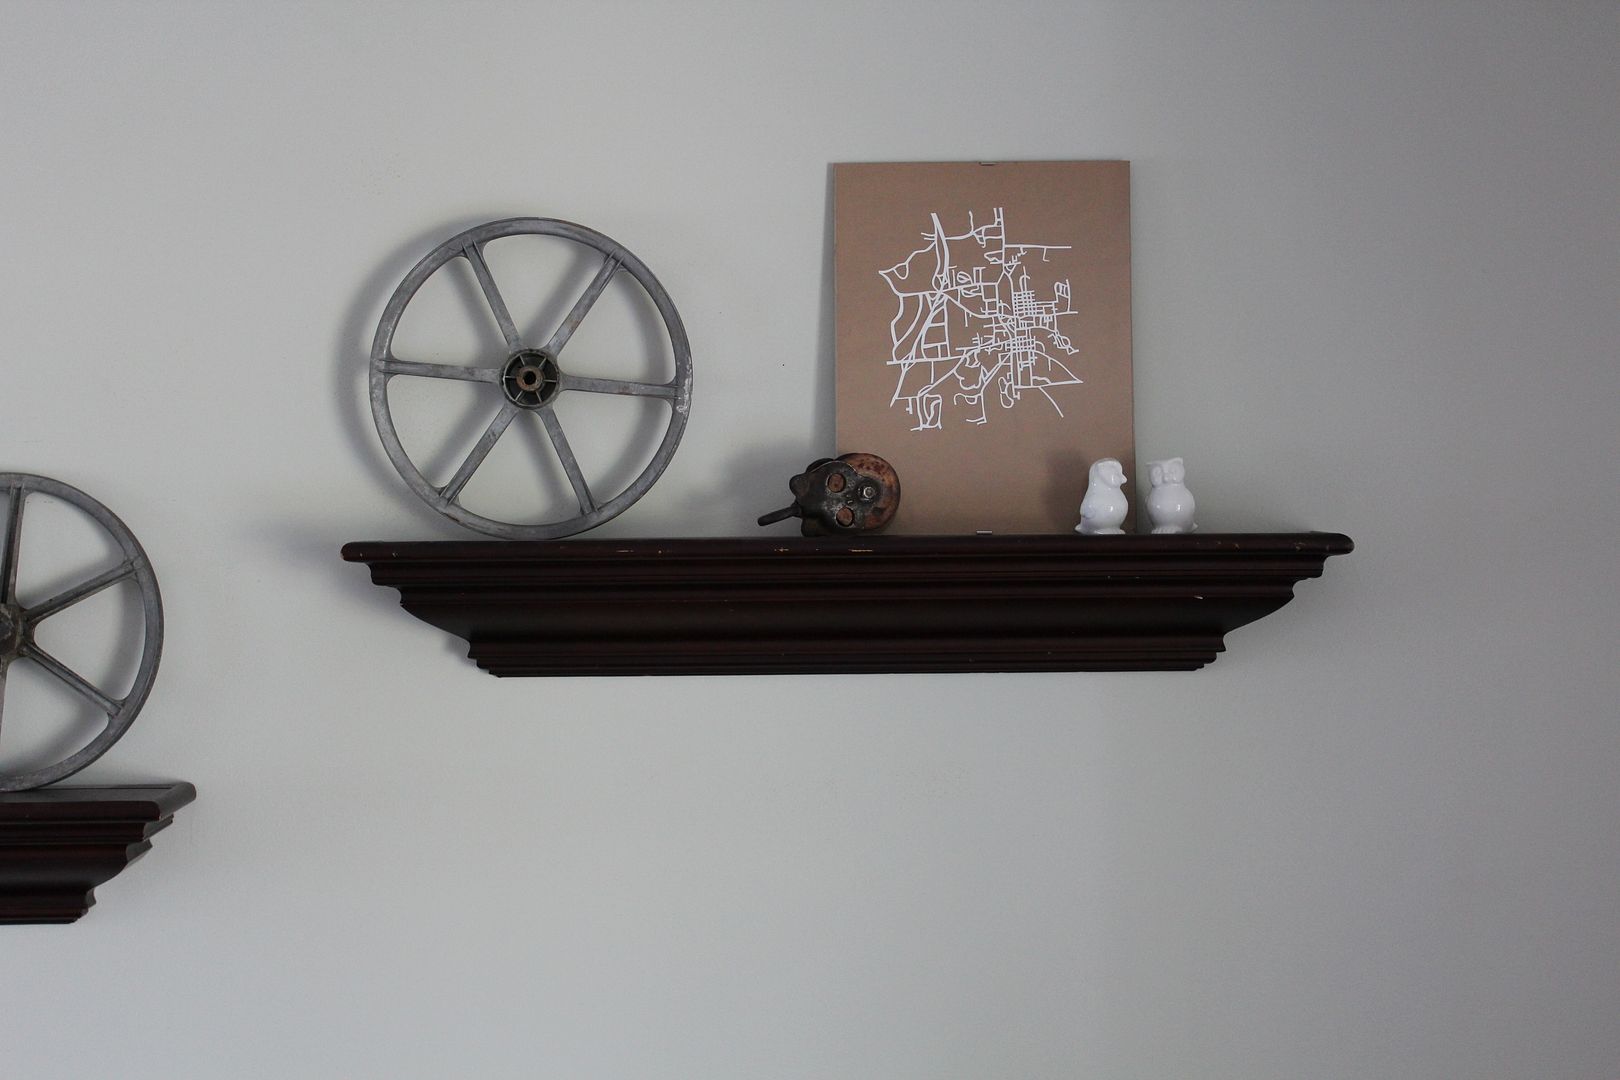
this city map I made of a city that is special to me. 
You know those phone books you get in the mail that you don't know what to do with because you just use your phone to find phone numbers? Dig through them real quick... they might have city maps! 

I found a city map in a book that came in the mail, and used it to cut out a map. 
I just put card stock under the map, and using an Xacto knife and cutting mat, I cut along all the streets.

Then I put it on some craft paper in a thrift store frame, and ta-da! 

Super cheap and special decoration... my favorite!
Sylvie

Friday, July 26, 2013

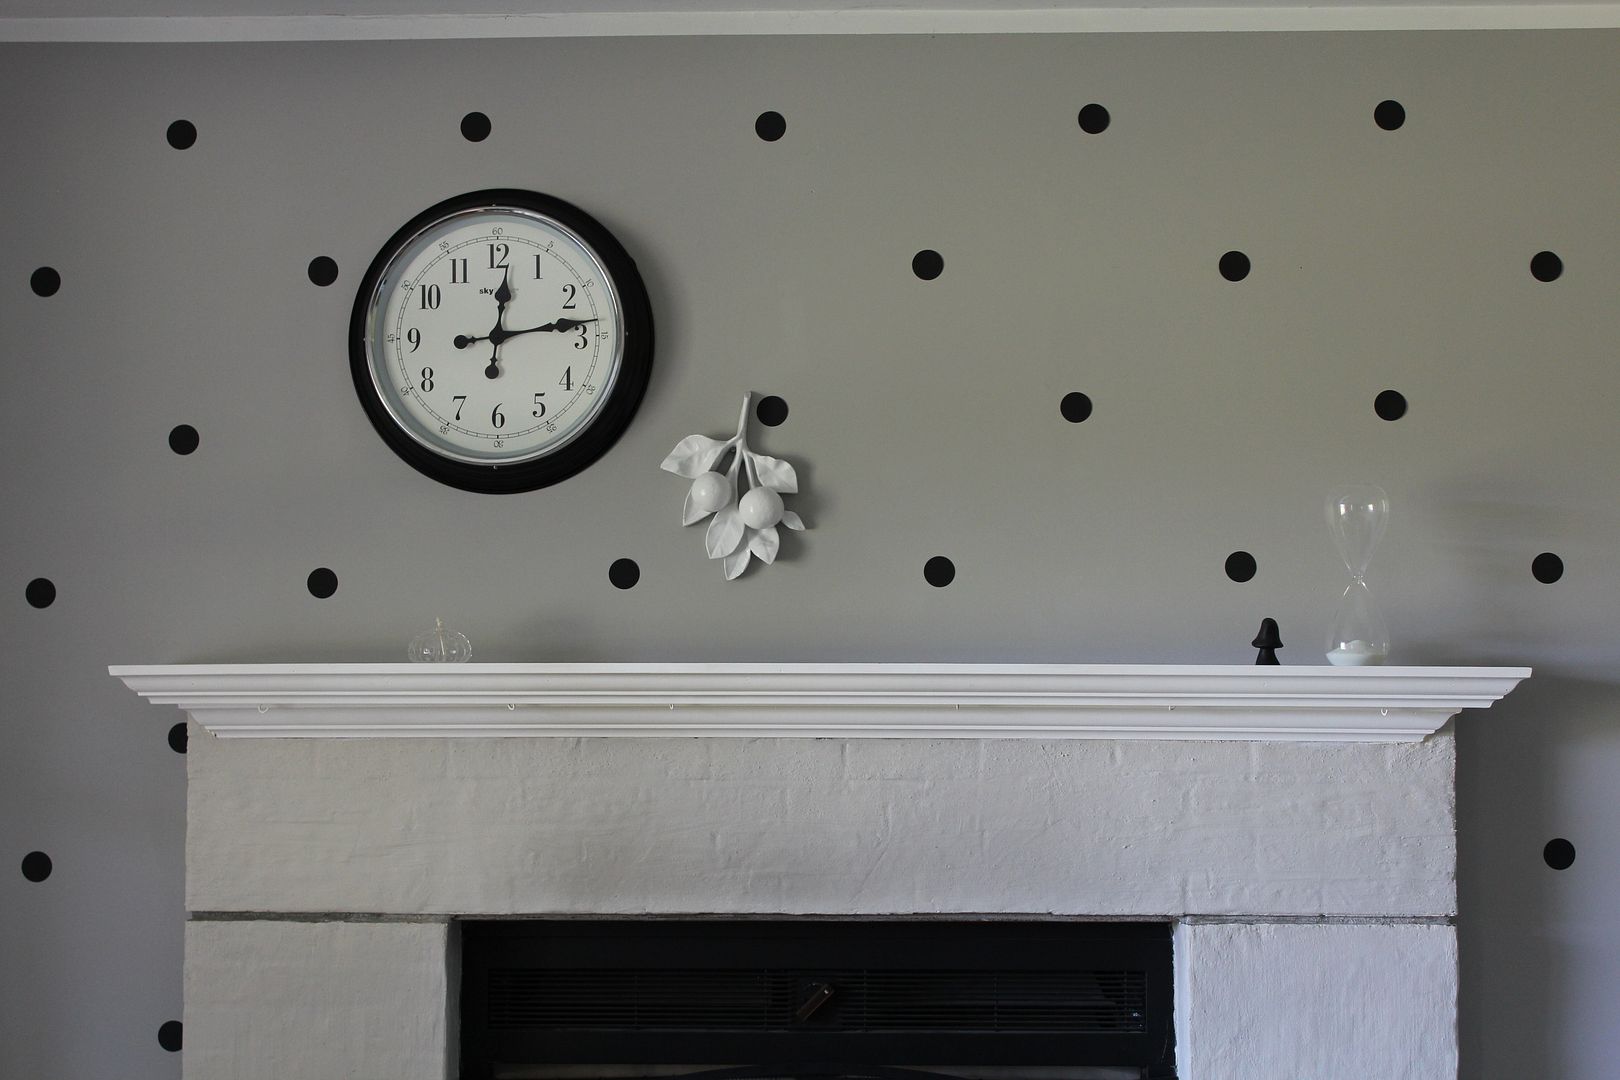
Easy and Cheap Wallpaper Knock Off- Wall Update

I have been seeing super cute dot wallpaper around the web and loving it.
The way I did my dot wall though, is a lot cheaper, faster, and easier to do and way easier to remove when I am sick of it someday!
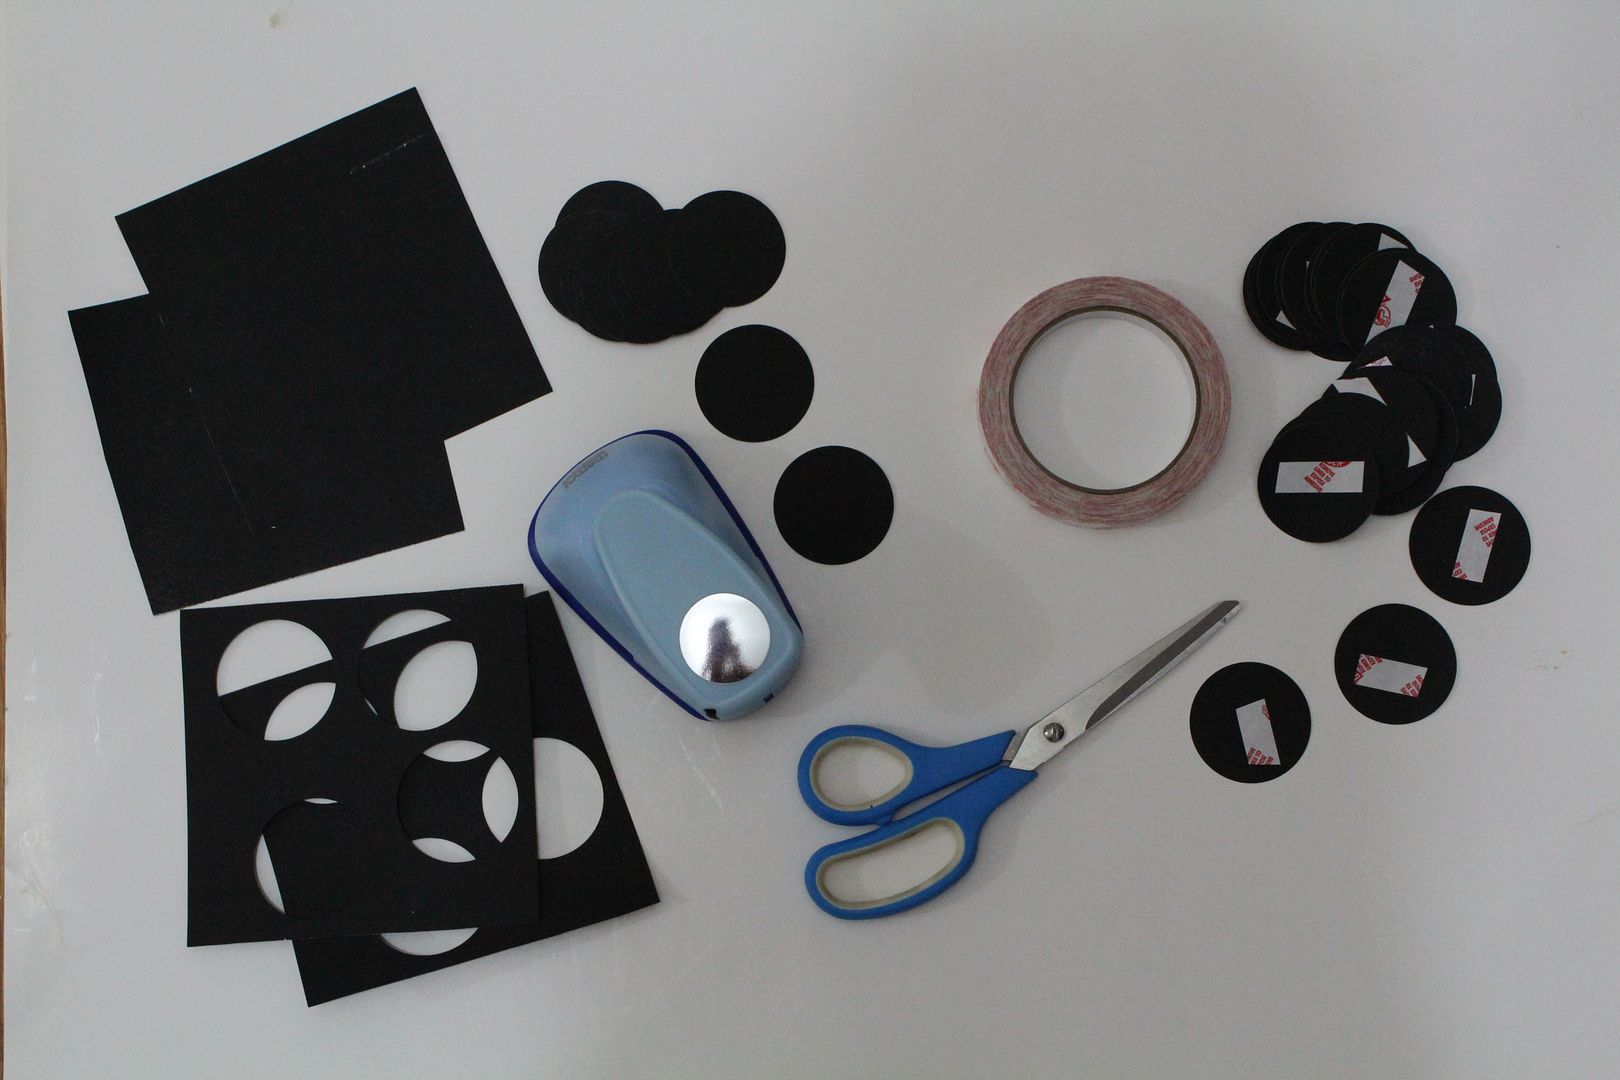
I just used a black posterboard, a hole puncher, and some double sided sticky tape!  
(I got my circle punch from Micheals.)

Just punch out a bunch of circles from the poster board- the amount will vary depending on how close you want your dots and how big your wall is.
Put a piece of double sided sticky tape on each dot and stick it to the wall. That's all! 
I just eyeballed it to get my dots in their places, but you could use a tape measure if you wanted to make sure they are exact.
They have been up there for a while, and not one dot has fallen!
Luckily the kids haven't realized how easily they peel off, 
so they haven't rained on my parade! :) 

You could do this same thing with stars in a kids room, or triangles, or... 

Have fun!
Sylvie

Wednesday, July 24, 2013

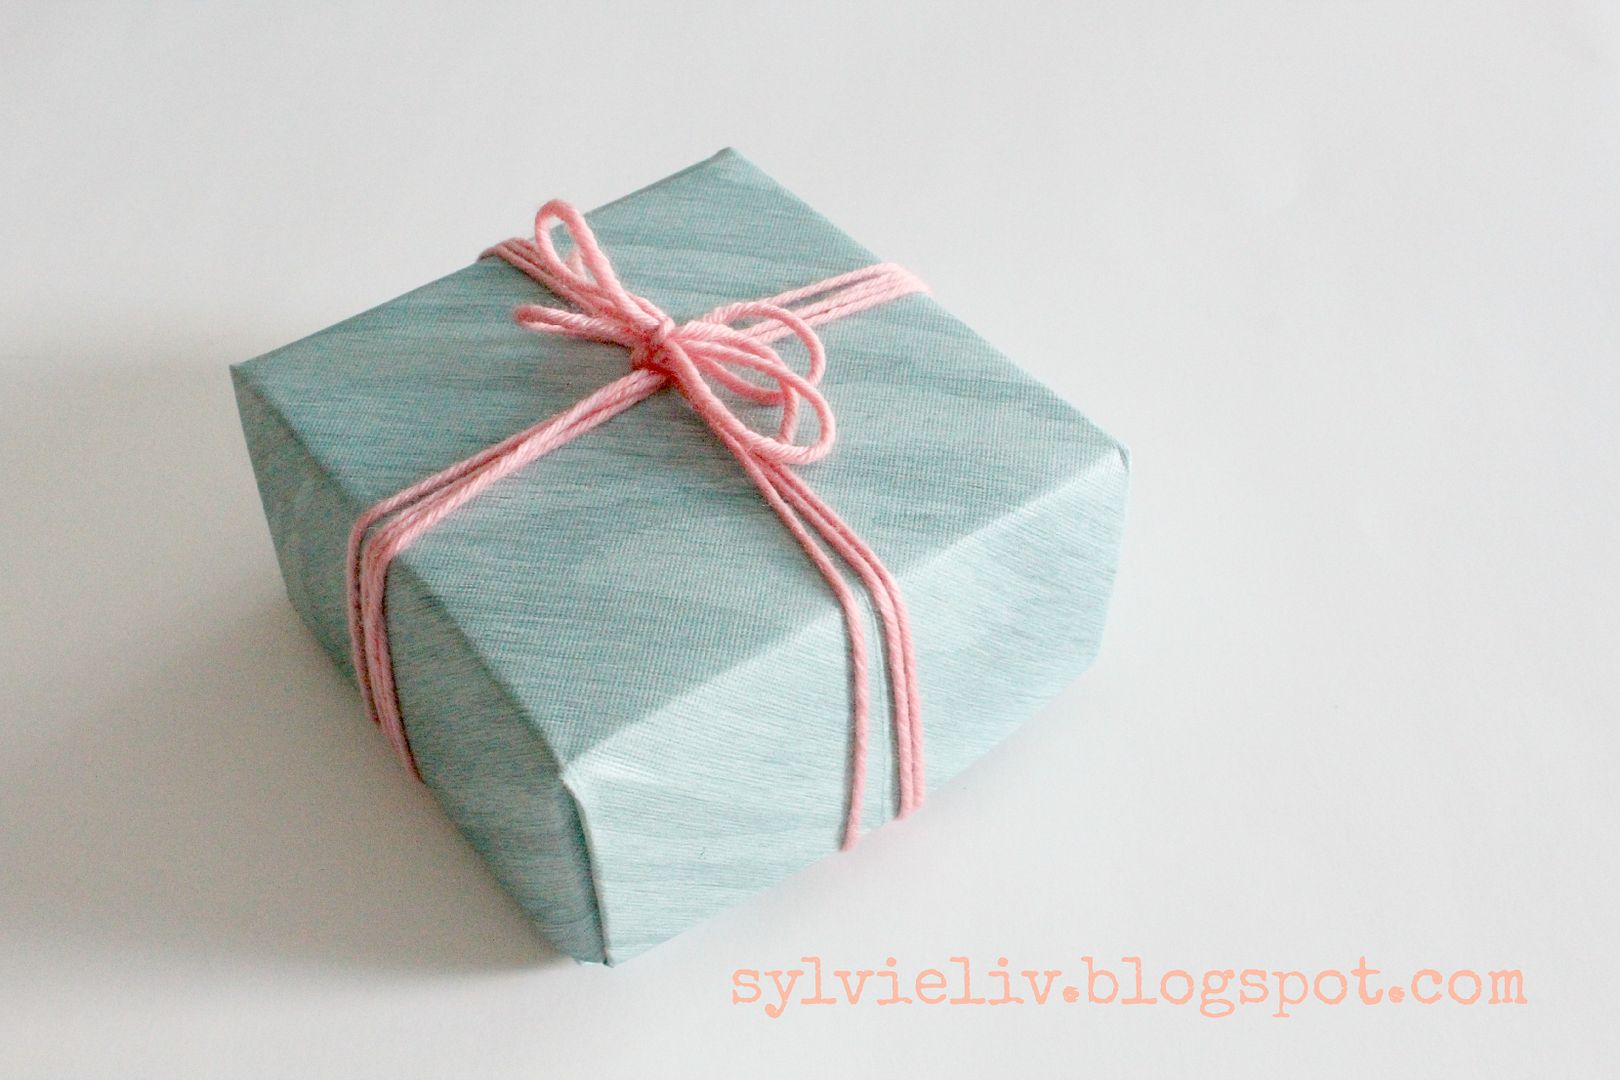
Fun Way to Package a Gift: Origami Boxes

I love to make my own gift packaging using things that I have on hand... 
Usually if a gift is small enough, 
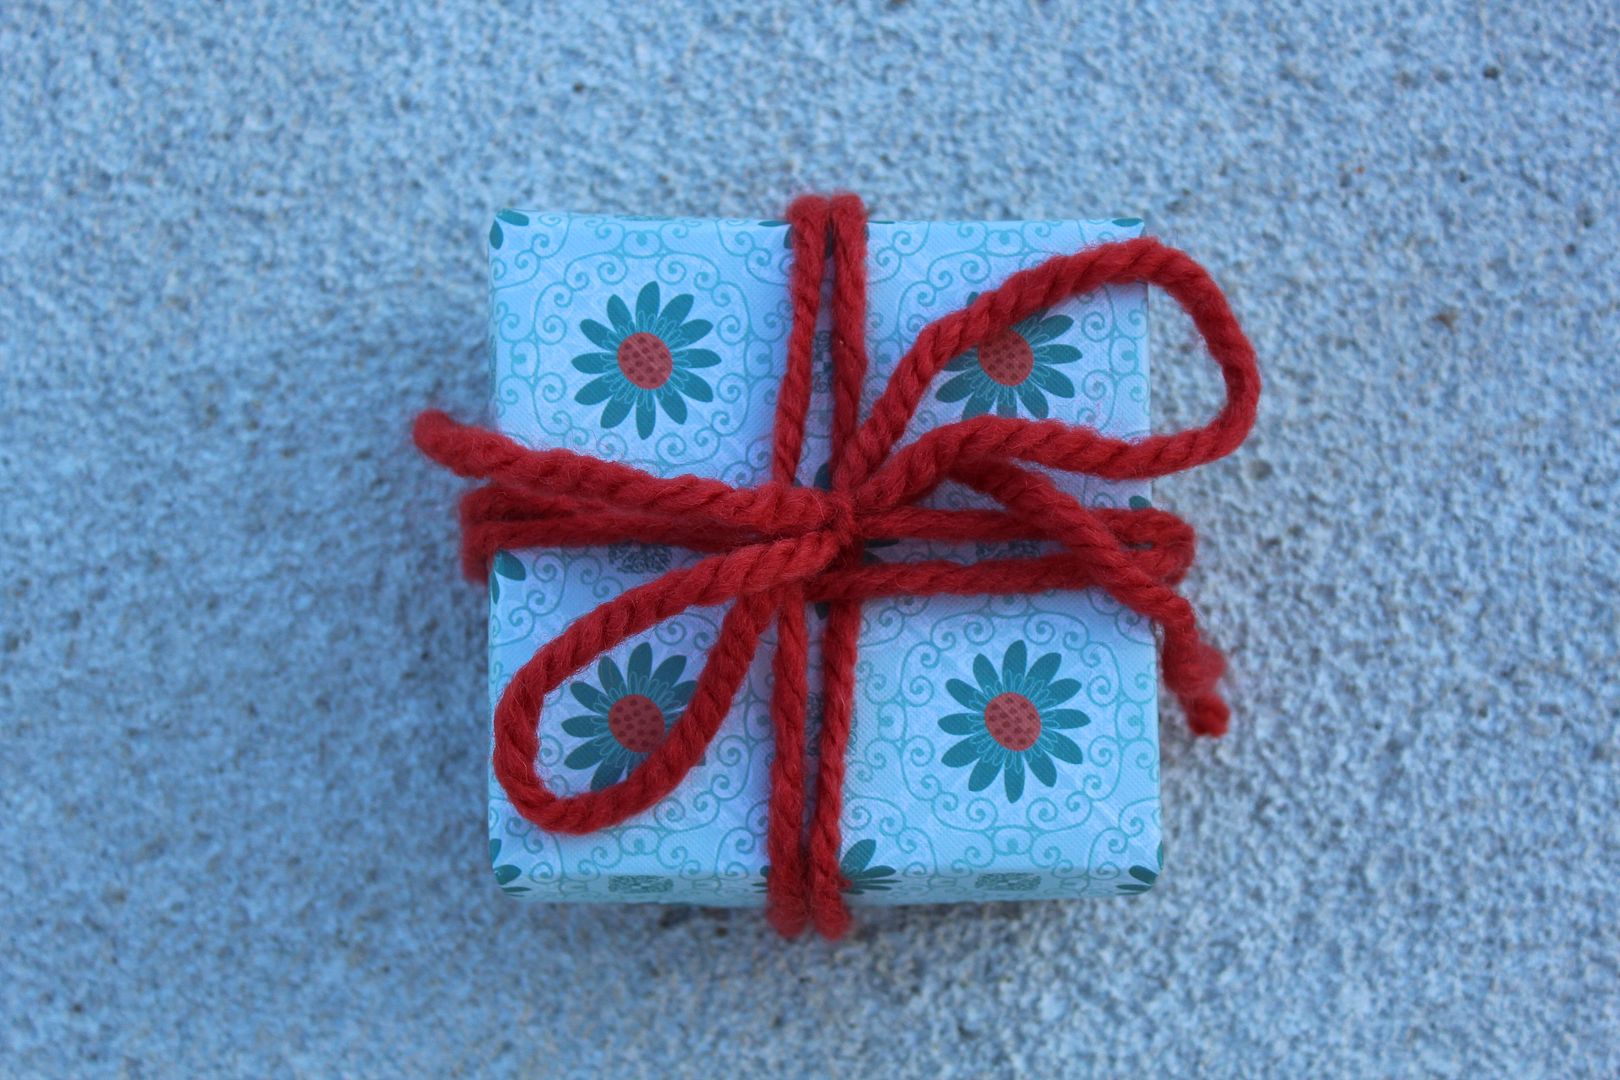
I will fold up an Origami box using this video tutorial. 
Wrap some yarn around it, and you're all set! :)  
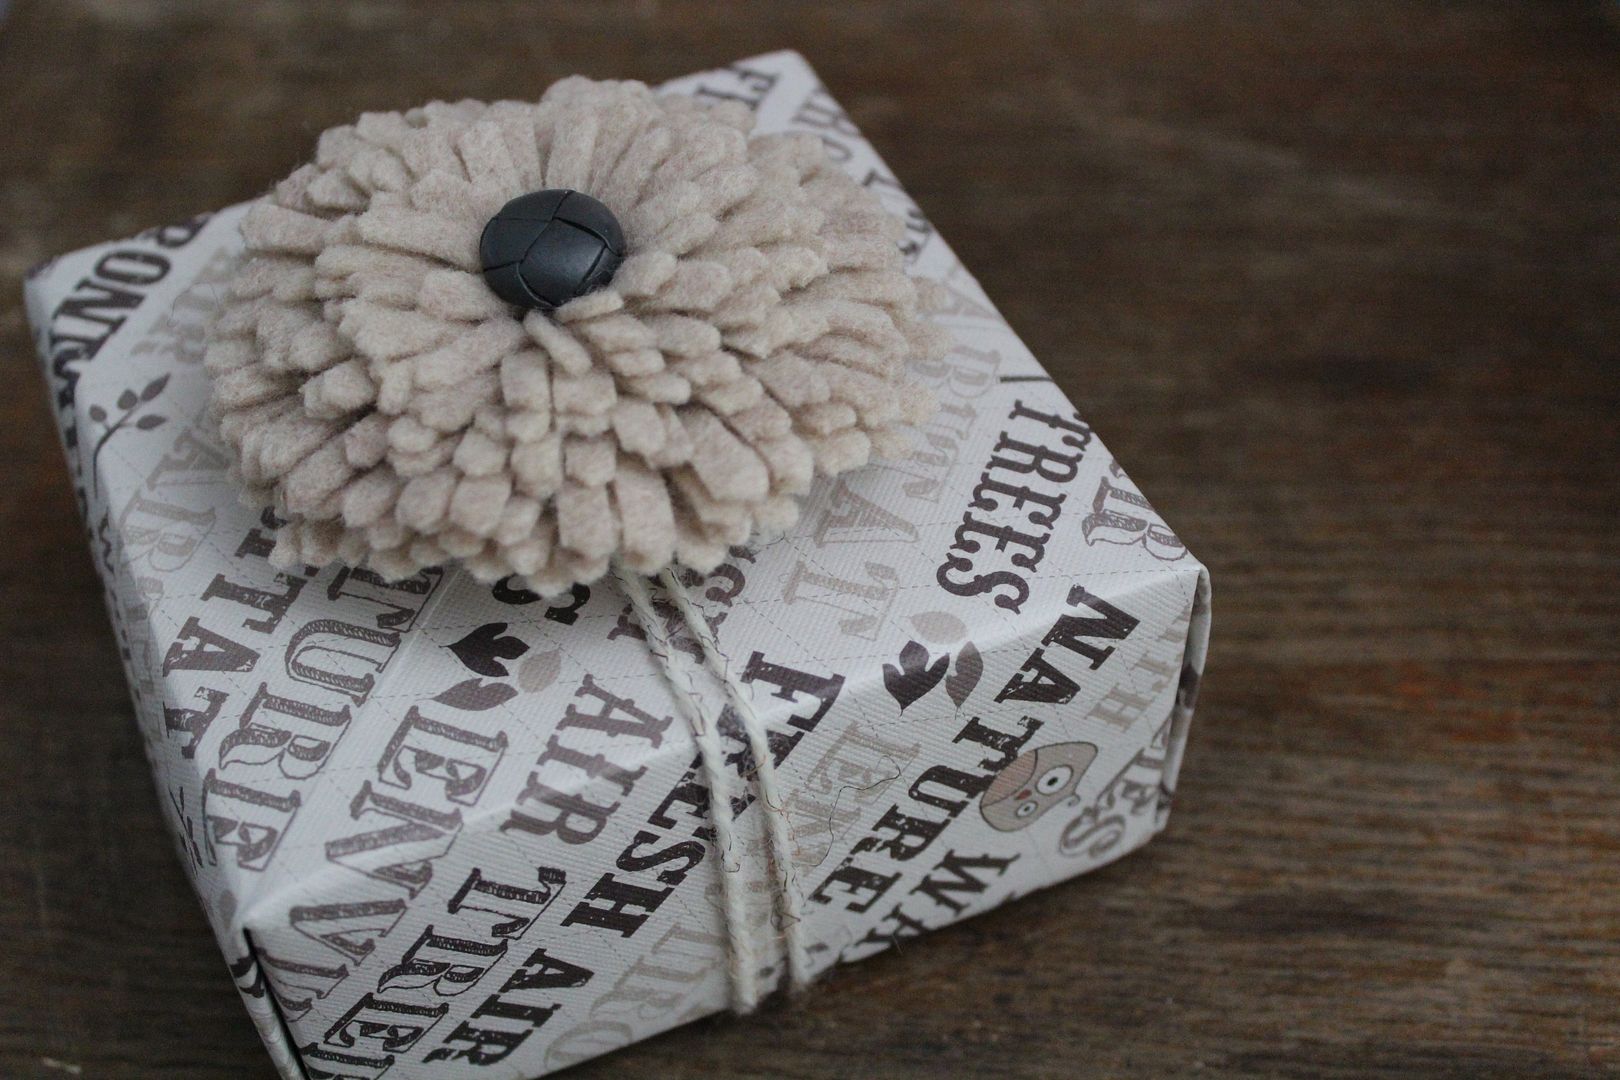
This one was also a baby girl gift I made.
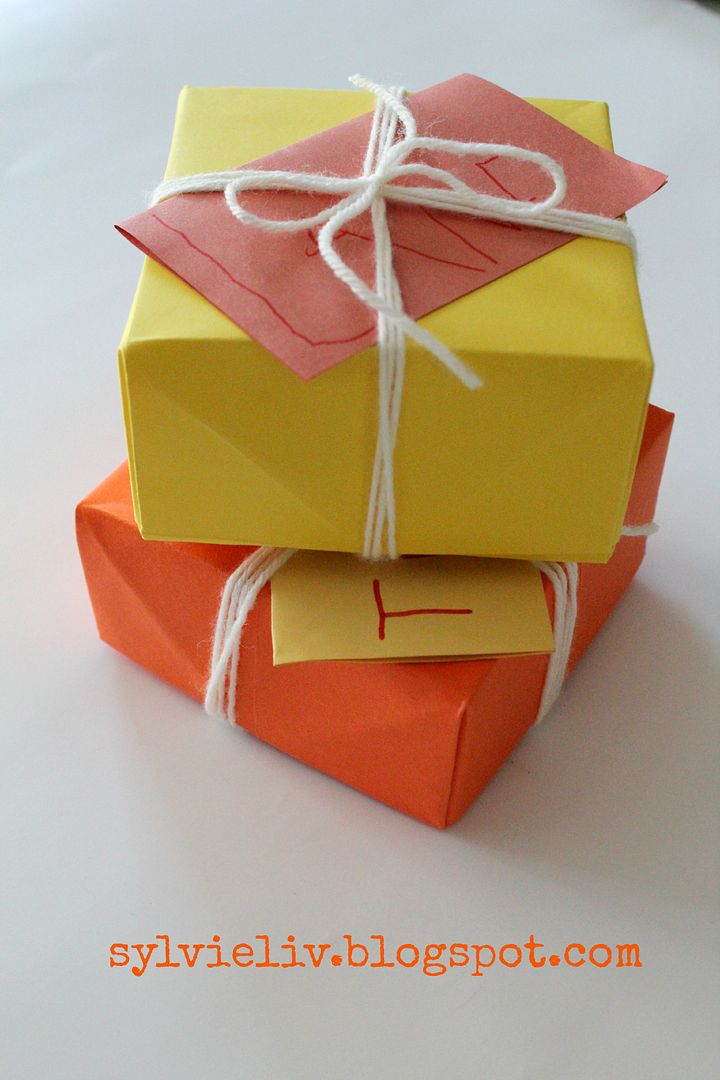
And these boxes were for boys wallets I mentioned here.

I also managed to cram this entire gift into one of these little boxes too! She was surprised at how much was in that little box when she opened it! :)
Add a little homemade card on top, and you are sure to get a smile!

Have fun!
Sylvie

Monday, July 22, 2013

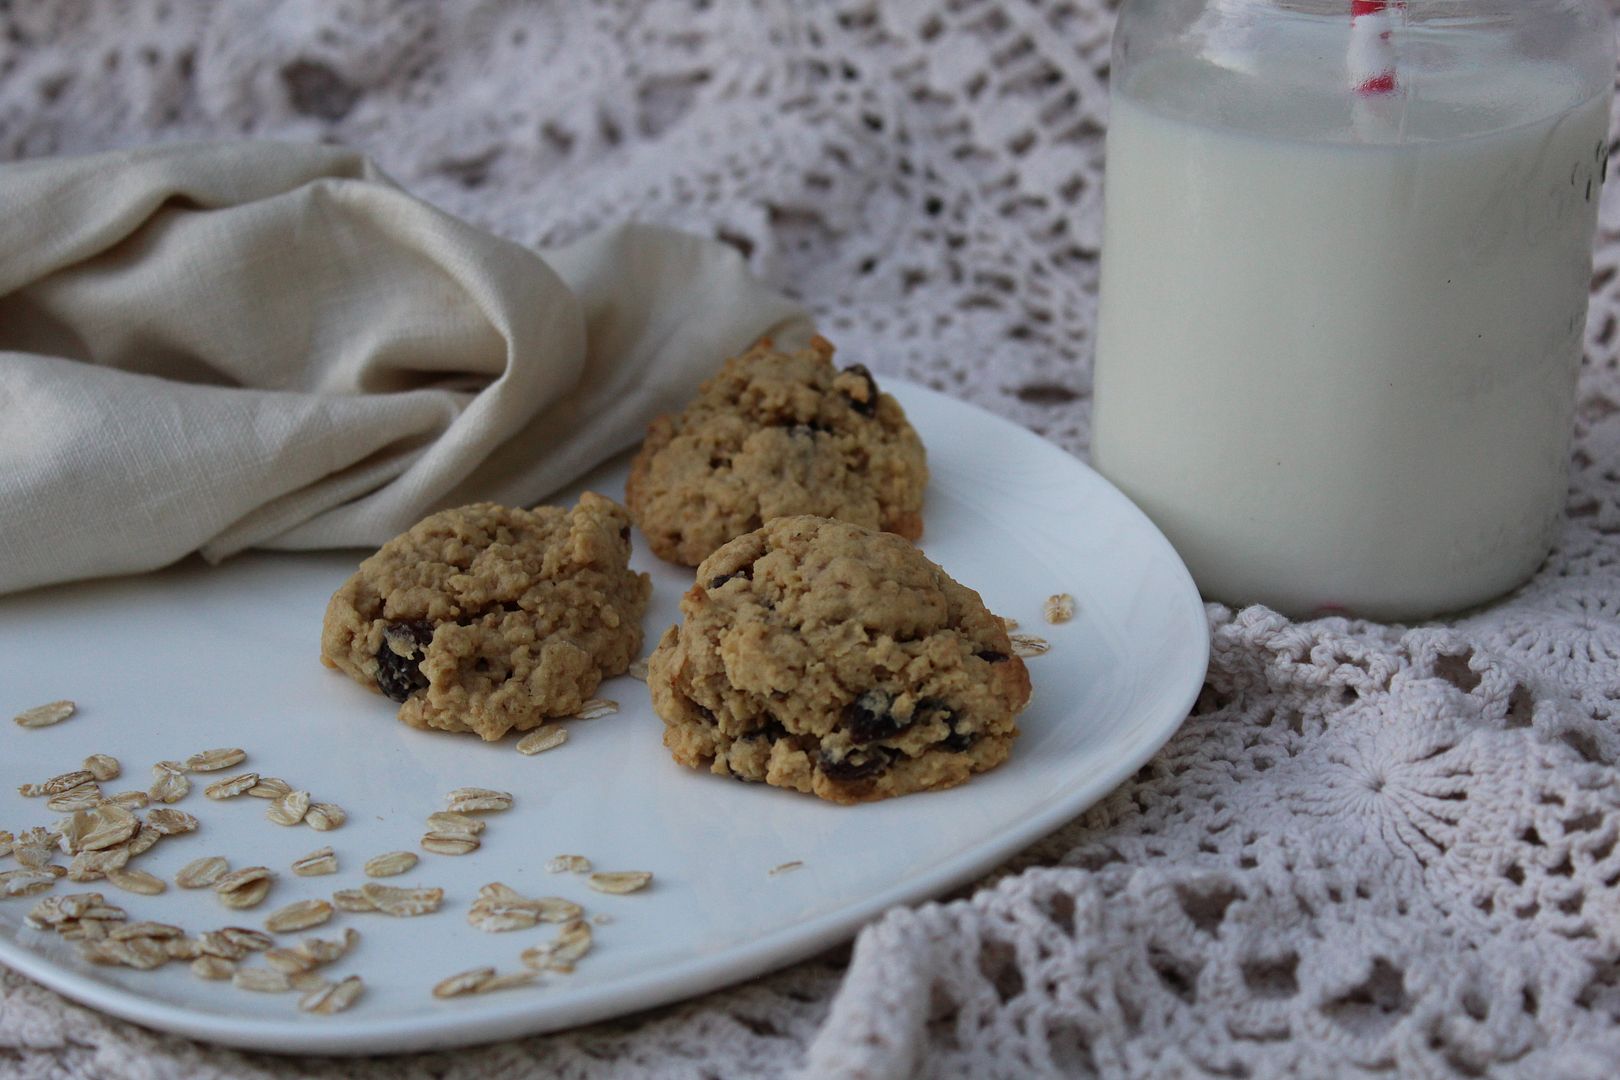
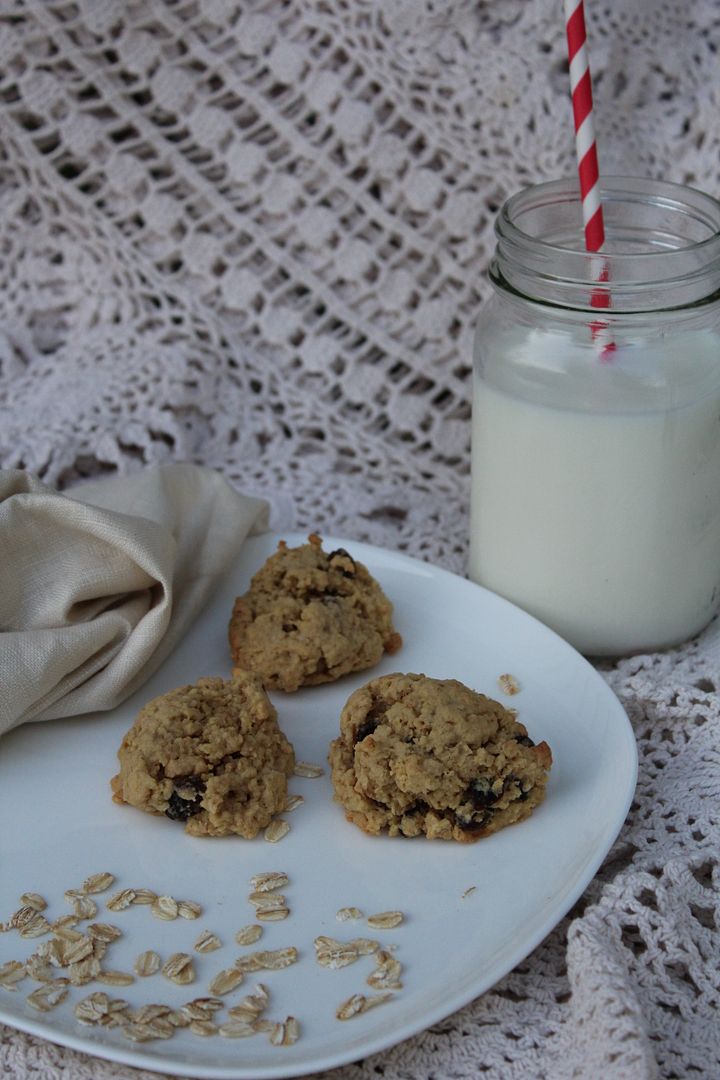
The Best Softest Oatmeal Raisin Cookies Ever!

Seriously. This is the. best. oatmeal raisin cookie recipe ever ever.
I was digging through my recipes the other day, and found this old recipe I had gotten from my Mum.
I have made them three! times in the last couple weeks!
Health food junkie. ;)
They are super soft and chewy and flavorful. You will love them!

1 cup Butter
1/4 cup White Sugar
3/4 cups Brown Sugar
3 Eggs
1 3.4 oz Package Instant Vanilla Pudding
1 1/4 cups White Flour
1tsp. Baking Soda
3 1/2 cups Oats (quick or old fashioned works)
1 cup raisins

Preheat oven 375 degrees.
Cream together butter, sugars, and eggs.
Slowly mix dry ingredients into moist ingredients.
Drop by the spoonful onto greased or parchment paper lined cookie sheets.
Bake at 375 degrees for 10 min or until bottom of cookie is very slightly browned. 

Enjoy! 
Sylvie


Thursday, July 18, 2013

Vintage Dress Redo

I was in need of a new dress, and money is tight right now. 
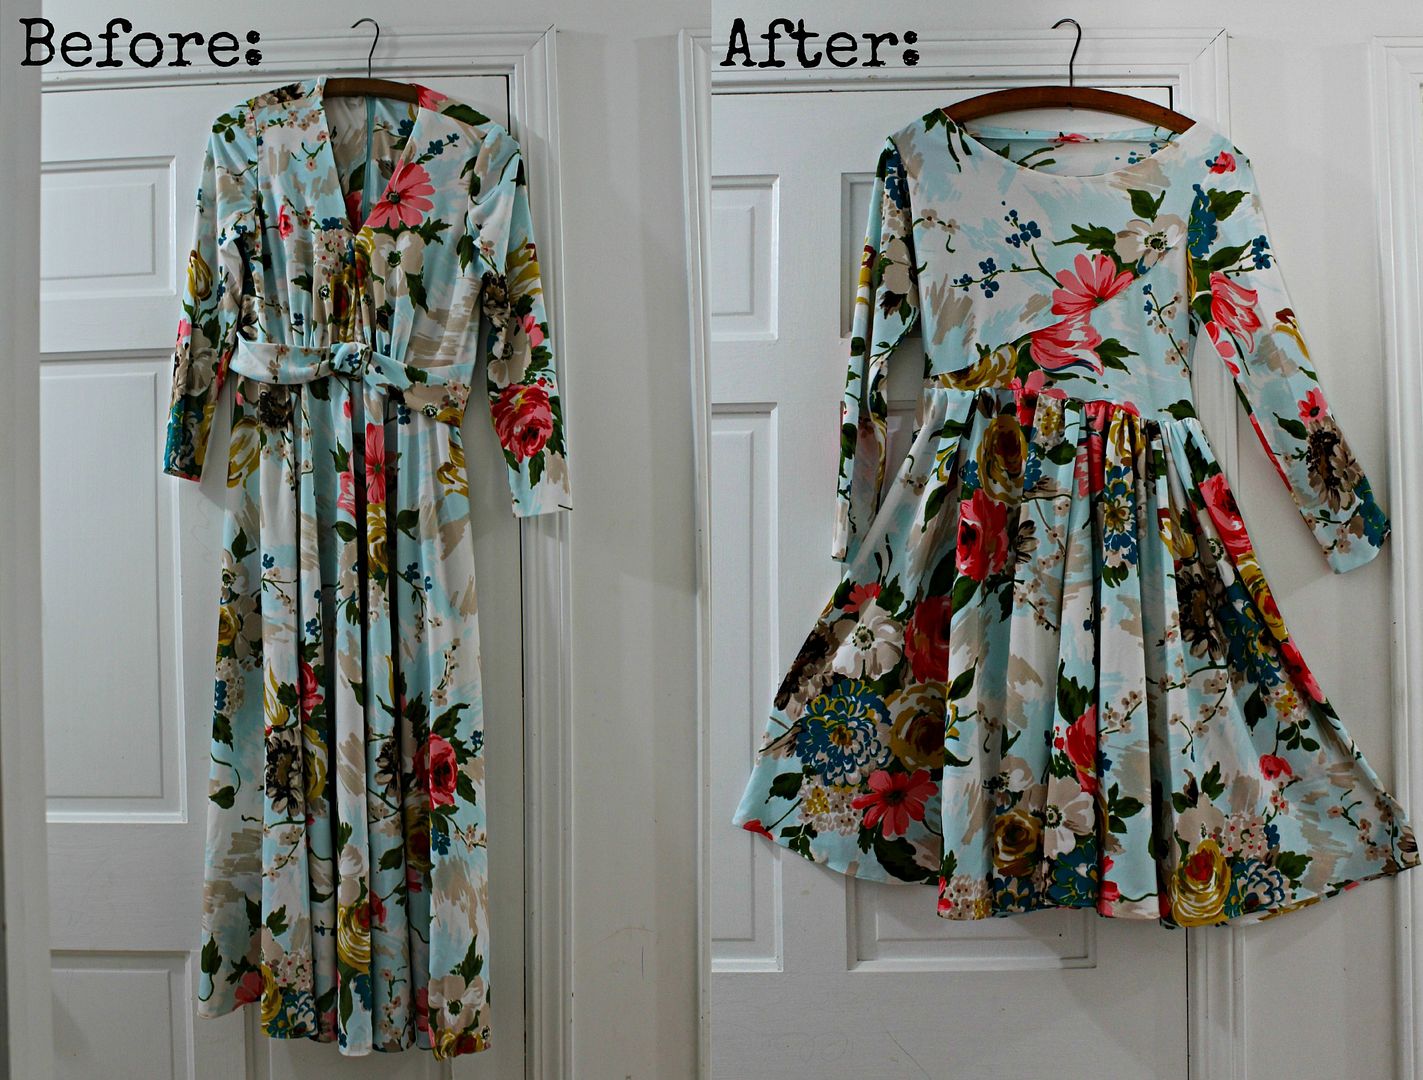
So... I dug in the dress up bin and came up with this dress! :) 
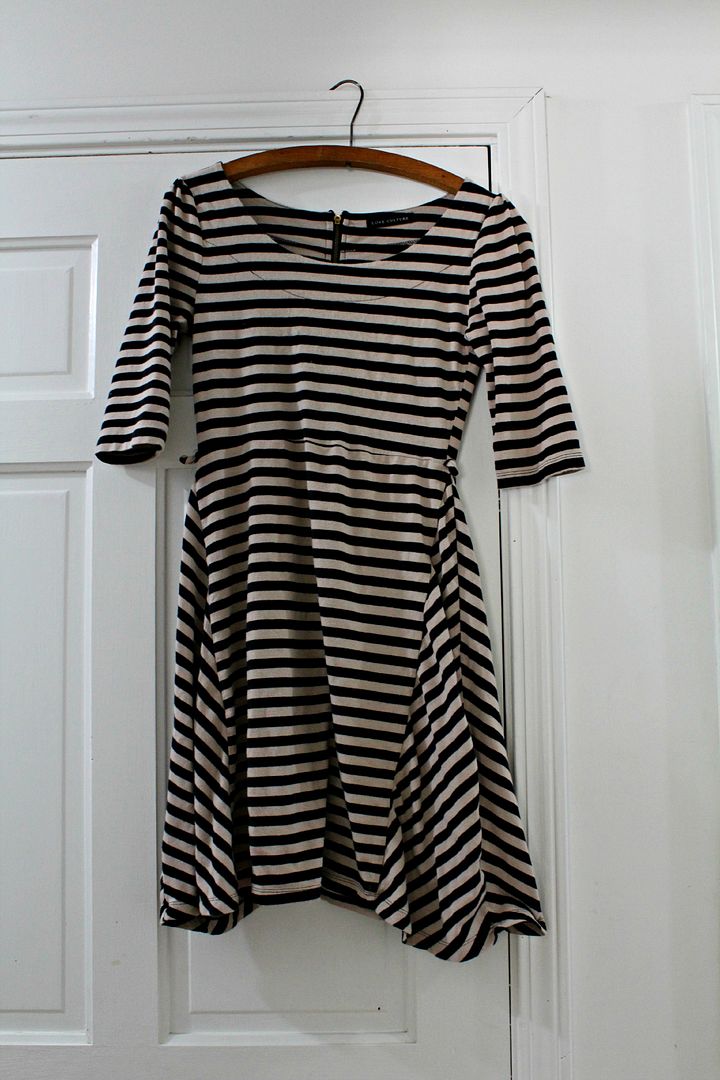
I used the below striped dress as a "pattern."
I just traced the striped dress onto the floral dress, and cut it and re- sewed it back together! 
I used the existing bottom hem, and the same sleeves so that def saved time! :)

I am pleased with my new dress. It was the first time I'd ever braved sewing a dress for myself... and it fits!!! I feel like a boss. Haha, jk. But I am indeed quite pleased! 

Thanks for stopping by!
Sylvie


Tuesday, July 16, 2013

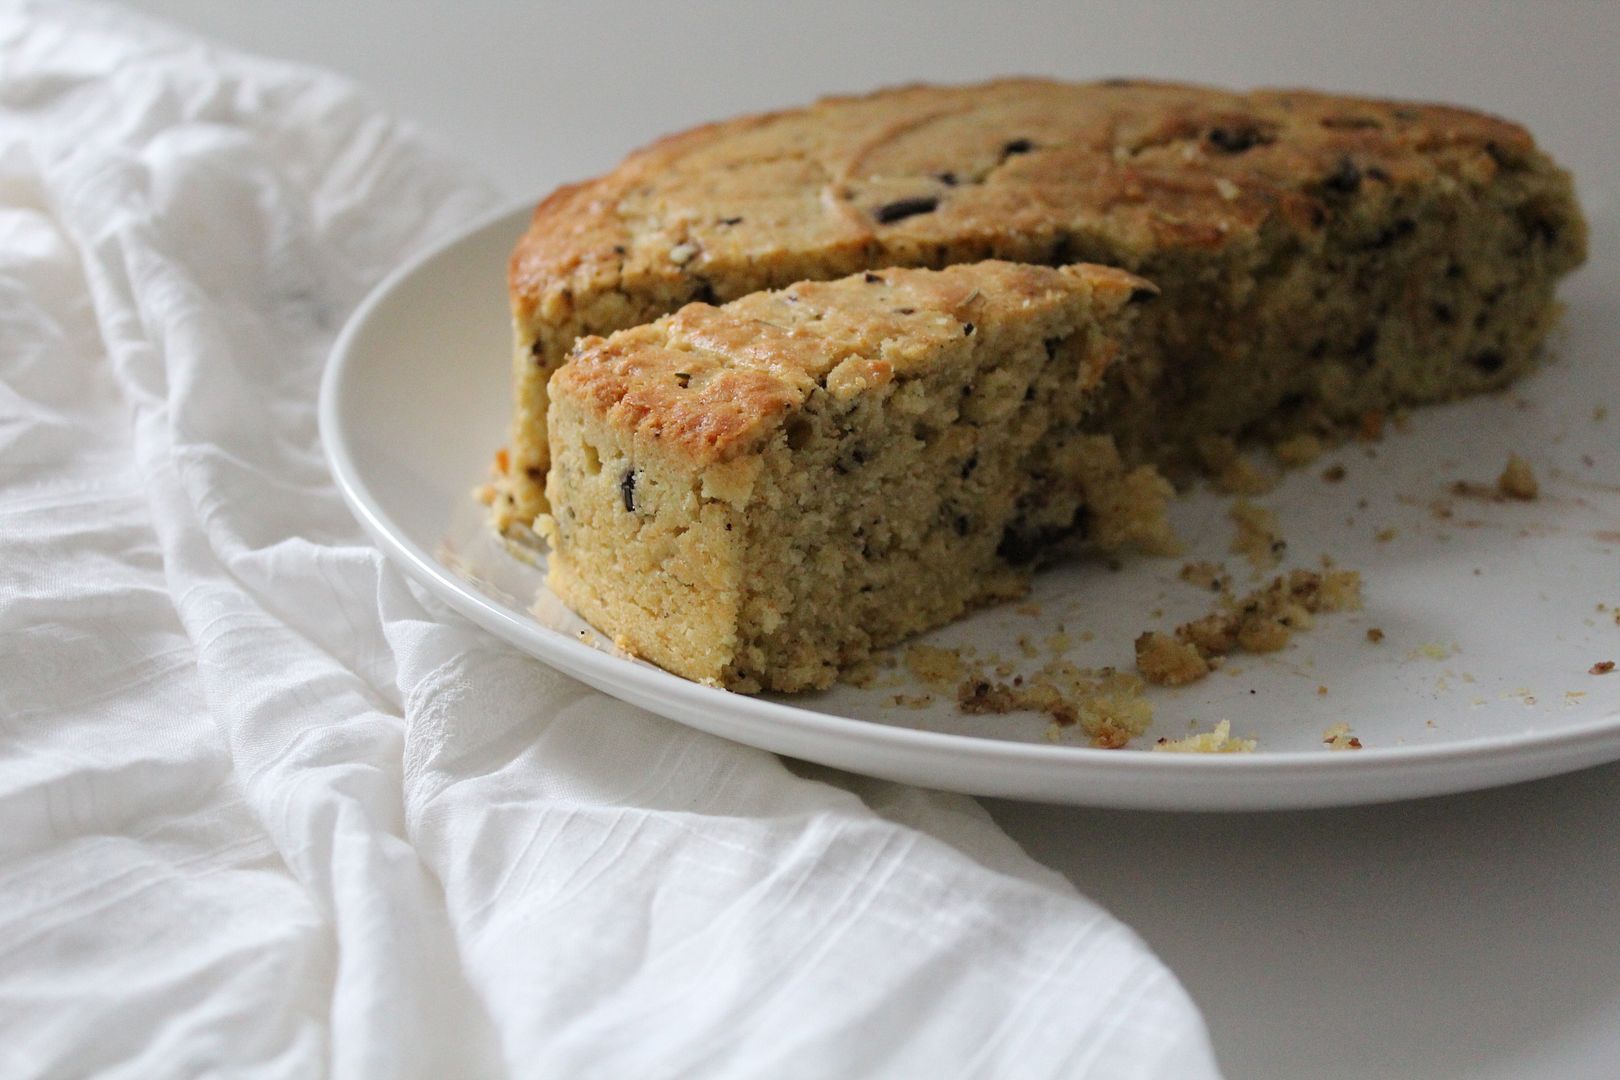
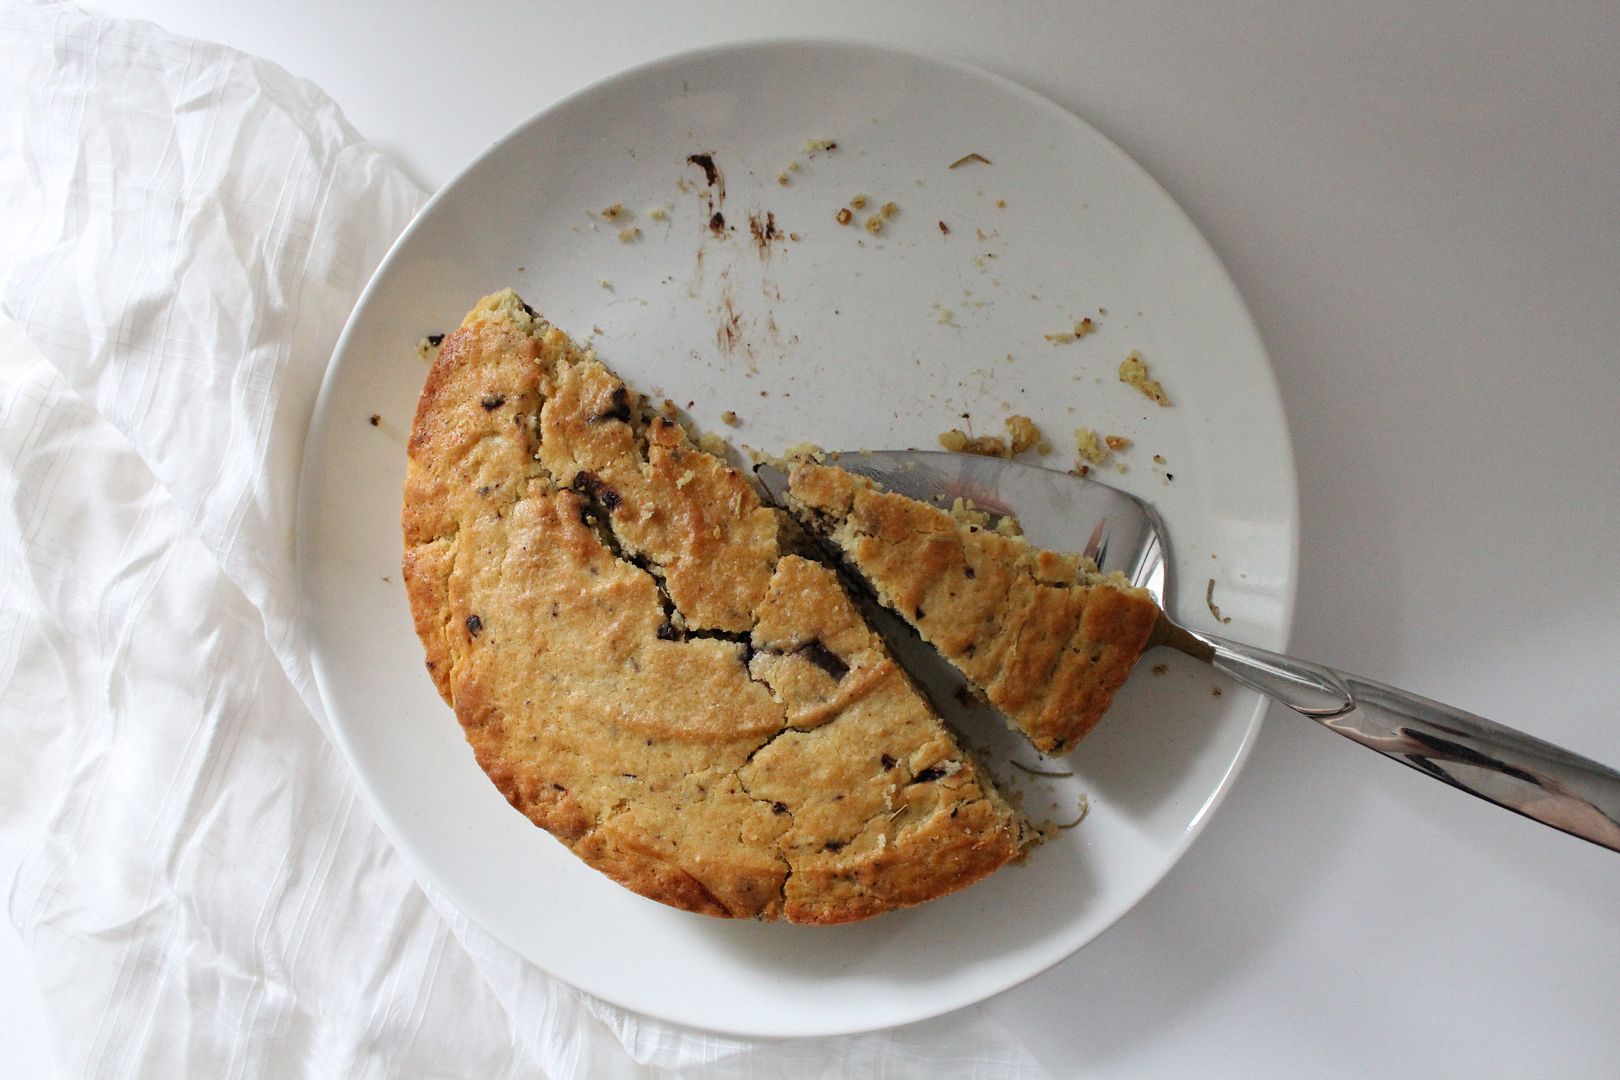
Olive Oil Rosemary & Chocolate Cake

I was in a mood where I wanted to try something different, so I tried out this rosemary, olive oil, and chocolate cake recipe.
Mr. Liv didn't really care for it, but I loved it! 
But then I am a huge fan of Rosemary... And Olive oil... And desserts that aren't extremely sweet... 
Here is the recipe if ya'll want to make it...

Olive Oil Cake with Bittersweet Chocolate and Rosemary
Ingredients:
Olive Oil for the Pan
2 1/4 cups all-purpose flour
3/4 cup Sugar
1 1/2 tsp Baking Powder
3/4 tsp Salt
3 Eggs
1 cup Olive Oil
3/4 cup Milk
1 1/2 Tbsp Fresh rosemary, finely chopped
5 ounces bittersweet chocolate (70% cacao), chopped into 1/2-inch pieces
Preheat oven to 350 degrees. Rub a 9 1/2-inch pan with olive oil.
Whisk the dry ingredients into a large bowl and set aside.
In another large bowl, whisk the eggs thoroughly. Add the olive oil, milk and rosemary and whisk again. Using a spatula, fold the wet ingredients into the dry, gently mixing just until combined. Stir in the chocolate. Pour the batter into the pan, spreading it evenly and smoothing the top.
Bake for about 40 minutes, or until the top is domed, golden brown, and a skewer inserted into the center comes out clean. The cake can be eaten warm or cool from the pan, or cooled, wrapped tightly in plastic, and kept for 2 days.
Sarah runs a gorgeous blog with food and gorgeous photography! 
Go check it out! 

Sylvie

Saturday, July 13, 2013

Easy DIY Gift For Mother, Sister, Aunt, Grandmother, Friend...

I made these easy DIY gifts for Mother's Day this year for my Mother and my Grandmother.
I just hadn't had a chance to post them yet...
It was a super fun, easy, and fast project!
All you need is a sheet of Plexiglas, a Sharpie, and a glass cutter tool thinger like in the picture. 
(Anyone know what they're called?)
First, cut the Plexiglas down to the size you'd like. 
I practiced my drawings on paper first,
 and then traced them onto the Plexiglas using the permanent marker. 
Make sure to peel the plastic protective covering off before drawing! 

That is all! Super easy! :)
You could draw or trace anything using this technique!

P.S. Isn't this a neat shelf my Grandpa made from an old door and doorknobs!?

Enjoy your weekend! :)
Sylvie