Wednesday, November 20, 2013

Shrunken Cashmere Sweater To Cowl Scarf Upcycle No Sew Tutorial

Do you have a cashmere sweater that has shrunken but you can't bear to part with it?
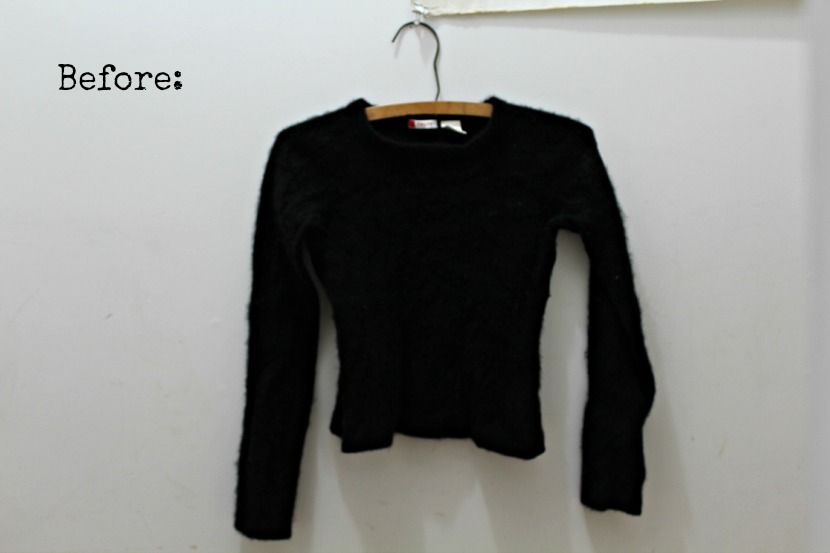
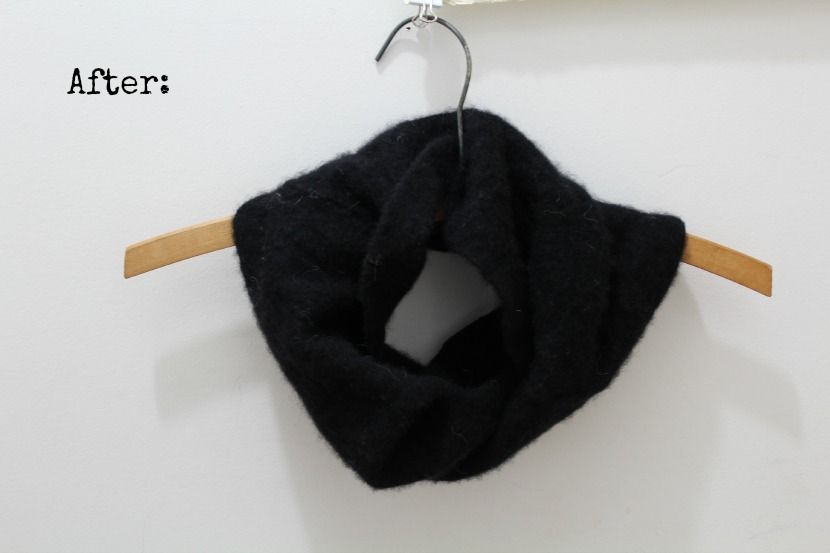
Here is the perfect solution! Turn it into a cowl neck scarf. With no sewing involved!
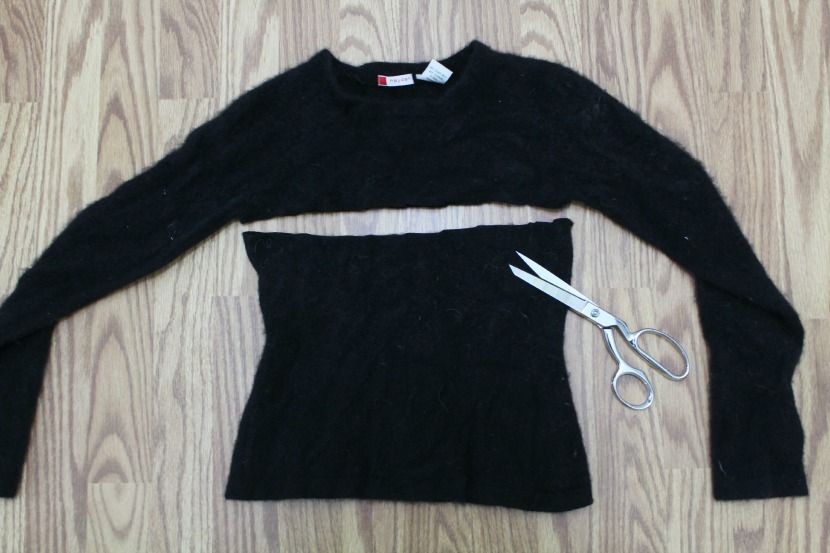
Just cut across the sweater under the armpits with fabric scissors!
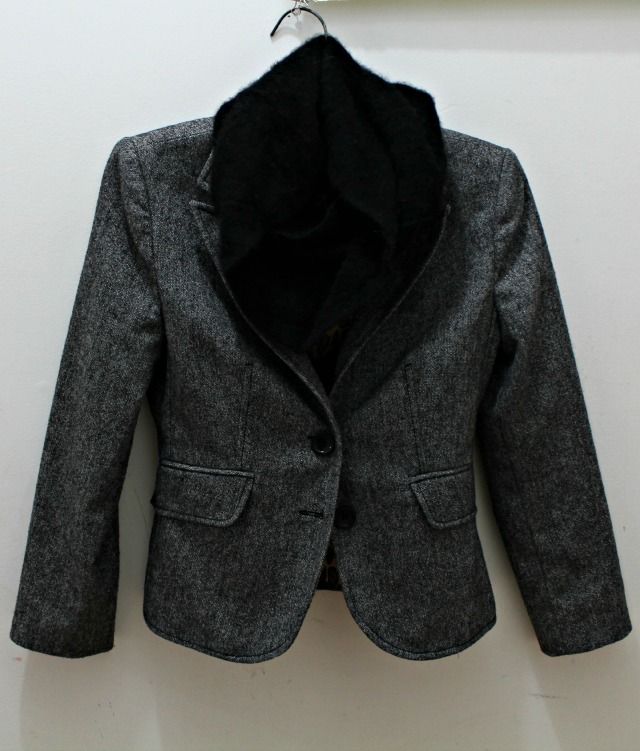
Yup! That's all! Now pull it over your head. Done.
Since the sweater has shrunken, it does not fray when cut!

This is the perfect fast, easy, and affordable DIY Christmas gift for that special someone in your life!

I have sure been enjoying it on these cold days here in Michigan. 

Sylvie :)


Monday, November 18, 2013

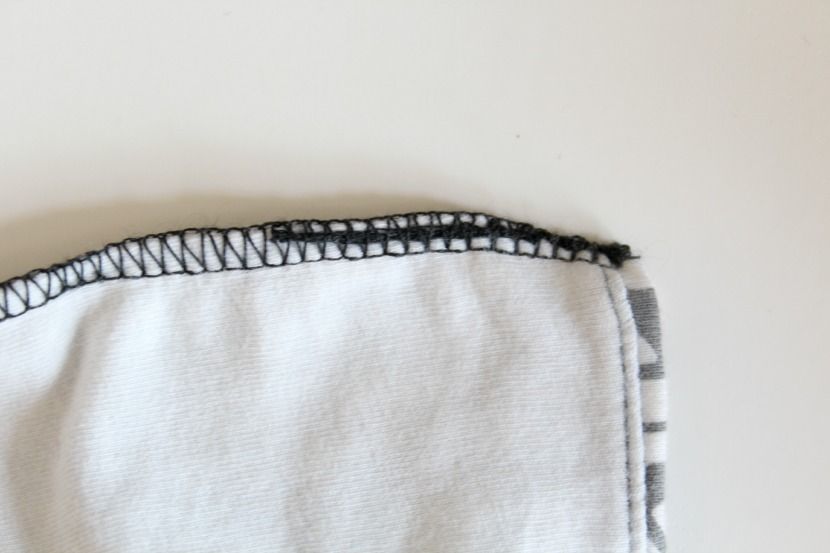
Serging Tip: How To Easily Finish The End of a Serged Seam Tutorial

Here is a quick little tip for you on how to finish the end of 
your serged seam to keep the threads from fraying.
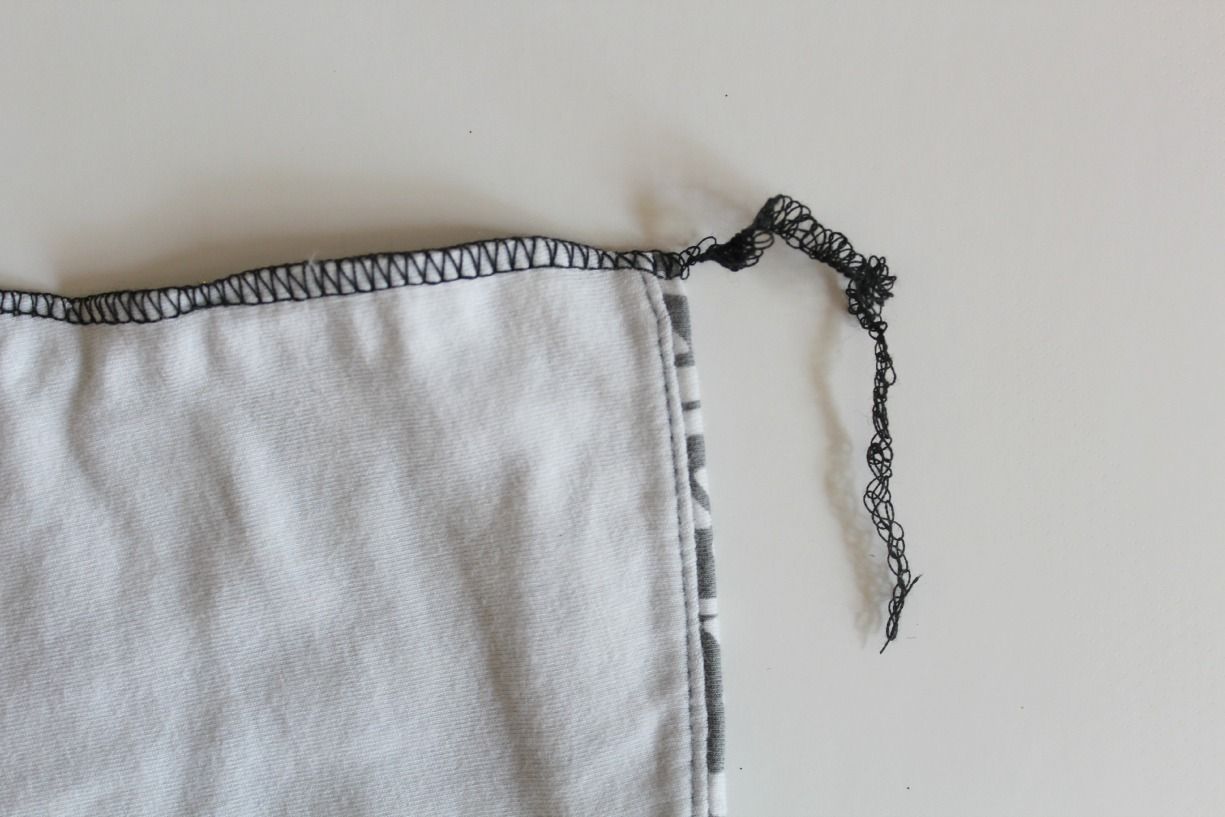
When you get to the end of your seam, continue to pull the fabric, and serge an extra thread "tail". 
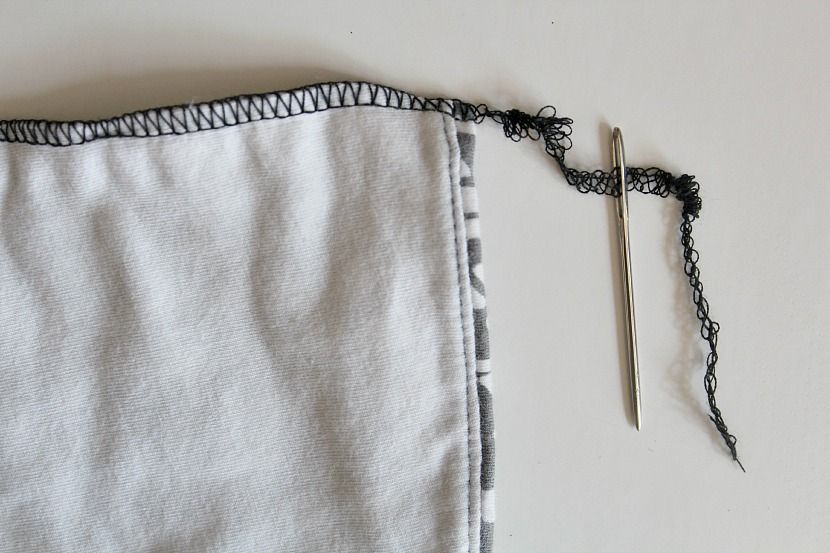
Thread that "tail" through an extra large needle.
Push the needle back through the last couple inches of your seam- just under the stitches, and then back out.
Trim excess thread and you're done!!
Now you don't have to worry about the ends of your serged seams fraying on you! :)
Happy Sewing!
Sylv

Friday, November 15, 2013

Turn A Basket & A Pulley Into A Light DIY

I get SO excited when I can redo something in this here house, 
and make something I love happen without spending a penny!!! 
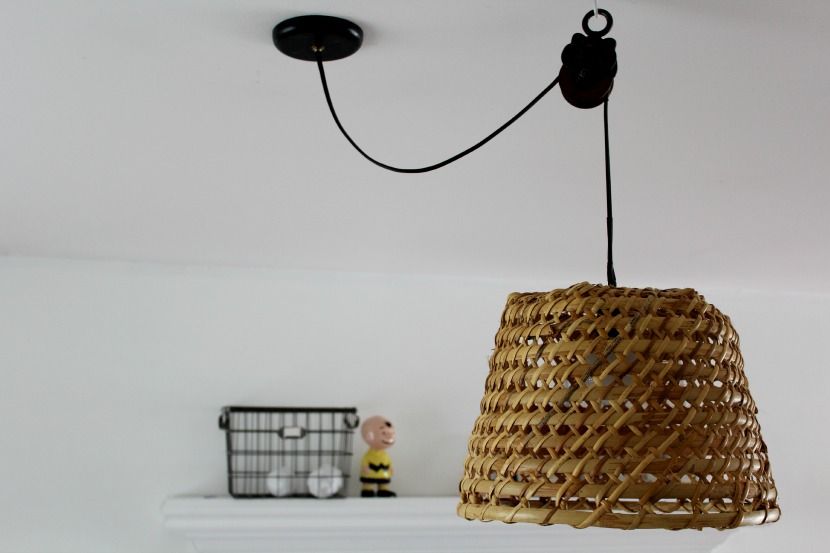
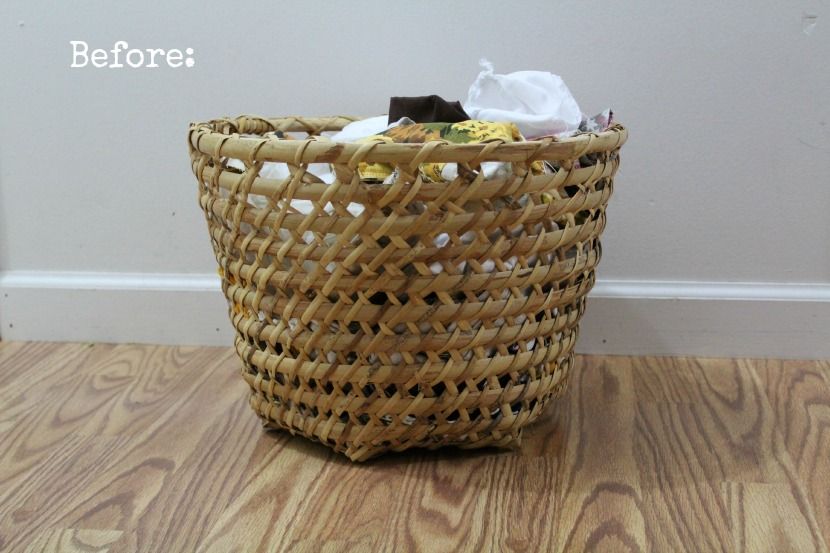
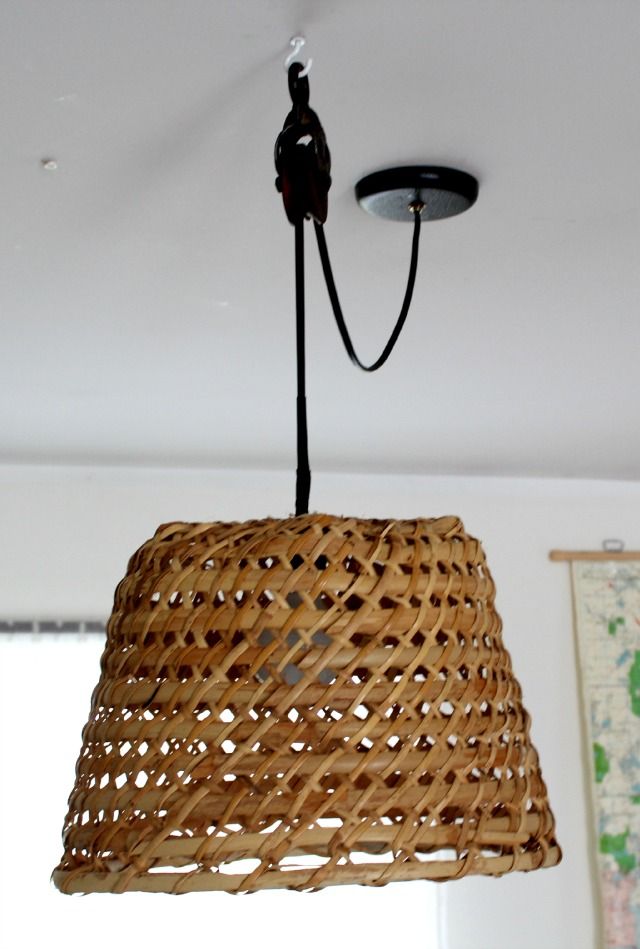
So. I turned my scrap basket into my dining rm light (pulley was kicking around in Mr. Liv's Shop). Squeeeel!!!
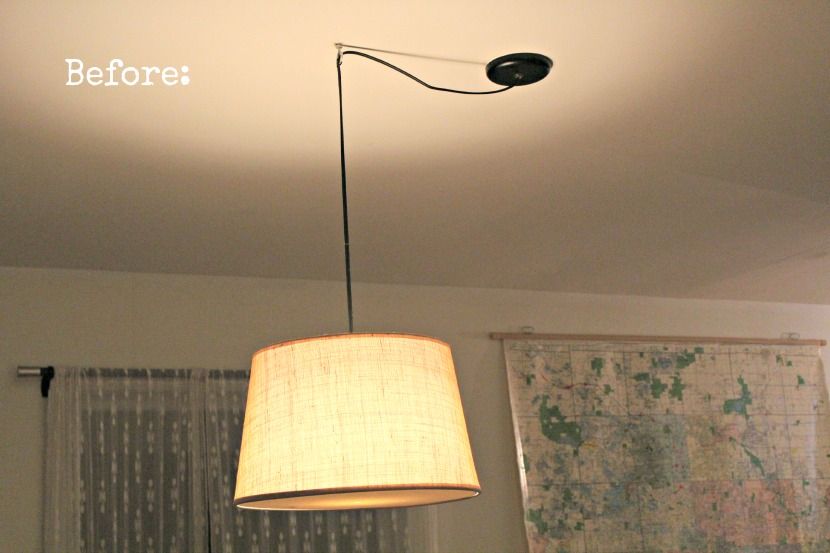
We had just a plain shade hanging there. It was fine. But kinda boring.
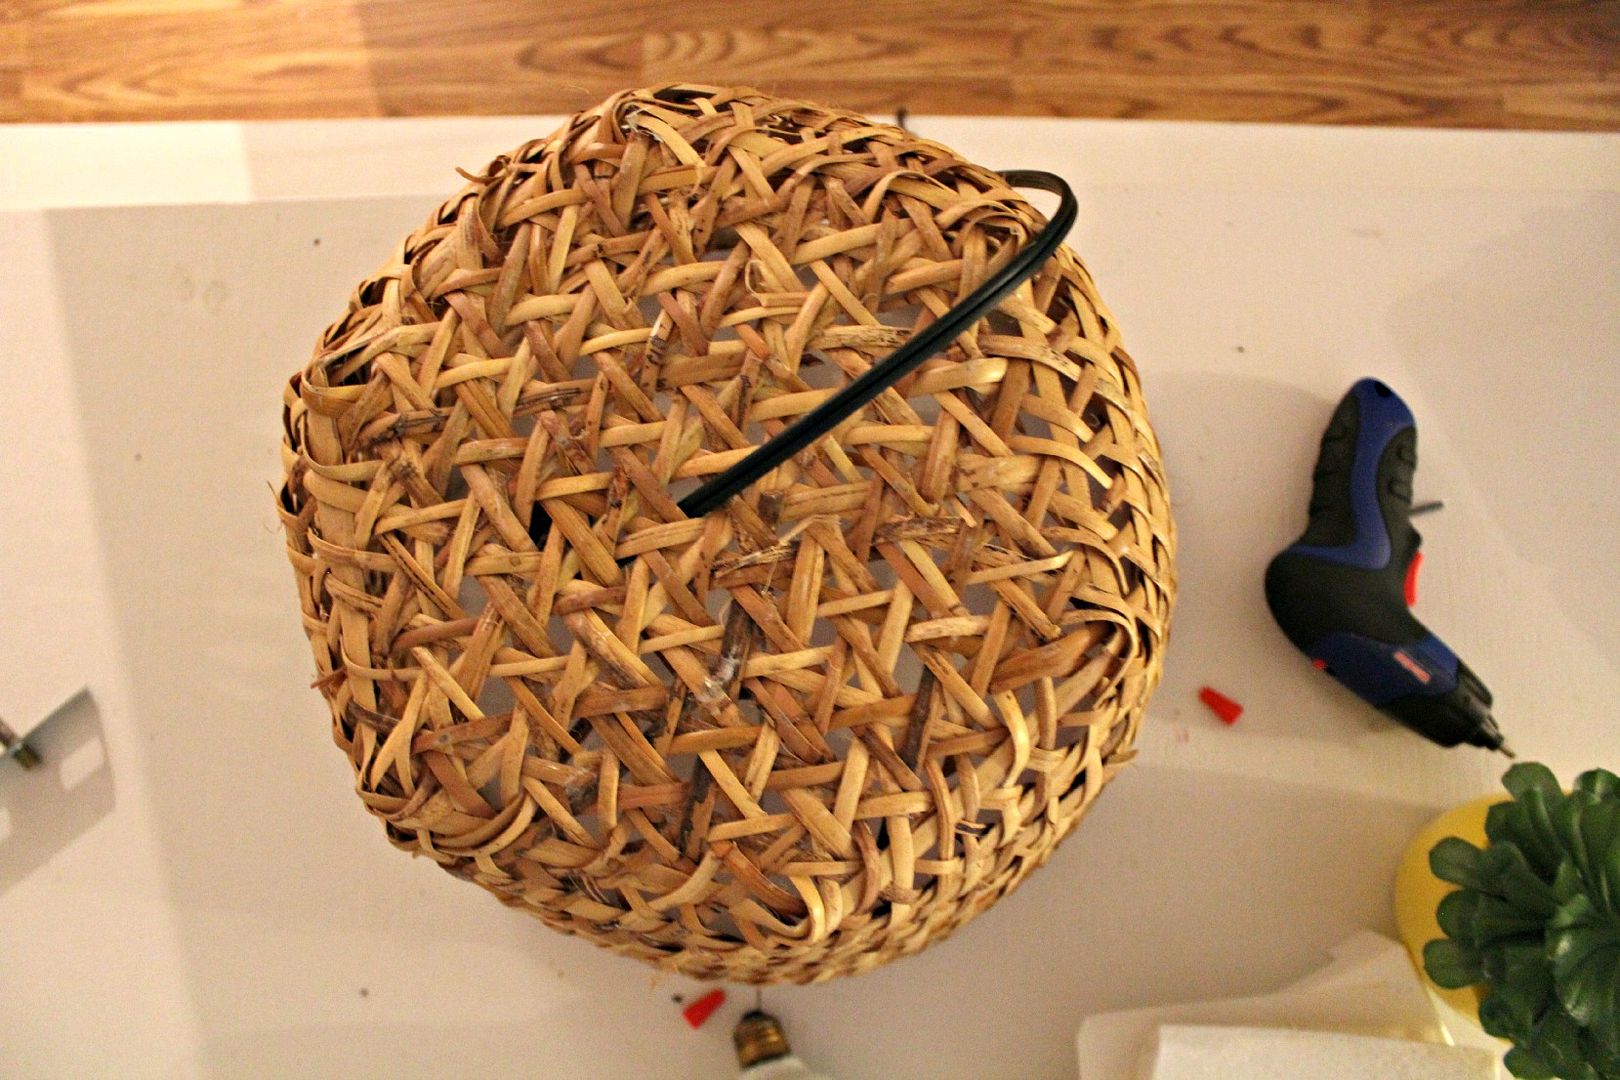
So my sweetest hubby took it down, threaded the wire through a pulley and the bottom center of the basket, and hung it back up!
I am in love!! (With him and my new light!)

Well folks. I was going to do a tutorial on how to take down your ceiling light, redo it, and re hang it... butah... I am not really much of an electrician actually. And Mr. Liv did it so fast, I was standing there on the table with my camera stuttering and fiddling with my camera settings and the next thing I knew- TADA!!!! Mission complete! Husband back out in his shop. So. I'm sorry friends. No tutorial. Ask your Hubby or your Dad for help. Or maybe Google it?! 

Thanks for reading!
Really. You guys rock.
Sylvie

Wednesday, November 13, 2013

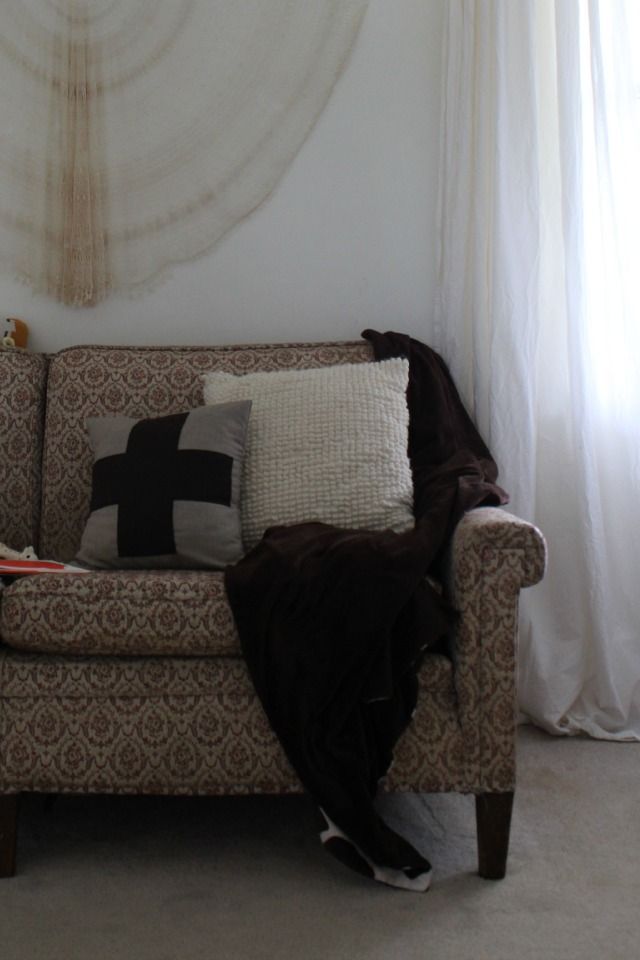
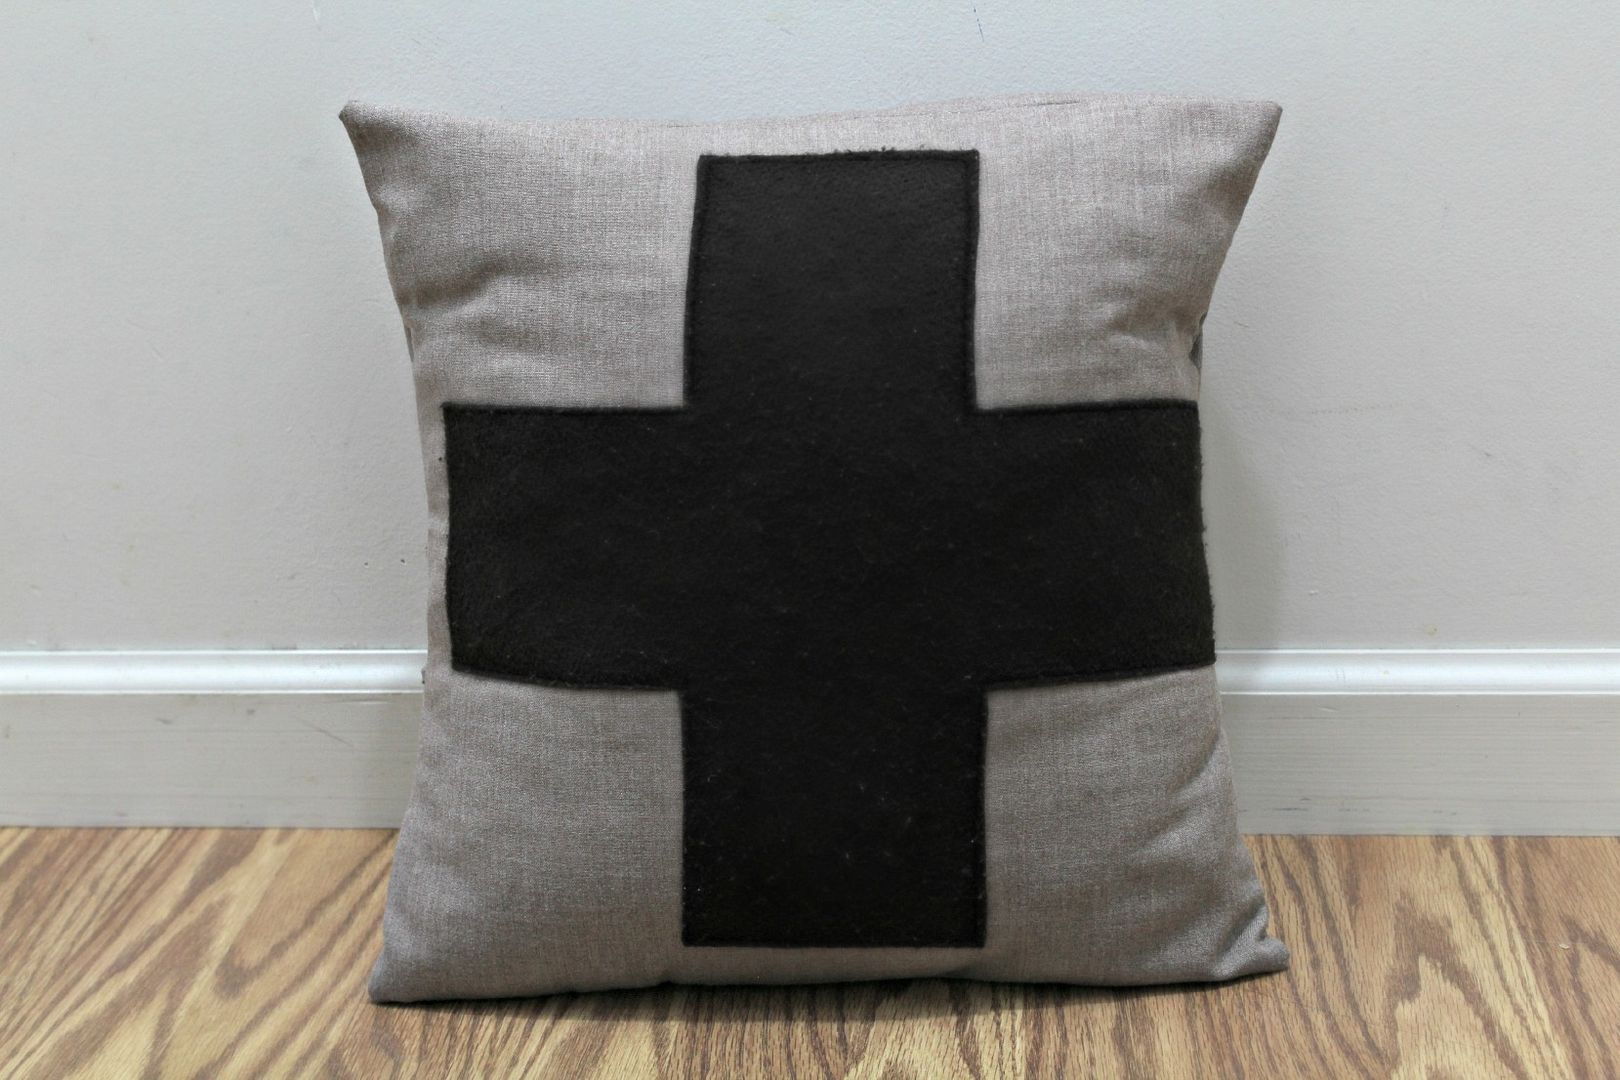
Plus Sign/ Swiss Cross Pillow Cover


Here is a easy and fast project for ya'll to tackle! 
It took less than an hour to make, and I love it! 

To make it I used an old pillow, some flat cotton from an old skirt and a piece of felt.
I used this simple tutorial to make the cover. 

Am I the only one who just can't buy pillows full price!?
It is SO easy to make pillow covers for your old ones!

Happy Sewing!
Sylvie 

Friday, November 1, 2013

Easiest Pumpkin Seed Recipe, Pumpkin Carving, & Up In the Night

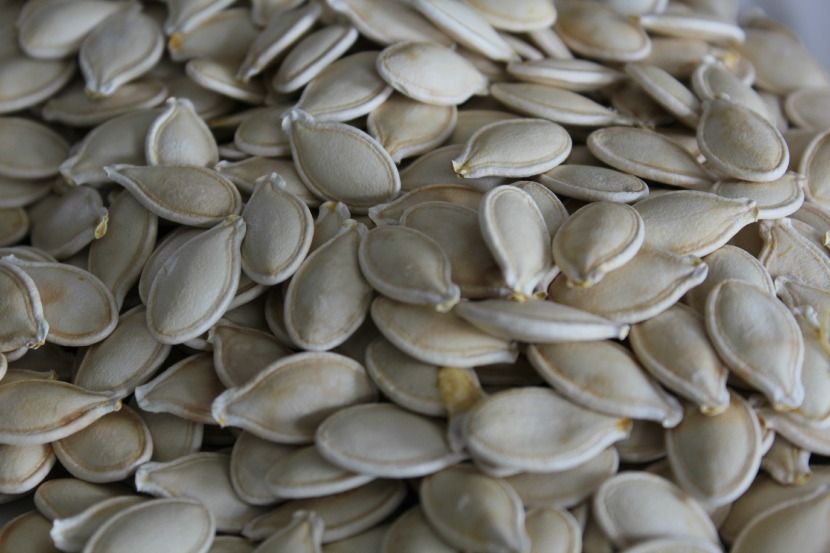
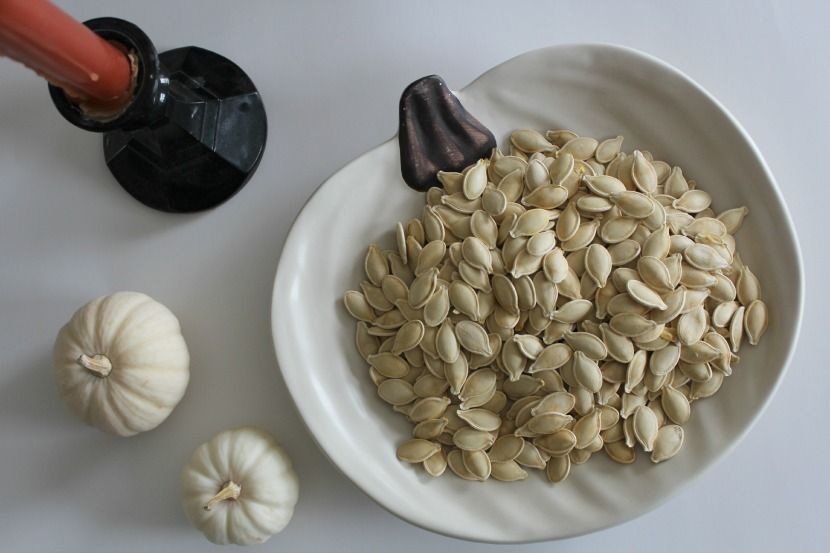
Want to know the easiest way to cook pumpkin seeds?
I love that these pumpkin seeds are not as woody as others I've had.

I learned this easy pumpkin seed "recipe" from my sweet neighbor, 
and I'll never make them any other way again!
Just rinse the seeds, pop them into microwave steamer dish w/ a lid,
mix in a lil salt to taste, and pop it in the microwave for 6-8 min 
or until they're dry! Stir them once or twice while cooking.
That' s it! :) I like to add other seasonings too with the salt. 
Some ideas are- Paprika, Cumin, Black Pepper, Red Pepper...
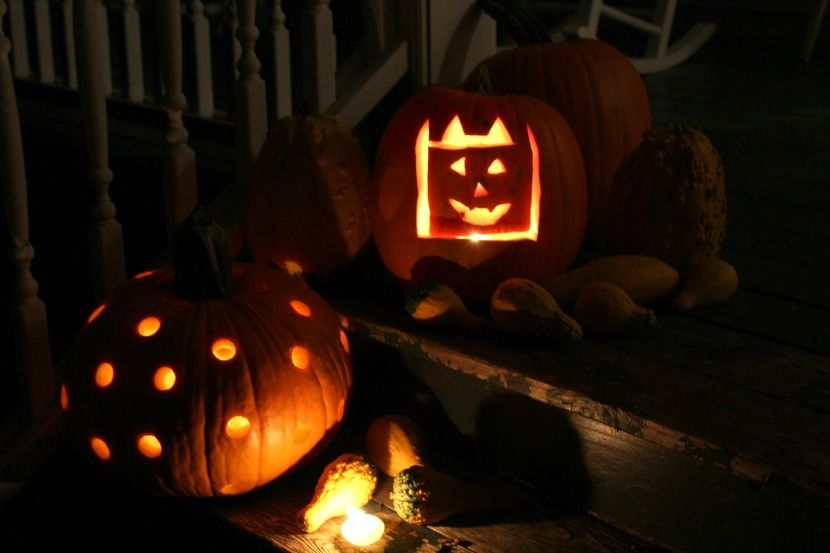
This year we had a Batman pumpkin, and a polka dot pumpkin!
Mr.Liv sharpened the end of a 1" metal pipe for me,
and I used a rubber mallet to pound it through the pumpkin. 
I do say I have the most handy husband!!
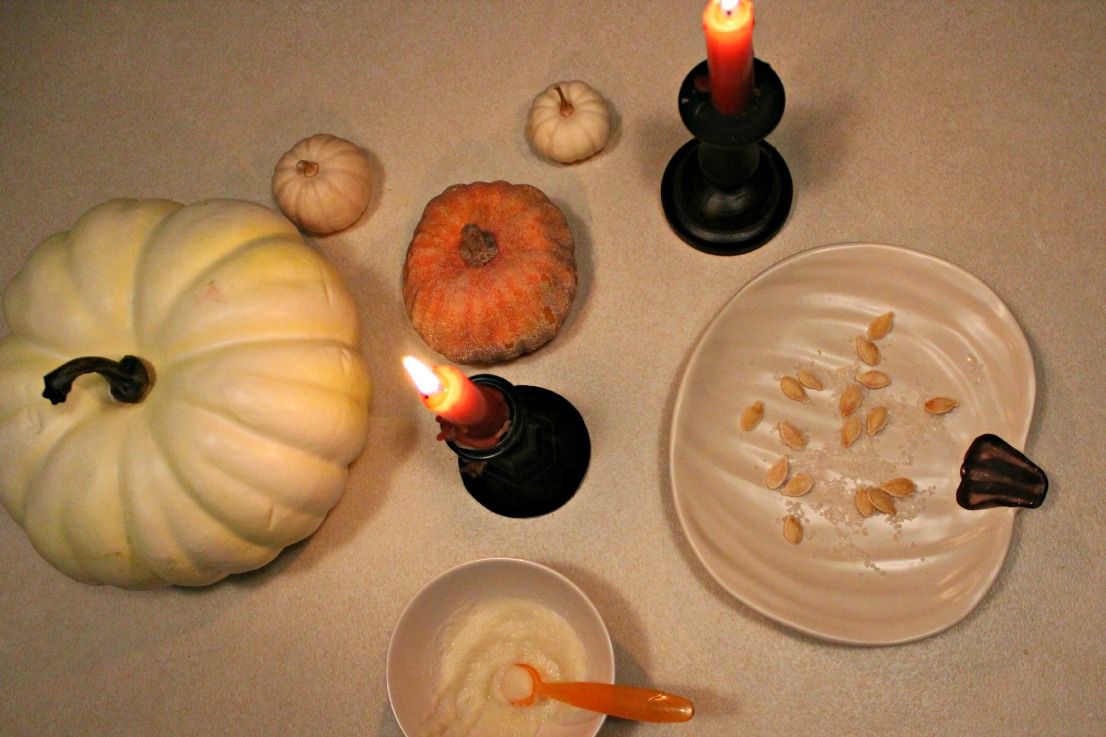
And well, here I am, up in the night with baby Liv, a bowl of rice cereal, and pumpkin seeds. 
Baby Liv decided it would be a better idea to hang out in the kitchen together than sleep, 
so here we are!

I hope you all had a fun and safe Halloween! :)
Thanks for stopping by!

Sylvie

Wednesday, October 23, 2013

Easy- Best Moist Baked Chicken Recipe Ever Ever Ever Ever

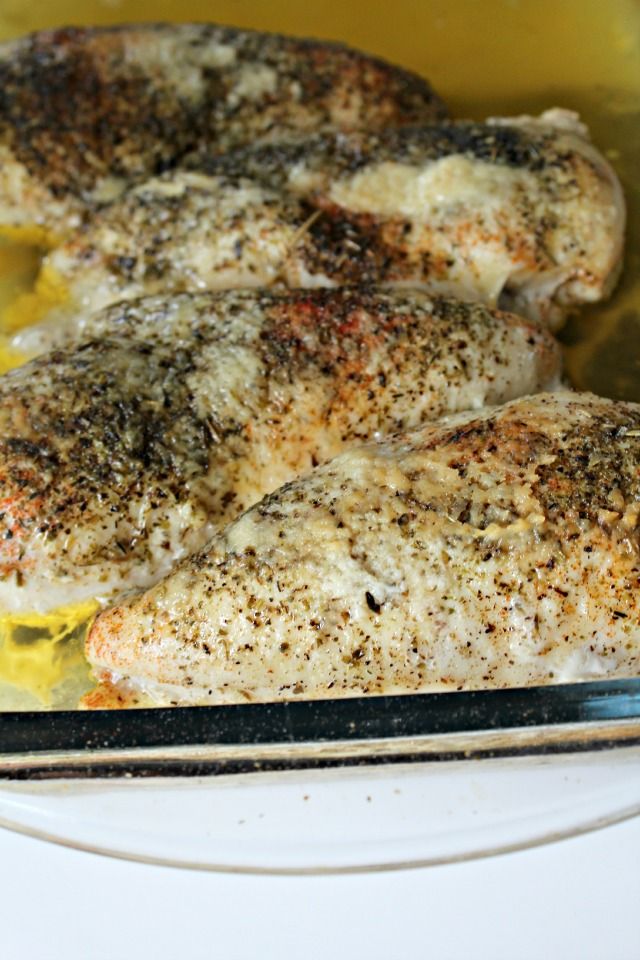
I am absolutely positively serious guys! This is the best chicken recipe known to man. 
It always works. It is super easy. Really. You hardly have to handle the raw chicken! 
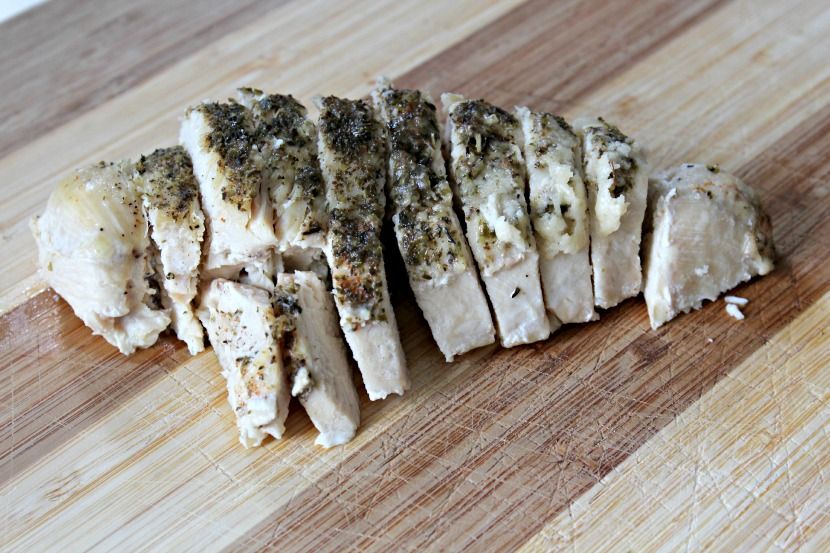
It is soft and moist and flavorful and it is good as leftovers.
Did I convince you yet? You've got to try it! Hang on.
I'm going to the kitchen now to eat some leftovers...

Ok! Ready or not! Here it is.

Ingredients:
6 Lg Chicken Breasts
Olive Oil
1/8 cup Italian Seasoning
1/3 cup Grated Parmesan Cheese
1/8 tsp Cayenne Pepper
1/2 tsp Garlic Powder
Salt and Pepper to Taste

Directions:
Preheat oven 350 degrees.
Drizzle a layer of olive oil in bottom of 9x13 pan.
Place 6 chicken breasts into pan (they should be tightly packed in).
Drizzle chicken with more olive oil.
Mix remaining ingredients in a bowl, and then sprinkle over top of chicken.
Cover with tinfoil. Bake 60-70 minutes or until chicken is just cooked through. 
Remove tinfoil for last 5-10 minutes.
Serve in pasta, salads, soups, sandwiches, or on its own!

Let me know if you try it!! :)
Enjoy.
Sylv

Friday, October 18, 2013

Upcycled Baby Gift Tutorial For Boy or Girl

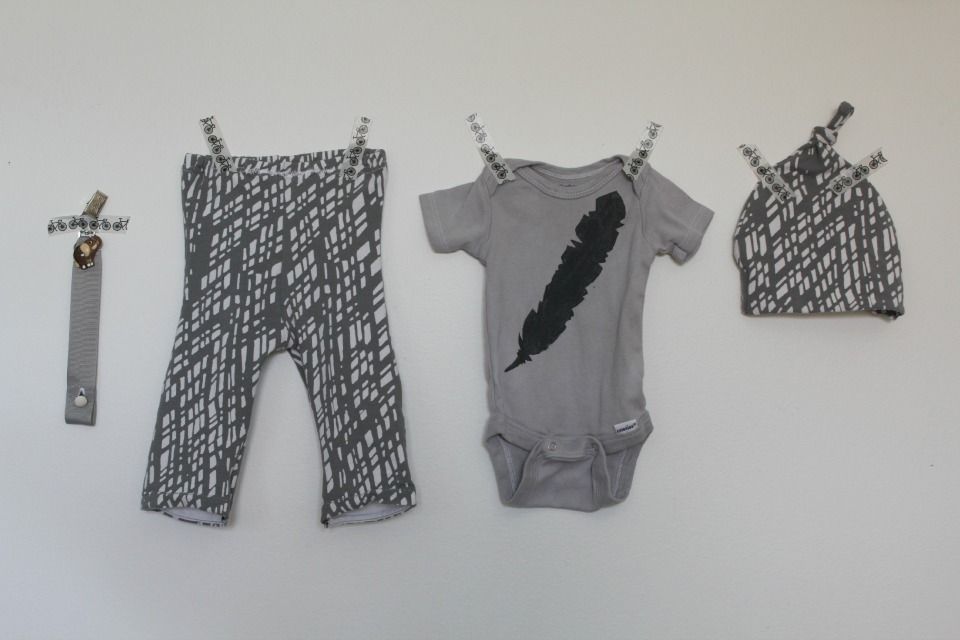
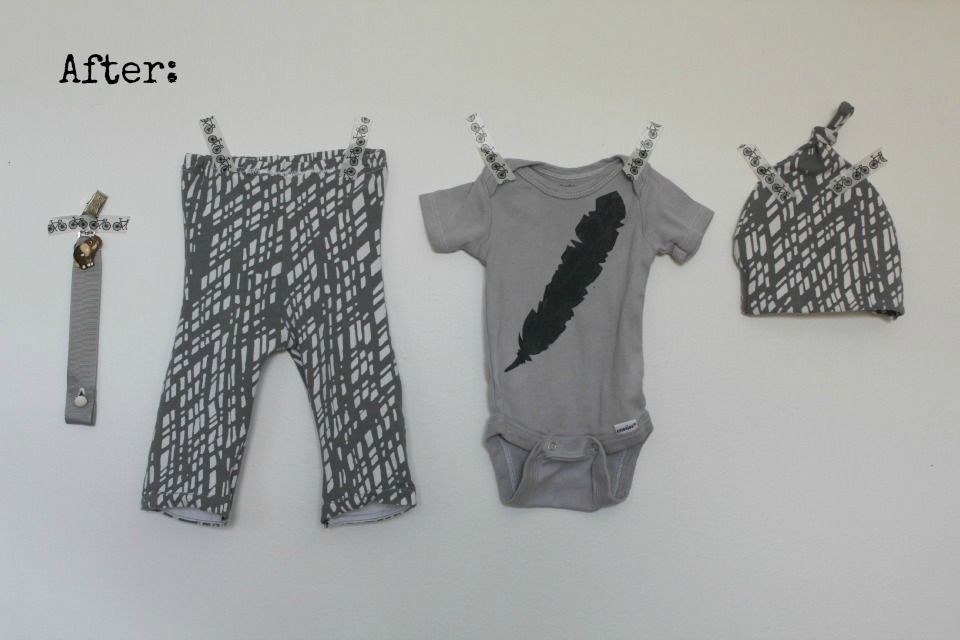
Yep. I made another shirt and pants baby outfit!
This one is definitely a favorite of mine! :)
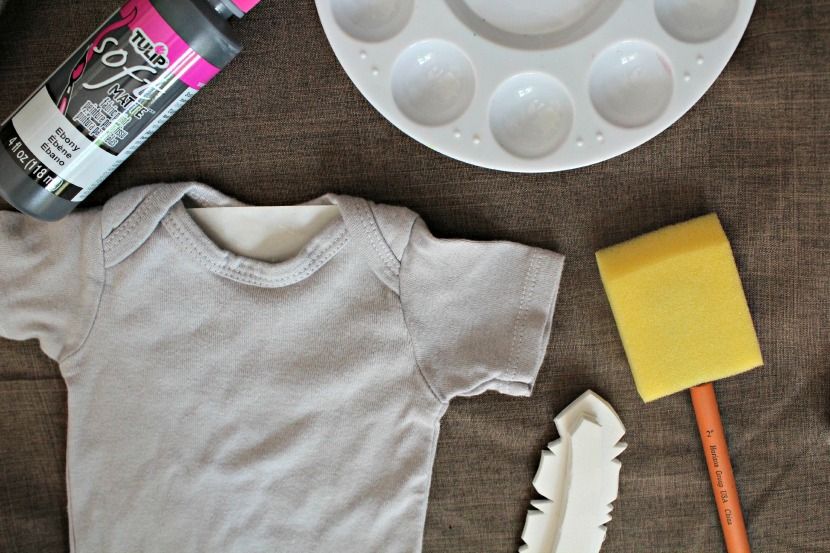
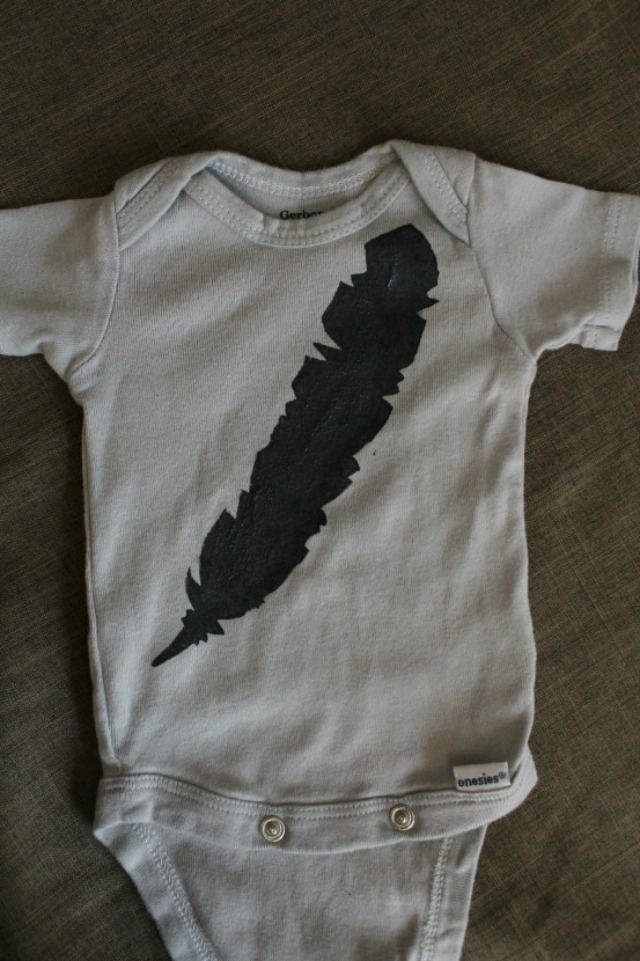
First, I dyed a onesie using a little black Rit Dye.
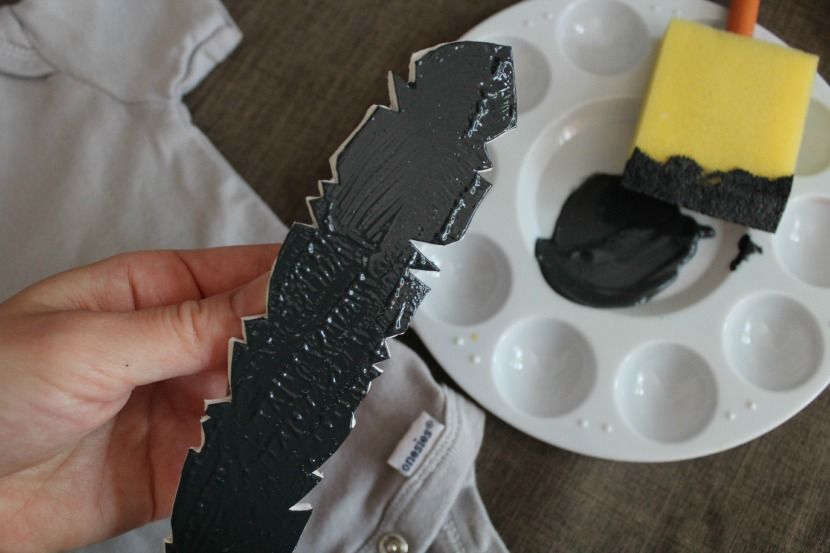
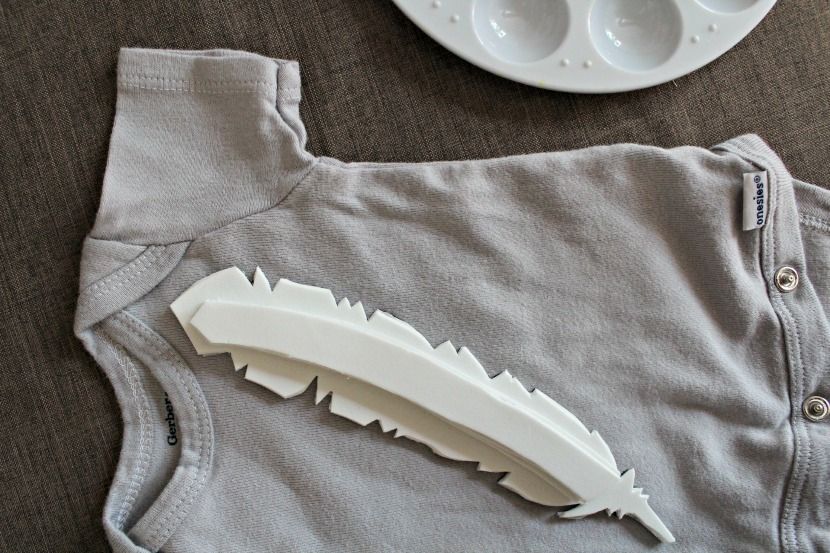
Then I used this homemade stamp tutorial to add a feather on the front. 
I'm sure loving feathers lately!
(Don't forget to put something thick between the shirt layers! 
I used a few layers of wax paper this time.)
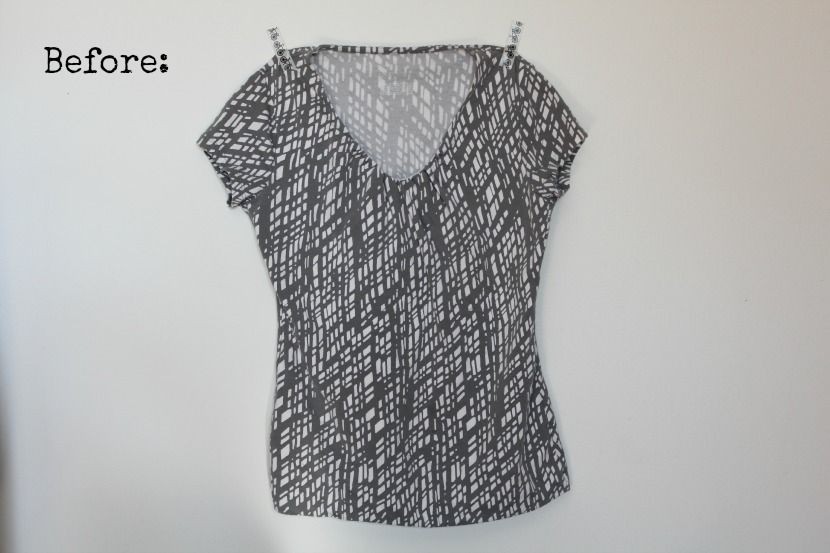
For the pants, I used a tee shirt that was getting bored sitting in my closet...
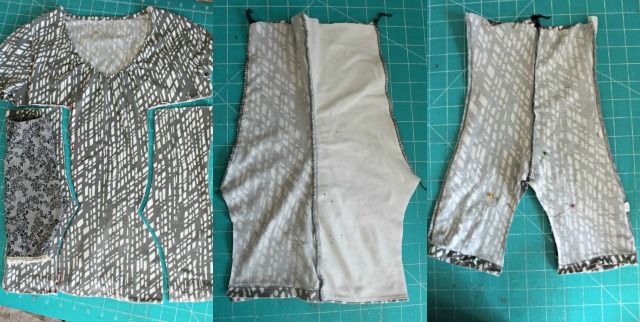
 I made the pants using this tutorial. I used the shirt hem for the bottom hem- big time saver!
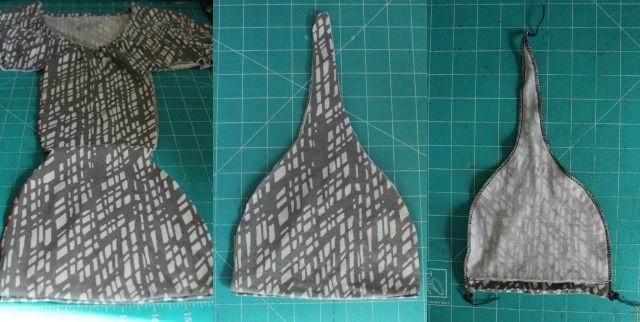
There was enough fabric left in the middle of the shirt to make a matching hat. Yay!
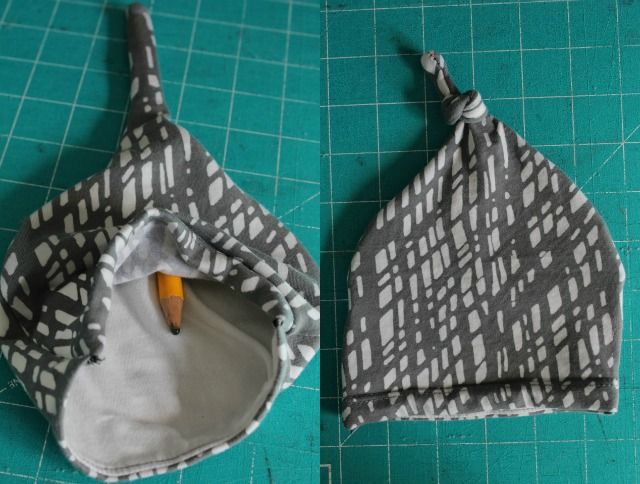
I just traced a baby had I had, adding an extra "peak" at the top...
then I used a pencil eraser to turn it outside out... and then tied it in a knot.
I also made a matching pacifier clip, but didn't do a tutorial on that.
I did do a different pacifier clip tutorial last year- you can find that here.
Other similar upcycled baby outfits I have made can 
be found here, here, here, and here.

Happy sewing!
Thanks for stopping by. :)

Sylvie


Monday, October 14, 2013

Easy and Cheap Science Experiment: Keep Kids Occupied For Hours!

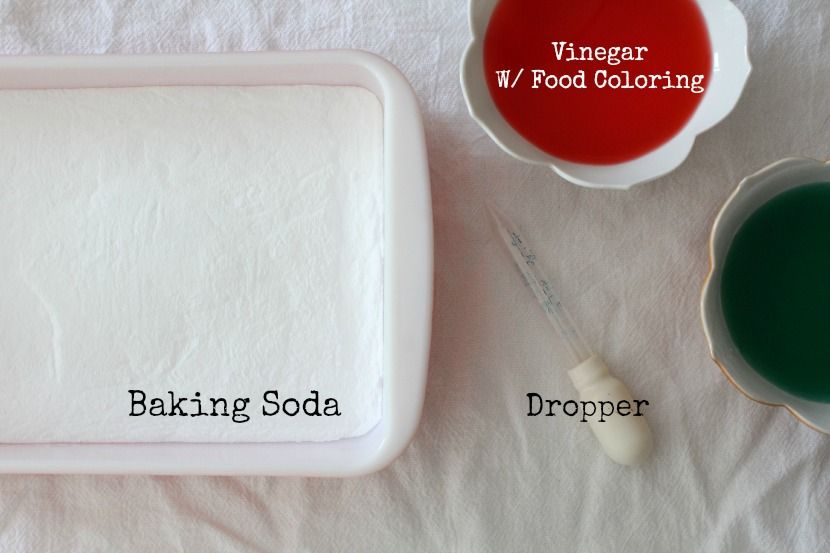
This simple science experiment literally kept 
my littles occupied for a couple hours!! 
I just gave them the supplies and told them they 
could do what they wanted with it.
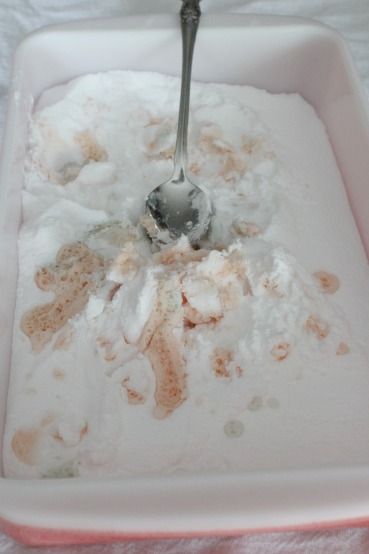
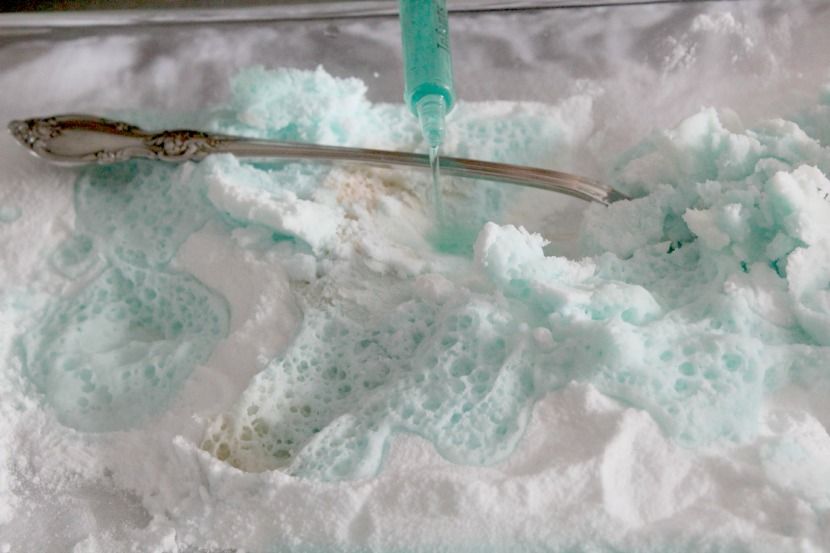
My oldest noticed the bubbling reaction, and asked me about it.
An opportunity to explain reactions! 

By the end of the experiment, they had added a bowl of water, 
and had a soup that they were mixing with their hands. 
I didn't mind at all- of any mess they could make, 
this was one of the cleanest! :) 

They thought it was so fun. 
We will definitely be doing this one again soon! 

Enjoy your week everyone!
Sylvie


Saturday, October 12, 2013

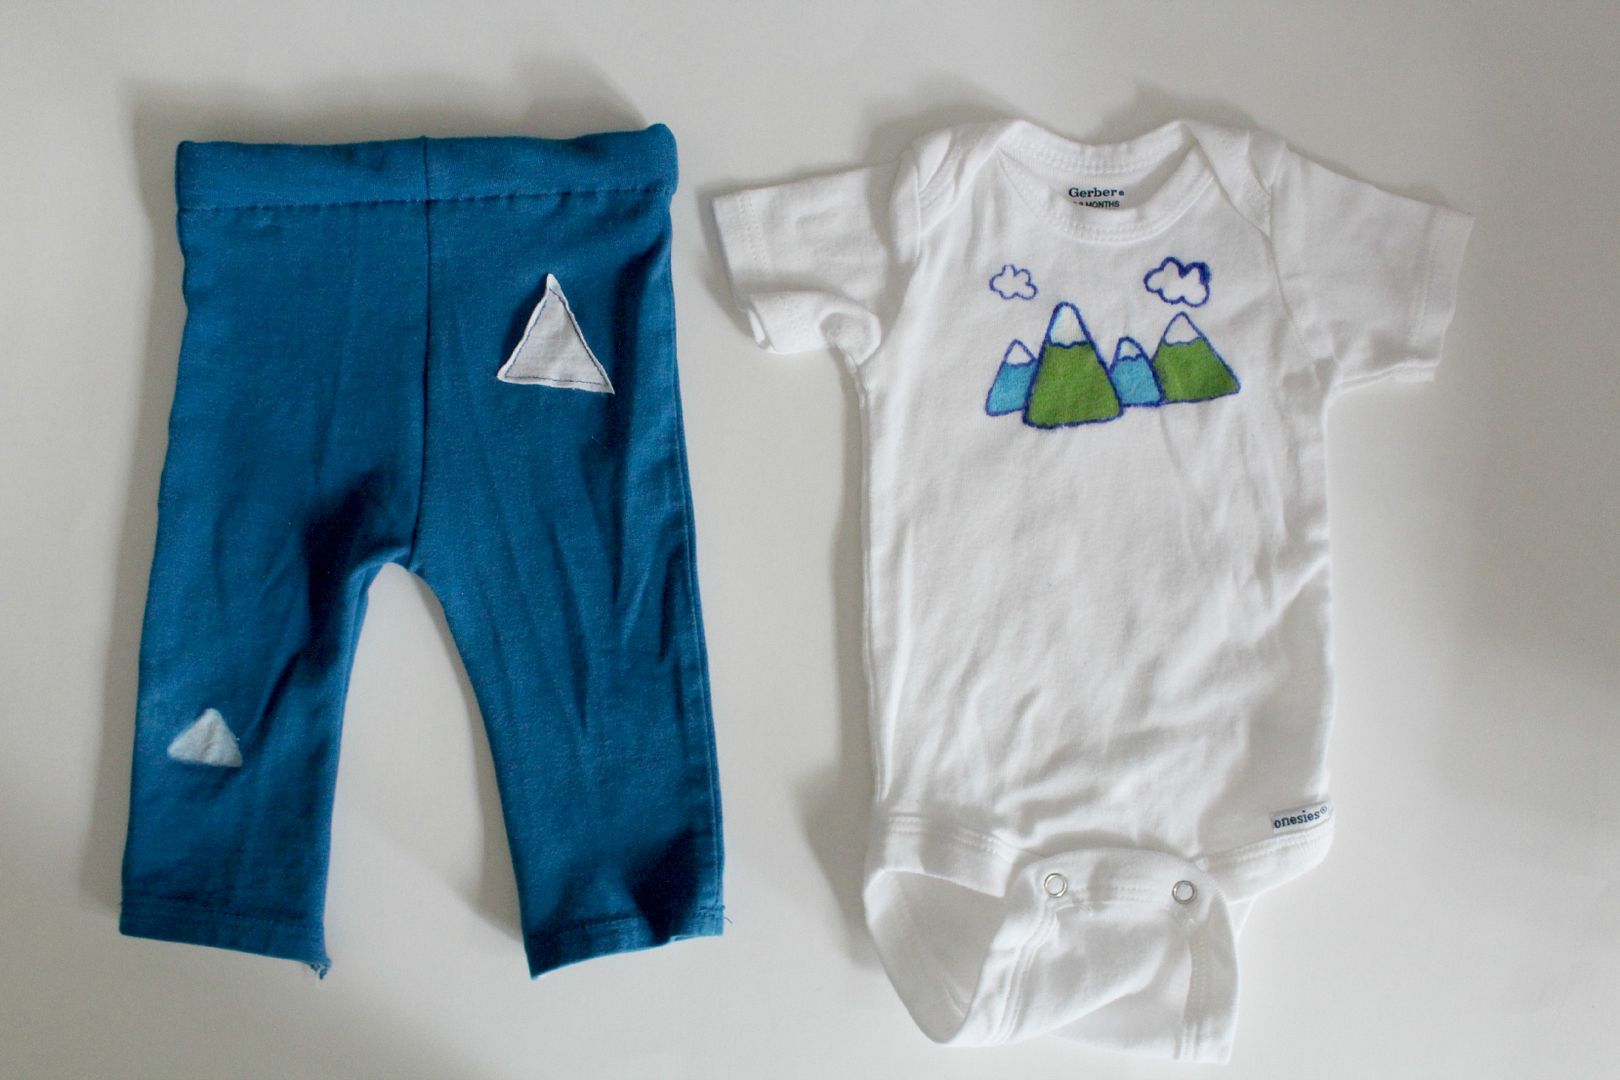
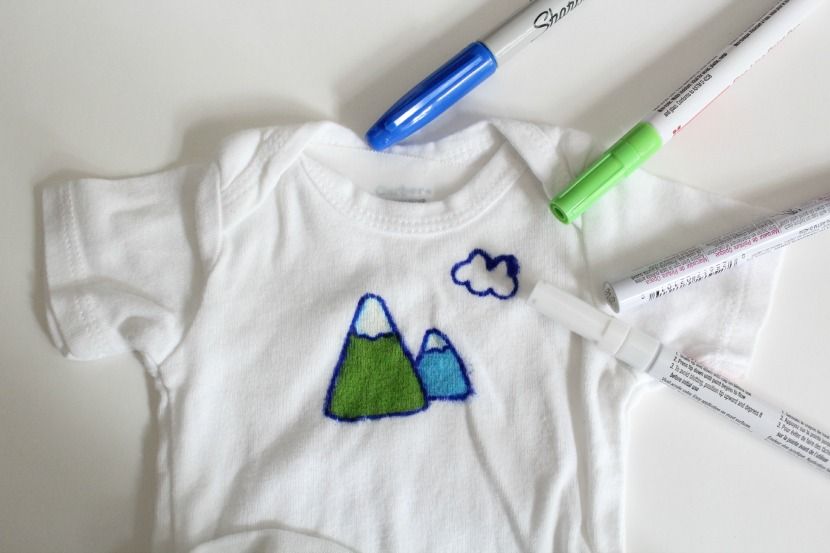
Baby Boy Upcycled Gift DIY Tutorial: Fabric Paint Mountains

Here's a super easy, quick, and affordable baby gift DIY! 
It seems like onesie and pants outfits are my go-to baby gift!
You can see others that I've made here, here, and here. 

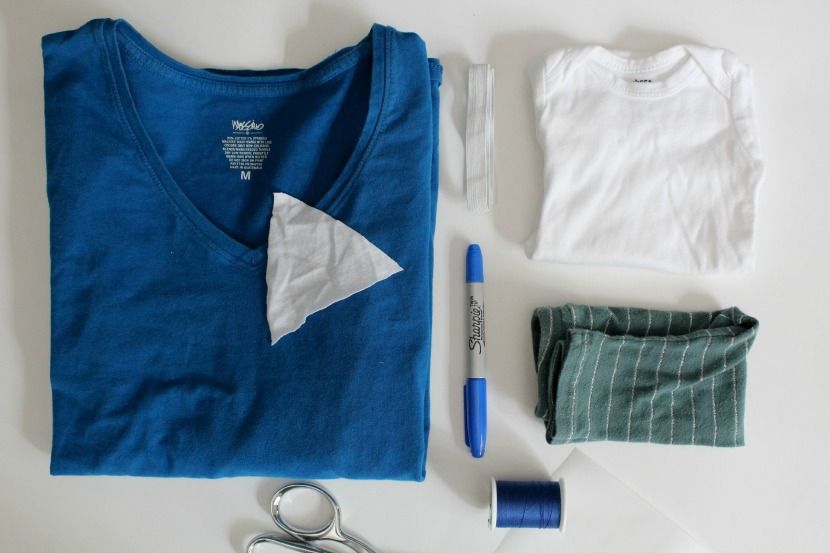
For this project, I used...
An old T Shirt of mine. A scrap of white knit. 
A Onesie. A Sharpie. A few Fabric Markers. 
A Small length of Elastic. A piece of Wax Paper. 
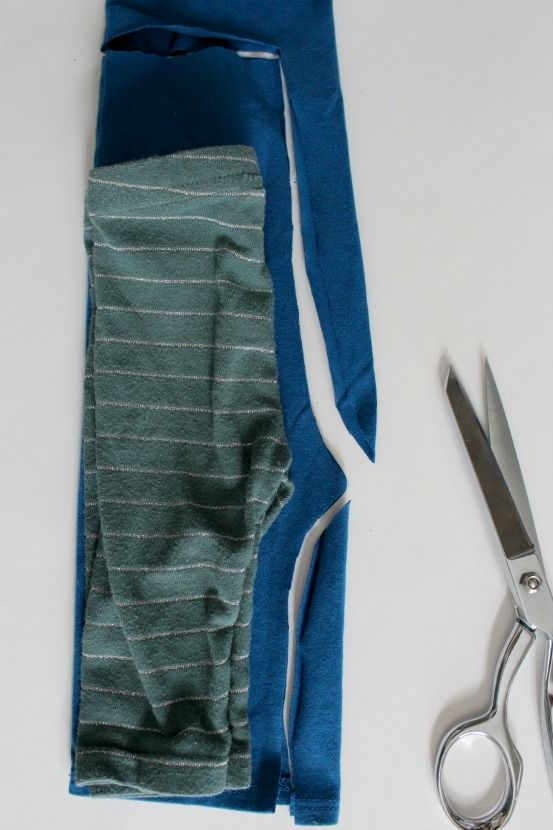
And a Pair of little Pants (for a pattern).
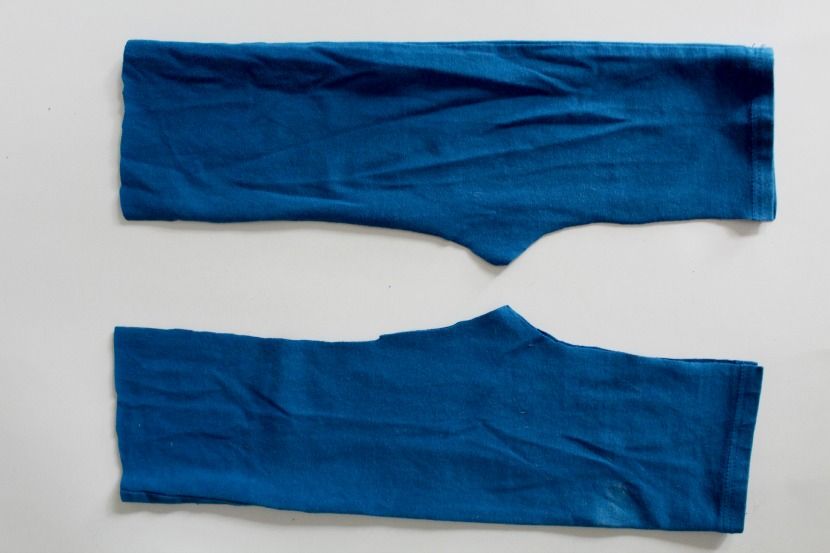
I made the pants using my old T shirt. I followed the same steps as I did here
only I used the sleeve hem as the bottom hem, instead of a ruffle.
Before sewing the pants together, I sewed on a triangle scrap of knit,
and drew a lil white triangle on the leg.
For the shirt, I used a Sharpie and some fabric markers to draw on some mountains and clouds. 
Be sure to put a piece of cardboard or wax paper inside of the shirt
 so that the ink doesn't bleed through to the back of the shirt.
And that's all folks! Super easy.
I also made a pacifier clip (forgot to photo). 
I folded it up and put it in a lil box like these.

Have a good weekend my friends! :)
Sylv

Thursday, October 3, 2013

Enjoying Every Bit of Fall

Yes, I am still around!
I am just over here having a lil break from this here blog;
and thoroughly enjoying my favorite season!
Fall is gorgeous here in Michigan.
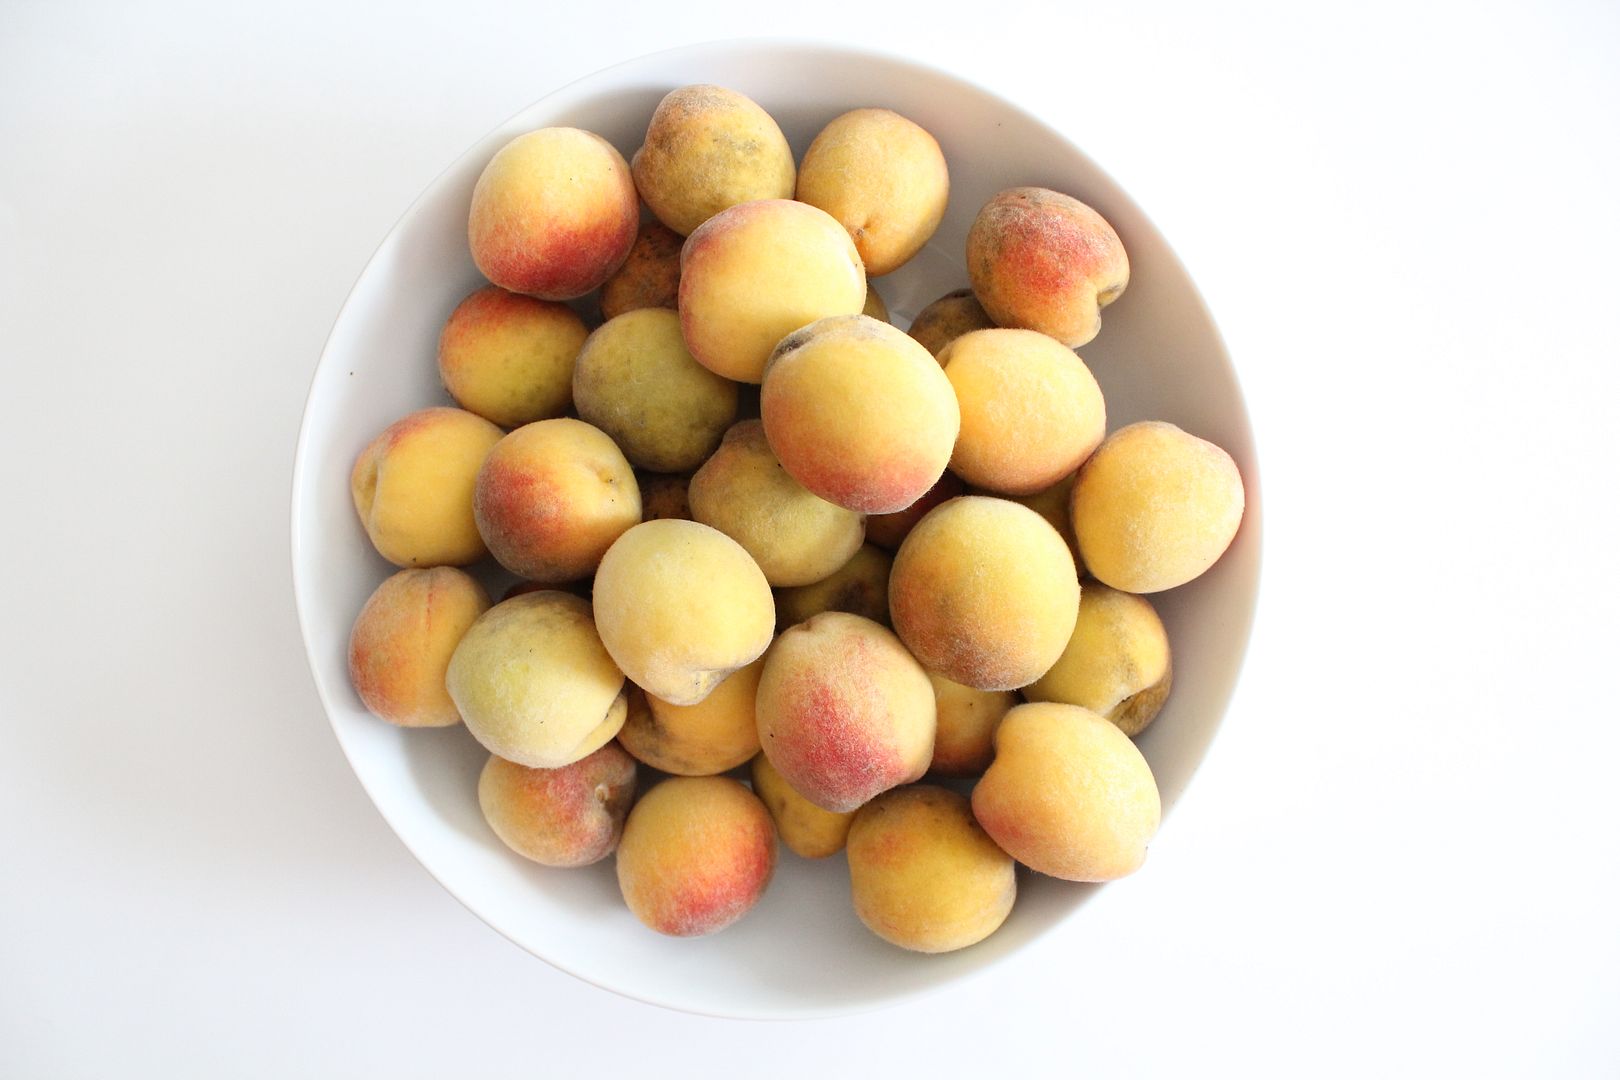
And all of the fall produce from the yard makes me happy!

I hope you are enjoying your fall weather as well!
(Or spring, for my lovely readers in the Southern Hemisphere!)

I will be back here more often now my friends.
I promise.
I am beginning to miss writing. :)

-Sylvie


Tuesday, September 10, 2013

Last Days of Summer and the Best Baby Blanket Ever

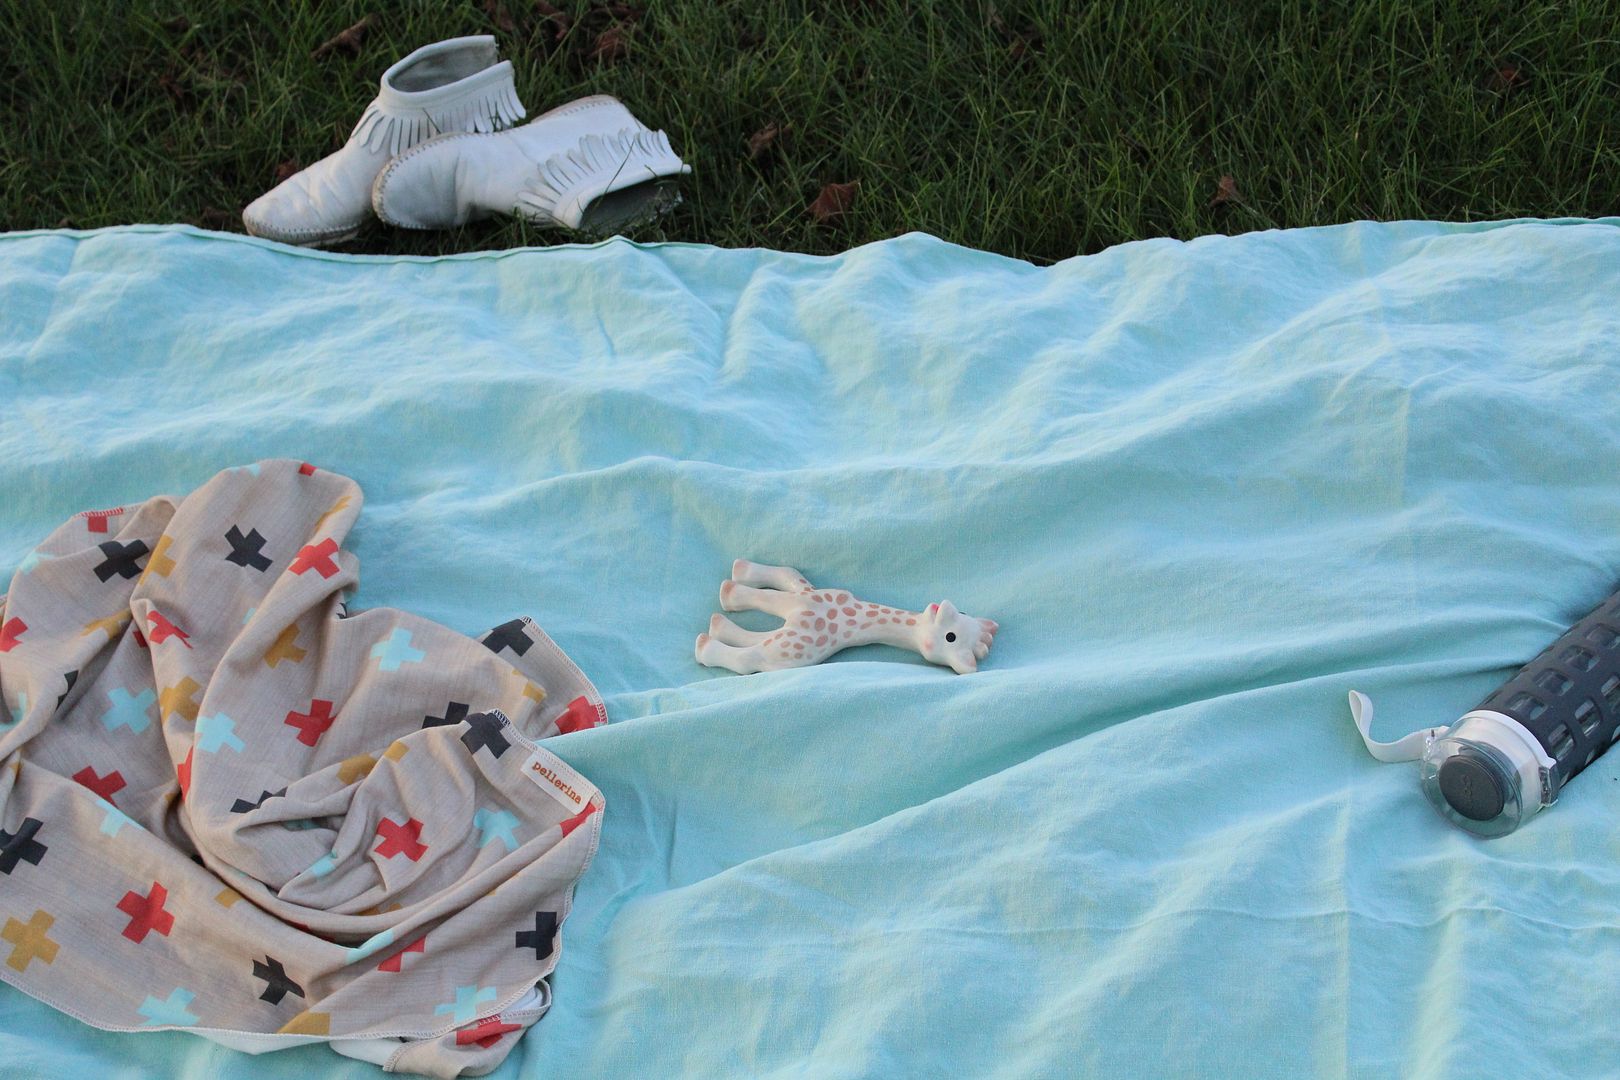
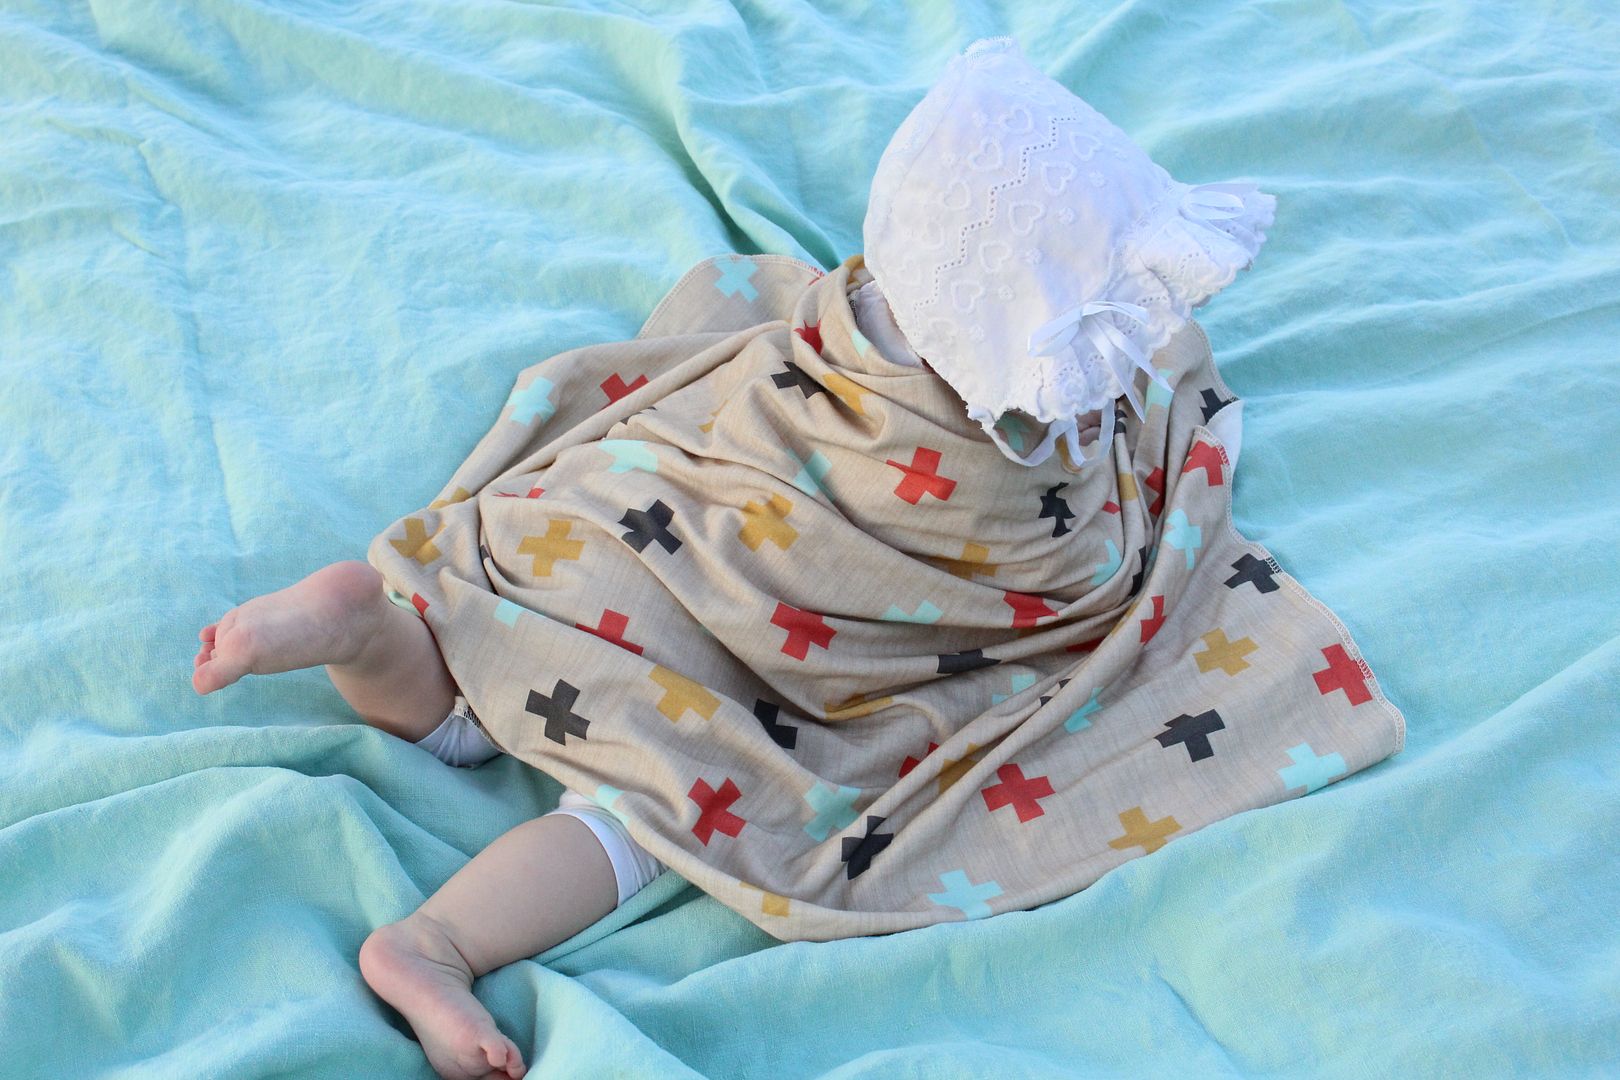
We've been outside holding onto these last days of summer.
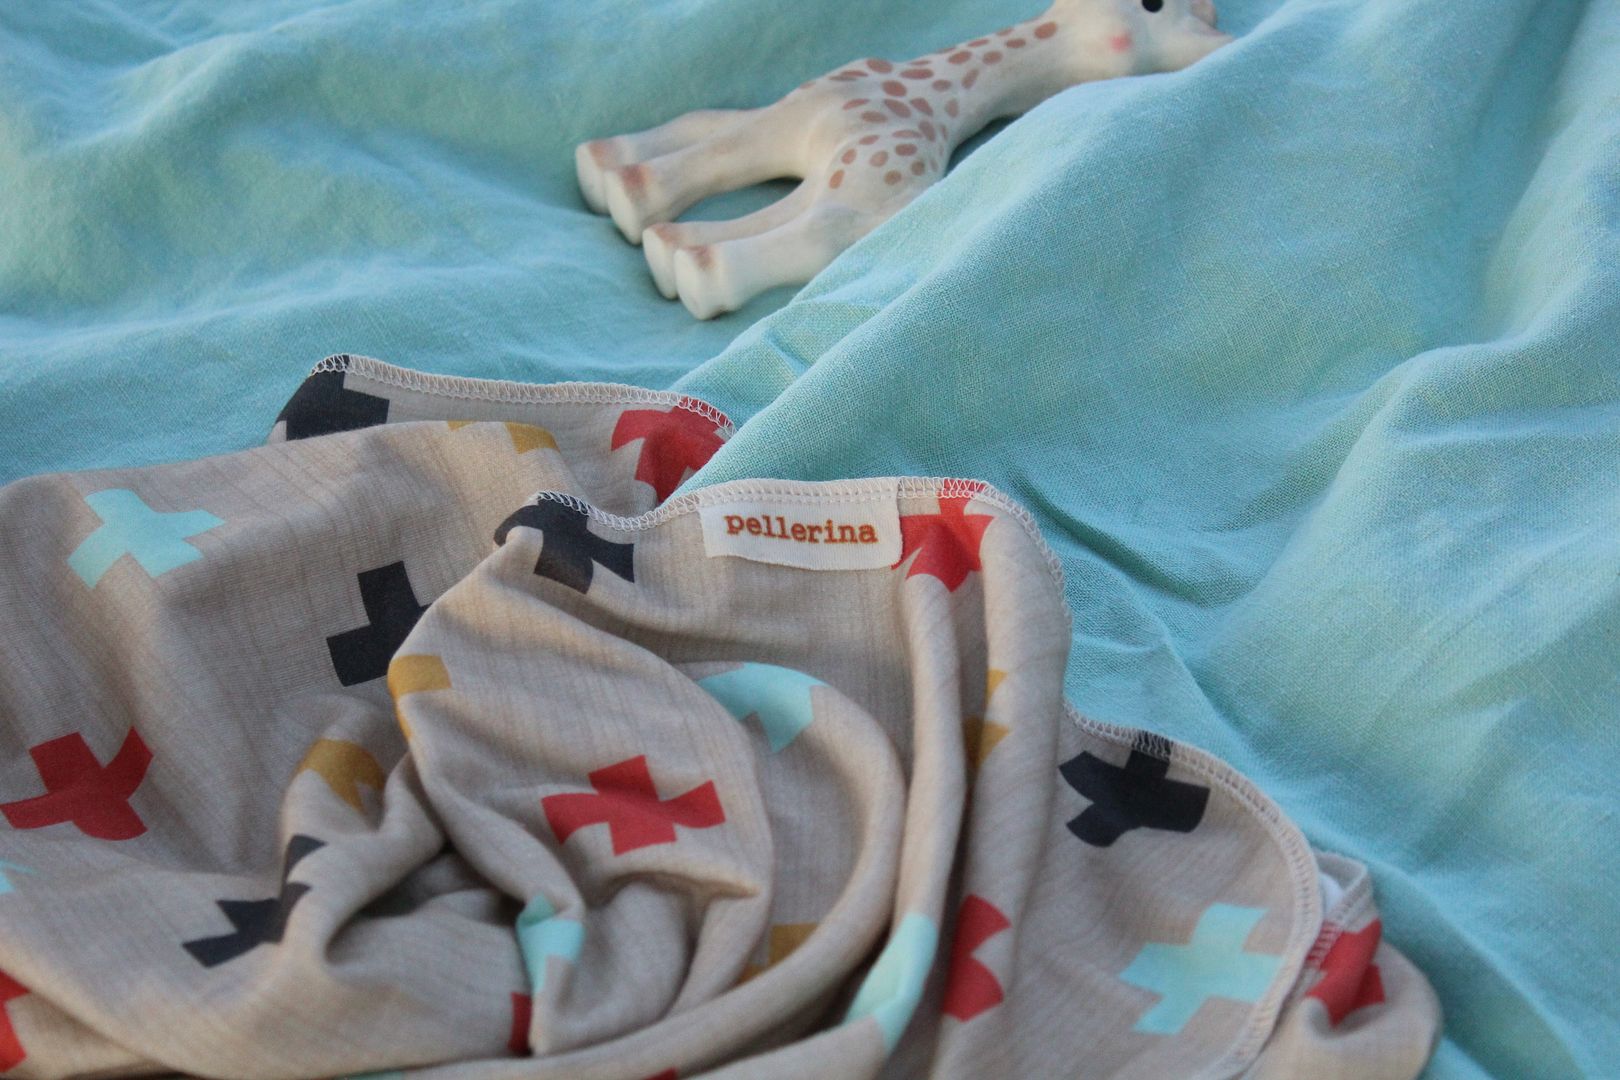
This darling plus blanket came in the mail last weekend,
from Pellerina Design, and it for sure is a new favorite!! 
Not just mine, baby likes to hold it. It is super soft organic cotton.

Annelie's new tribal designs are so awesome. 
I want something for my littles in every single one of her new design's! 

To keep updated on her latest designs and deals, check out her blog here!

Thanks for stopping by! :) 

Sylvie


Wednesday, September 4, 2013

Life is Busy.....

I've been taking a break from blogging, but not a break from busyness! 
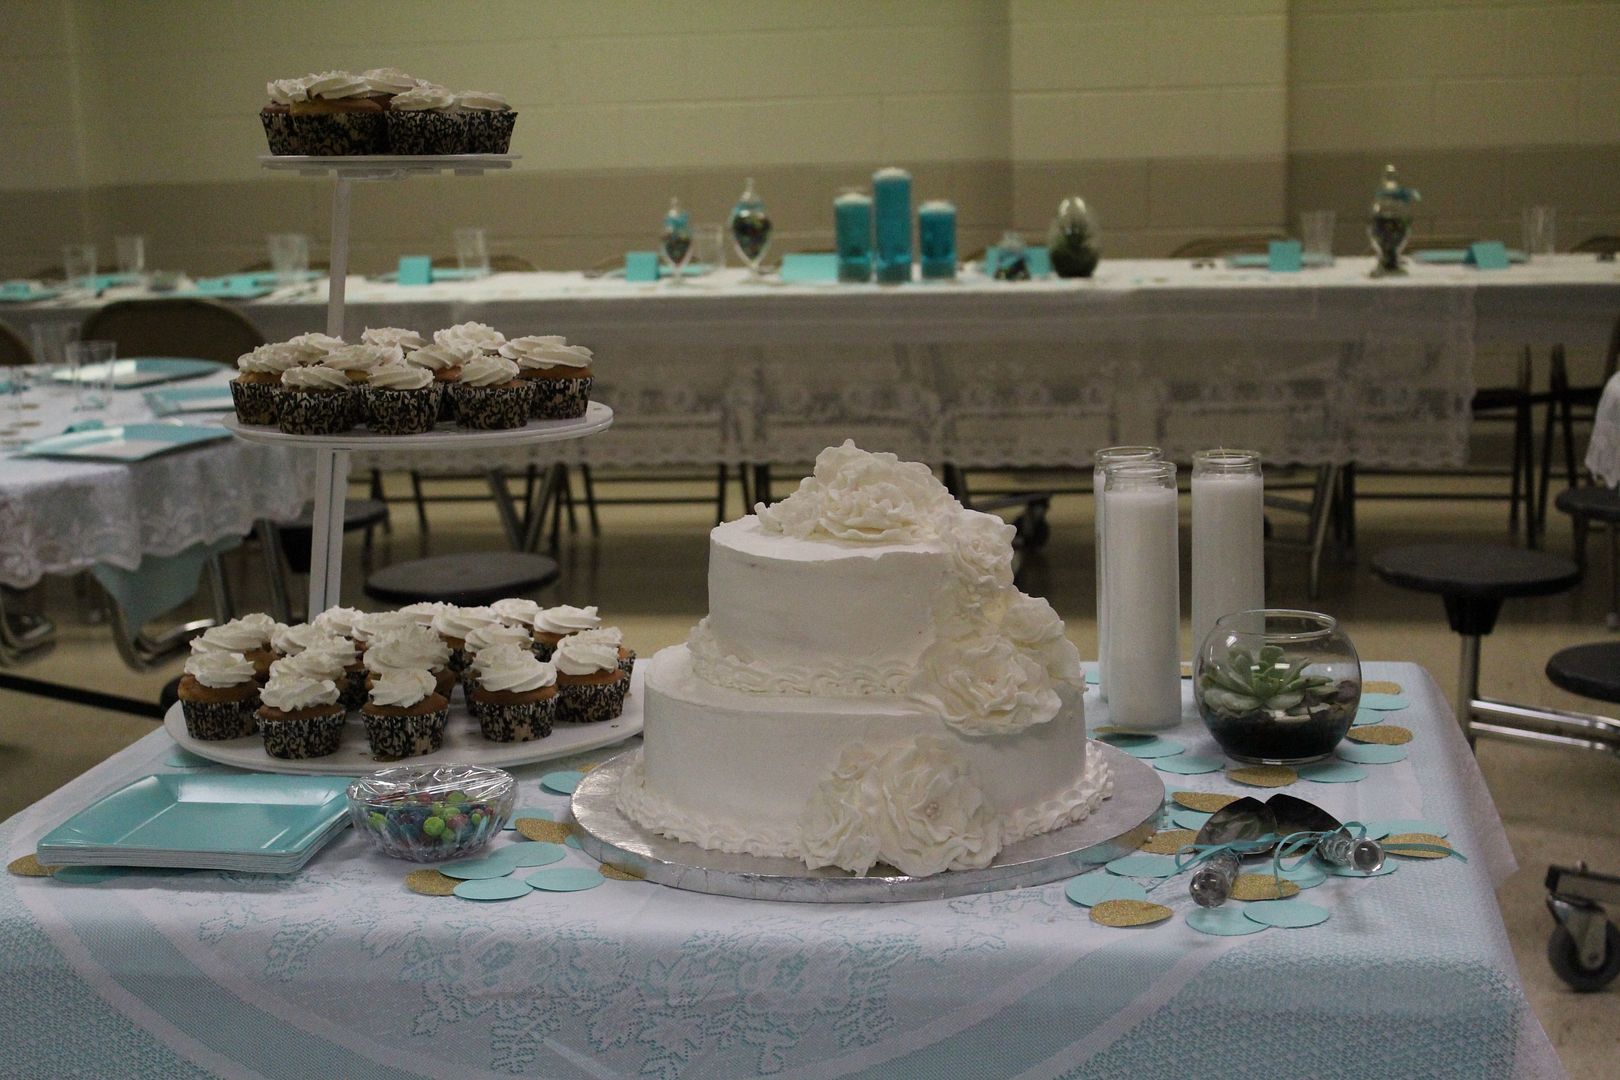
I have been helping get ready for my niece's wedding. 
I've hosted a couple birthday parties.
And I've been enjoying the last days of summer.
Now that school days are here, our home is a little quieter...
And we are forced to take it slower.

I look forward to the fall, the calmness of the winter months, 
early sunsets (the little ones will sleep earlier!), hot tea, and cozy socks.

Hopefully with earlier sunsets (and bedtimes) I'll have more 
me time in the evenings to do projects I've been itching to complete! :)

What do you look forward to this time of year?

Sylvie