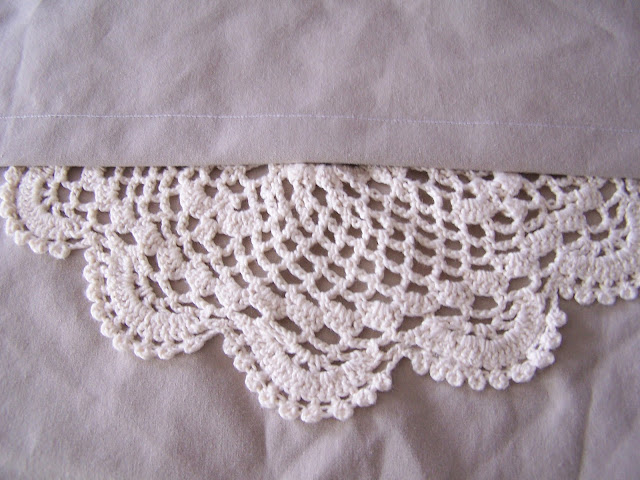
Yesterday I made this pillow for a friend of mine.
It was super easy and is definitely
something a beginner sewer could whip out.
Here is what I did...
I used a doily, some cotton (from a clearance sheet I picked up), and a pillow that I was done with.
I also used my sewing machine, rotary cutter, and mat.
First, measure your pillow.
You want to cut one square that size plus 1" seam allowance, and two squares about 2/3 the height and the same width.
My pillow was 15"x15"
so I cut one 16"x16" and two 11"x16" squares.
Next, on one 16" side of the smaller pieces,
fold down 1" and press all the way across.
Fold your edge over 1" again, and press again.
Repeat with both of the smaller pieces.
Now sew the folds into place.
If you have brand tags, now is a good time to add them near your completed hem.
Onto the your front square piece, pin your doily to the center.
Now using your sewing machine, sew around the edges,
and sew a smaller circle in the middle, securing it in place.
I followed the shape of the doily, so the stitches are more hidden.
Stack your pieces up, with right sides facing each other,
and the hems you finished going across the middle.
Make sure that the tag piece is the one that is closest to the doily.
Now pin around the edges,
and sew the outside edges using a zigzag stitch,
or if your machine has a serge-like stitch, use that.
I used a stitch on my machine that looks similar to the letter E.
Snip the corners slightly, to help turn them out.
Turn it inside out around your pillow,
and you are finished! Good job!
Happy pillow-making!
Enjoy!
-Sylvie
I linked this post to...


.JPG)
.JPG)
.JPG)
.JPG)
.JPG)
.JPG)


No comments:
Post a Comment
Leave a lil love, it makes my day! :)