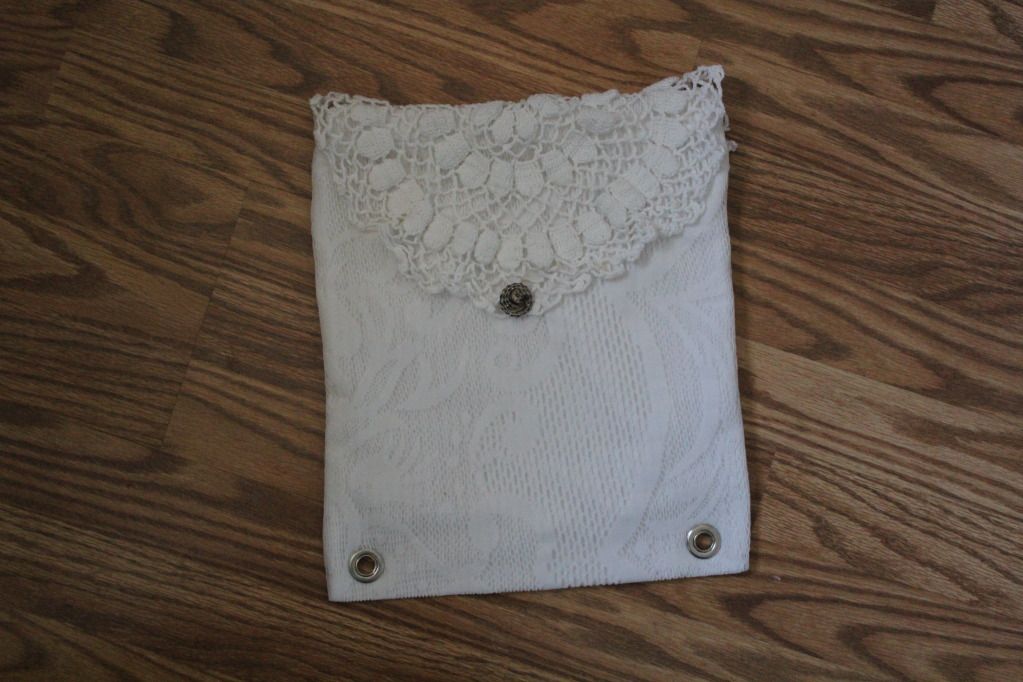
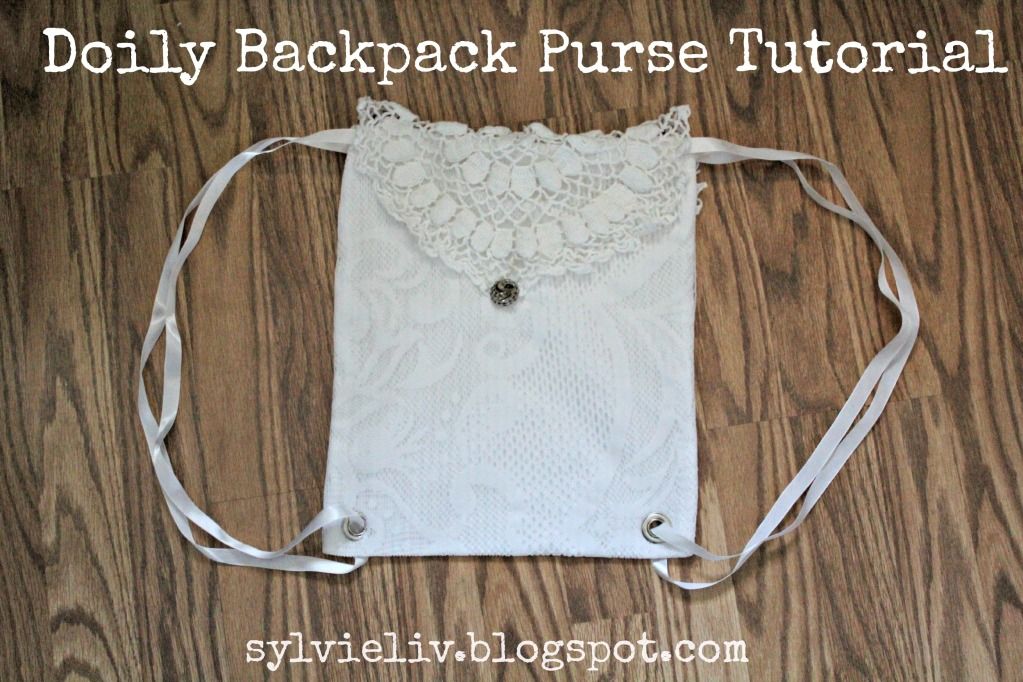
I made this nifty purse using a tablecloth and a doily from my mom, a vintage button, ribbon, and white cotton from my stash, and grommets from Wal-Mart... A pretty cheap project, and I love how it turned out! :)
Supplies:
30"x 13" Piece of Fabric
30"x 13" Piece of Lining Fabric
120" Ribbon
2 7/16" Grommets
7/16" Grommet Tool
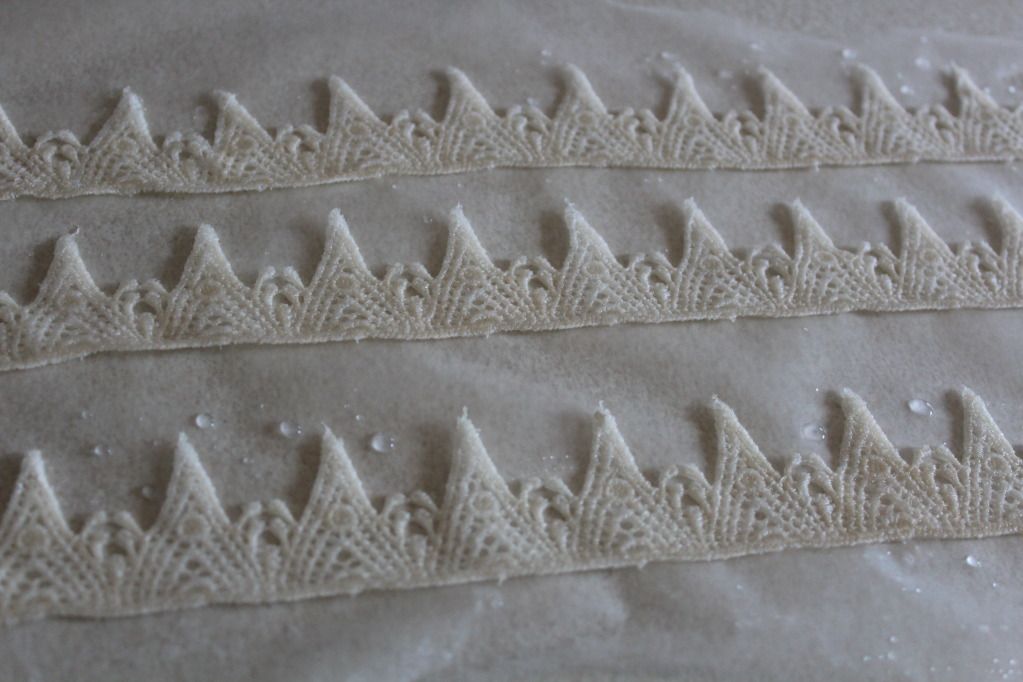
1 Doily
1 Button
Sewing Machine; Needle; Thread; Safety Pin; Pinking Sheers; Hammer
Want to make one? Here is what I did...
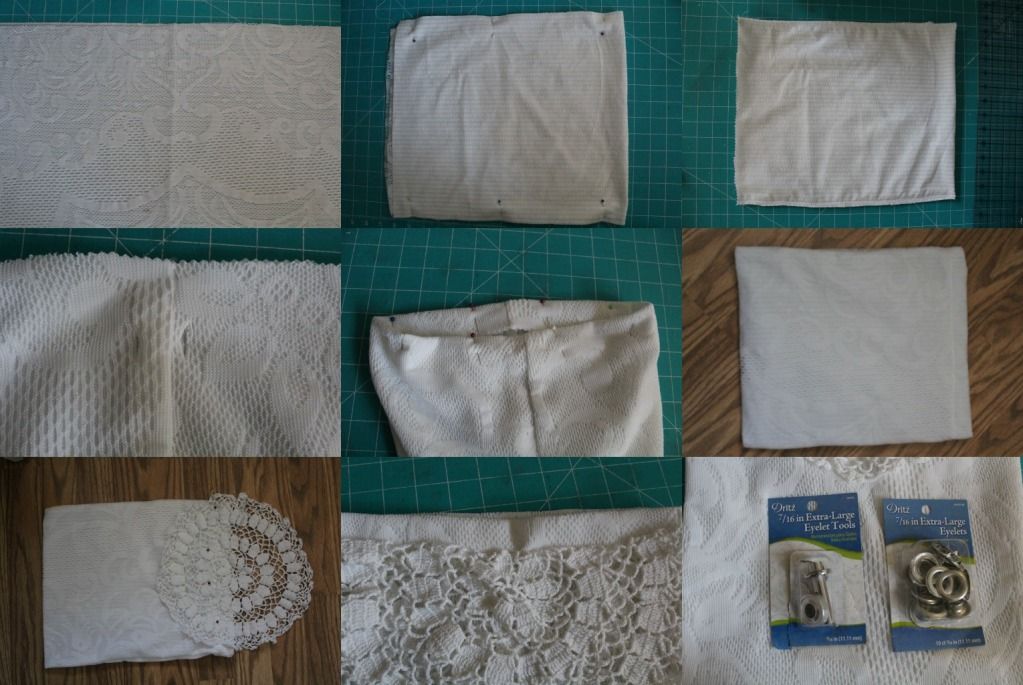
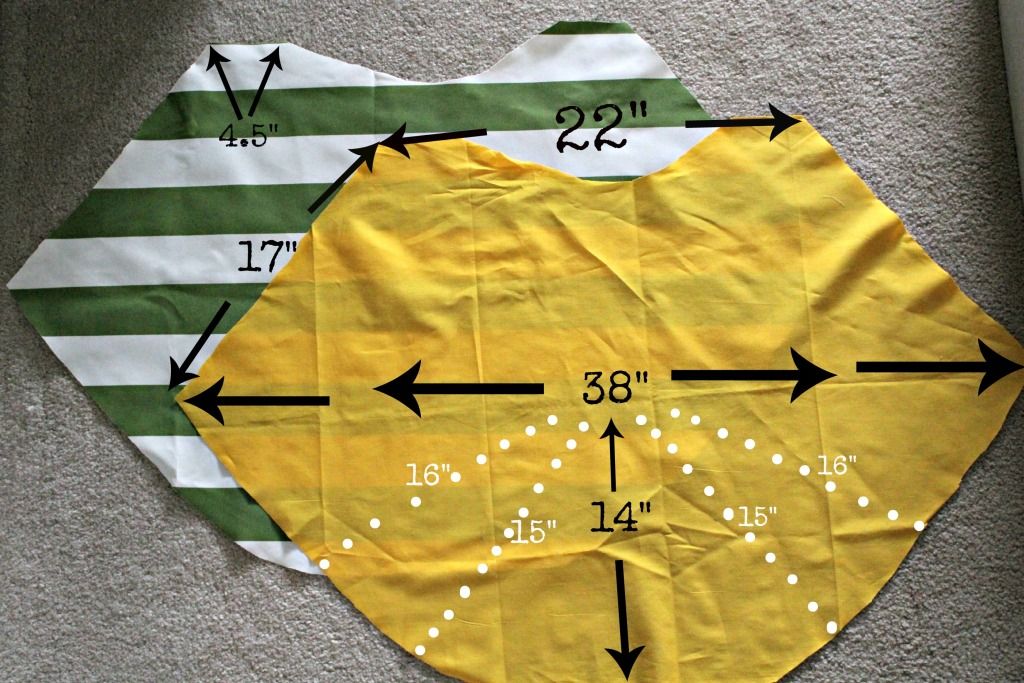
1. Cut both fabrics to size- 30"x 13".
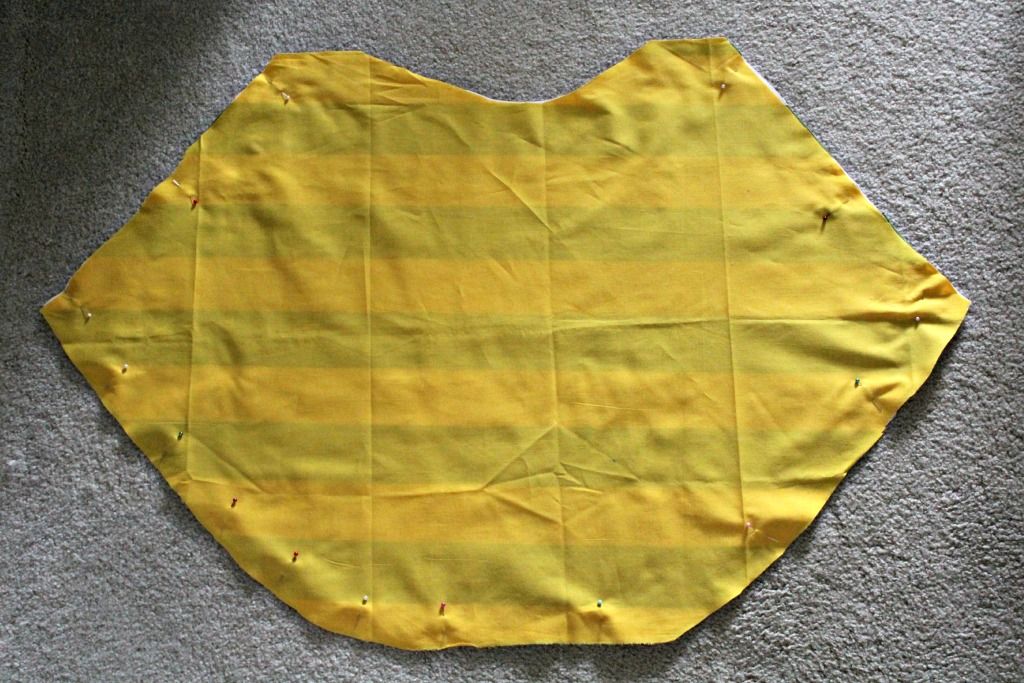
2. Place outer fabric on top of lining fabric, fold over so right sides are facing, and pin the longer sides.
3. Trim your seams, and cut across the opening of the bag with pinking shears.
4. Turn bag right side out. At the top on either side of the seams, add button holes between 1" and 2" down from the top. Be sure you are sewing just one layer of lining to one layer of outer fabric. Make 2 button holes on each side of the top of the bag (so 4 total).
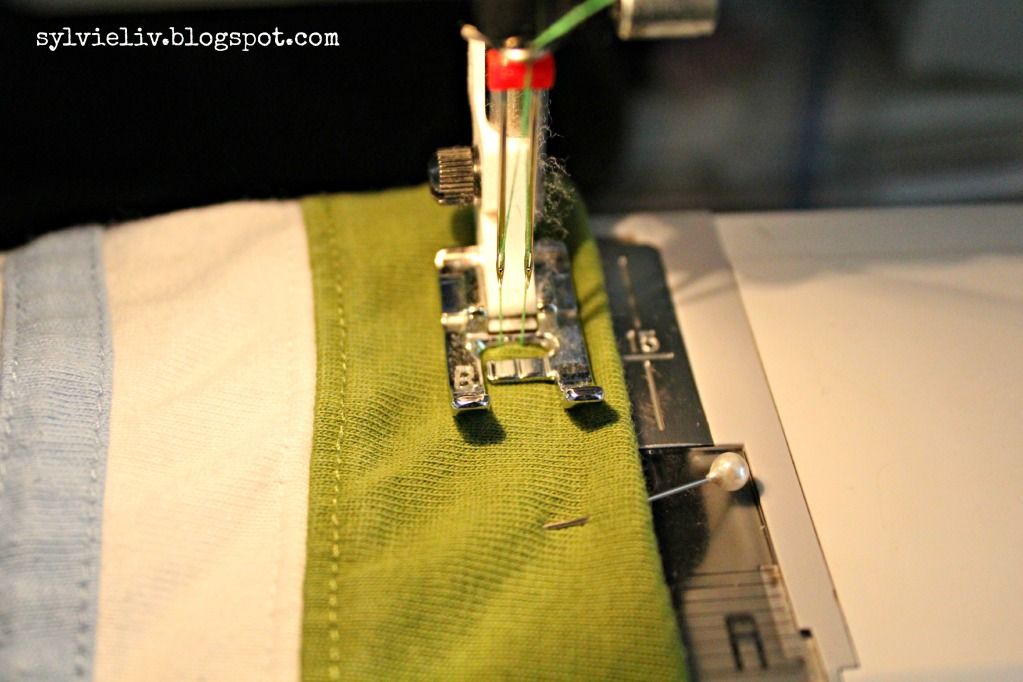
5. Fold the top down/ inward about an inch, and pin in place. Sew along the edge that you cut with pinking sheers, all the way around the bag.
6. Press the bag with a hot iron.
7. Pin one side of the doily onto the top of the bag- as shown, and sew onto the bag. Be careful to only sew the doily to one side of the bag. You do not want to sew the bag shut! I sewed in a straight line across the top, and then from that line out to the edges of the doily.
8. Make sure you sew a line along the top of the bag, but not over the tube you made along the top...
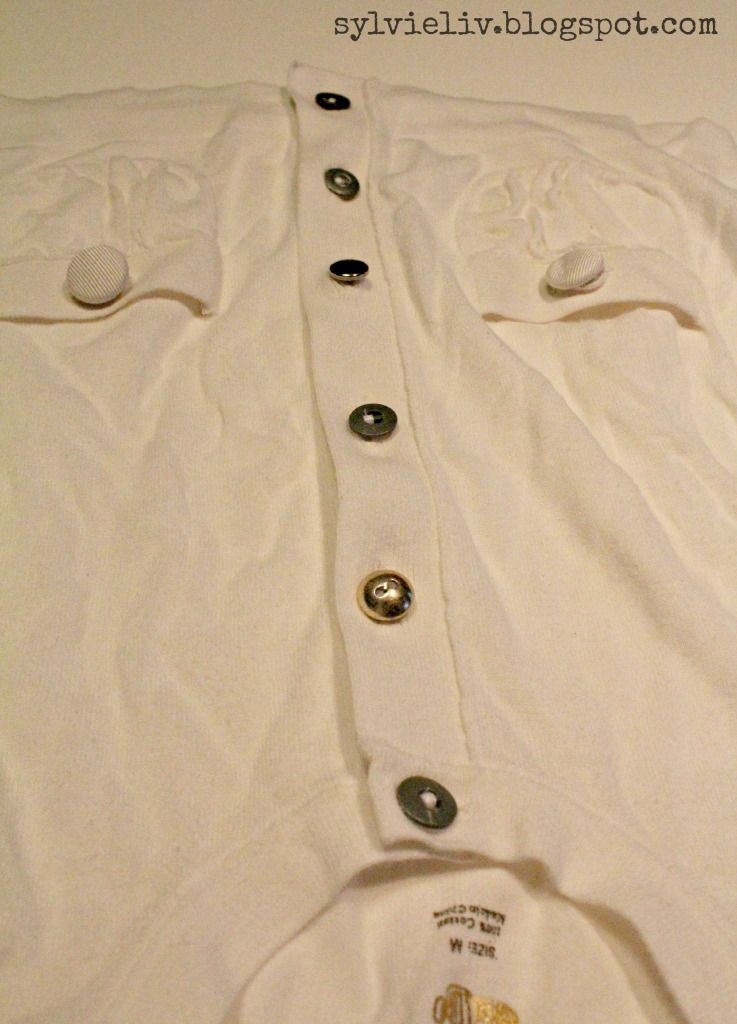
9. Fold the doily over the top to find placement for your button, and sew your button onto the front side of the bag. Using your grommet tool and a hammer, add grommets to the bottom corners of the bag, all the way through the bag.
Now your bag is done! Let me explain how to add your straps...
Attach a safety pin to the end of your 120" long ribbon.
First, run the ribbon through one grommet.
Using the pin, work the ribbon into the front button hole on the same side you started, through the tube in the top of the purse, and out the other front button hole.
Loop the ribbon through the second grommet from the front to back.
Pull the ribbon back up to the top of the purse, and run it through the back two button holes, coming back out on the side you first started.
Tie your ribbon together in a good strong knot, and pull it around until the straps are even.
And you are finished! :)
Have fun!
-Sylvie