I suppose many of you have heard of baltic amber.
If you are like me, you are suspicious of it...
Baltic amber is a natural product and has been used for hundreds of years as a natural pain relief. It is said to help things from teething to headaches. The idea is that the amber, when worn against your skin, gives a similar effect to that of a small dose of Tylenol. It is used worldwide, and can even be found for sale in pharmacies across the globe.
I felt suspicious, but I thought hey, it can't hurt anything! Worth a try! So Jennie sent me a Mommy and Baby set of necklaces a couple months ago. I've tried them, my baby has tried them, my husband, my brother, and my niece have tried them. Here is what we experienced...
Honestly. K, I'm going to be completely honest here.
I do not have any pain, so I did not feel any different. BUT, I did have one day that I had a mild headache all day. I kept trying to drink lots of water to make the headache go away, and it just wouldn't. After dinner, I finally put the necklace on. My headache went away. Hmm. Maybe there is something to this. Conclusion: Maybe it works for mild headaches!
My baby. I have an extremely sweet, very tolerant baby. She doesn't complain about much. So I didn't notice a huge difference in her behavior. Until she got sick. She had a cough/runny nose virus and was complaining for days. Then I put her necklace on her, and she still had her cough and runny nose... but she did not complain about it anymore. Coincidence? Was she just actually feeling better? Conclusion: Honestly, I'm not sure.
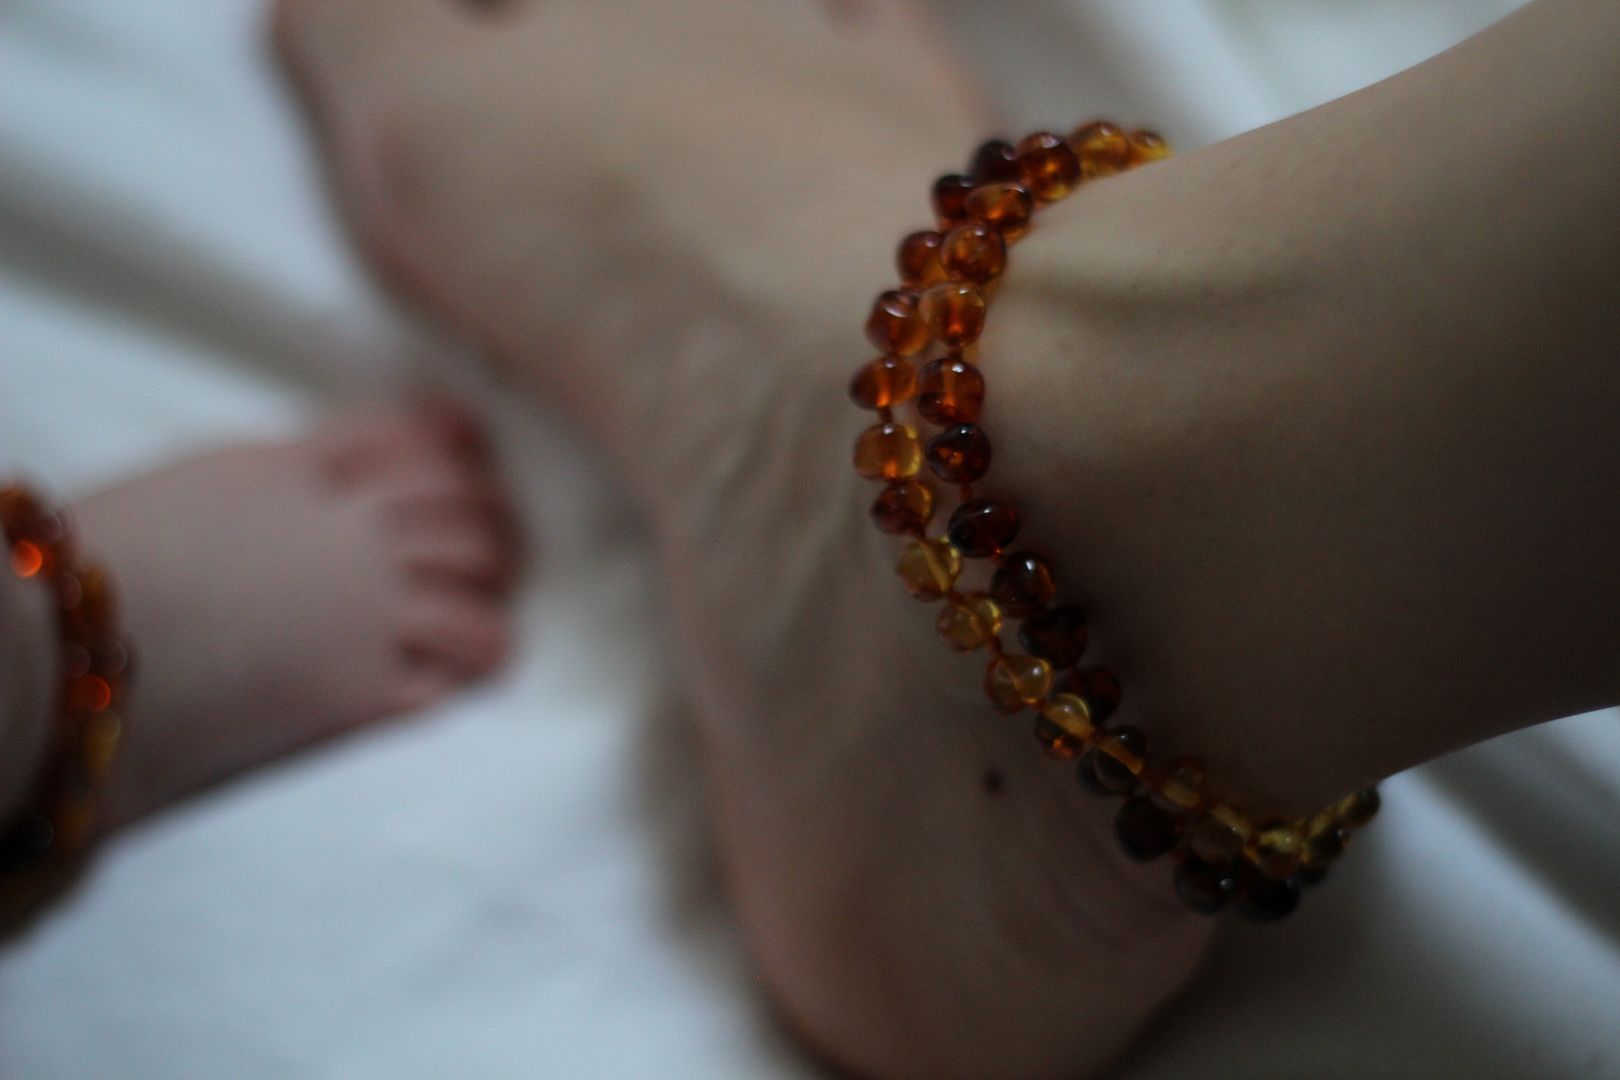
My husband gets tension headaches in certain situations. I actually put a necklace on his ankle just for safe keeping, as we were in public when my sister gave it back to me from borrowing it. He hardly paid attention to me putting it there. And he did not get his usual headache. He seemed puzzled. And he decided to wear it again the next time he knew he'd be in that situation. Again, no headache! He did try it on a day that he did not have his regular coffee. He got a headache from needing caffeine, and the necklace didn't seem to make a difference. Conclusion: The amber helps tension headaches, but not withdrawal headaches.
My brother's wisdom teeth are coming in. His jaws are aching something fierce. I asked if he'd be willing to give it a shot. He did. After wearing it for a day, he took it off and said Motrin is helping him much more. Conclusion: Some say you have to wear it longer for it to "build up" in your system. Maybe he didn't wear it long enough, or maybe his pain was just too severe.
My niece is an all around fussy baby. She always has been. My sister borrowed my baby necklace for my niece. She saw a big enough difference in her baby's mood that she bought one for her too! She also noticed it made a huge improvement in her amount of drooling! Conclusion: It totally works for this fussy baby!
So here is the thing guys, I still feel like they can't hurt anything. And I am pleased that they help my fussy little niece.
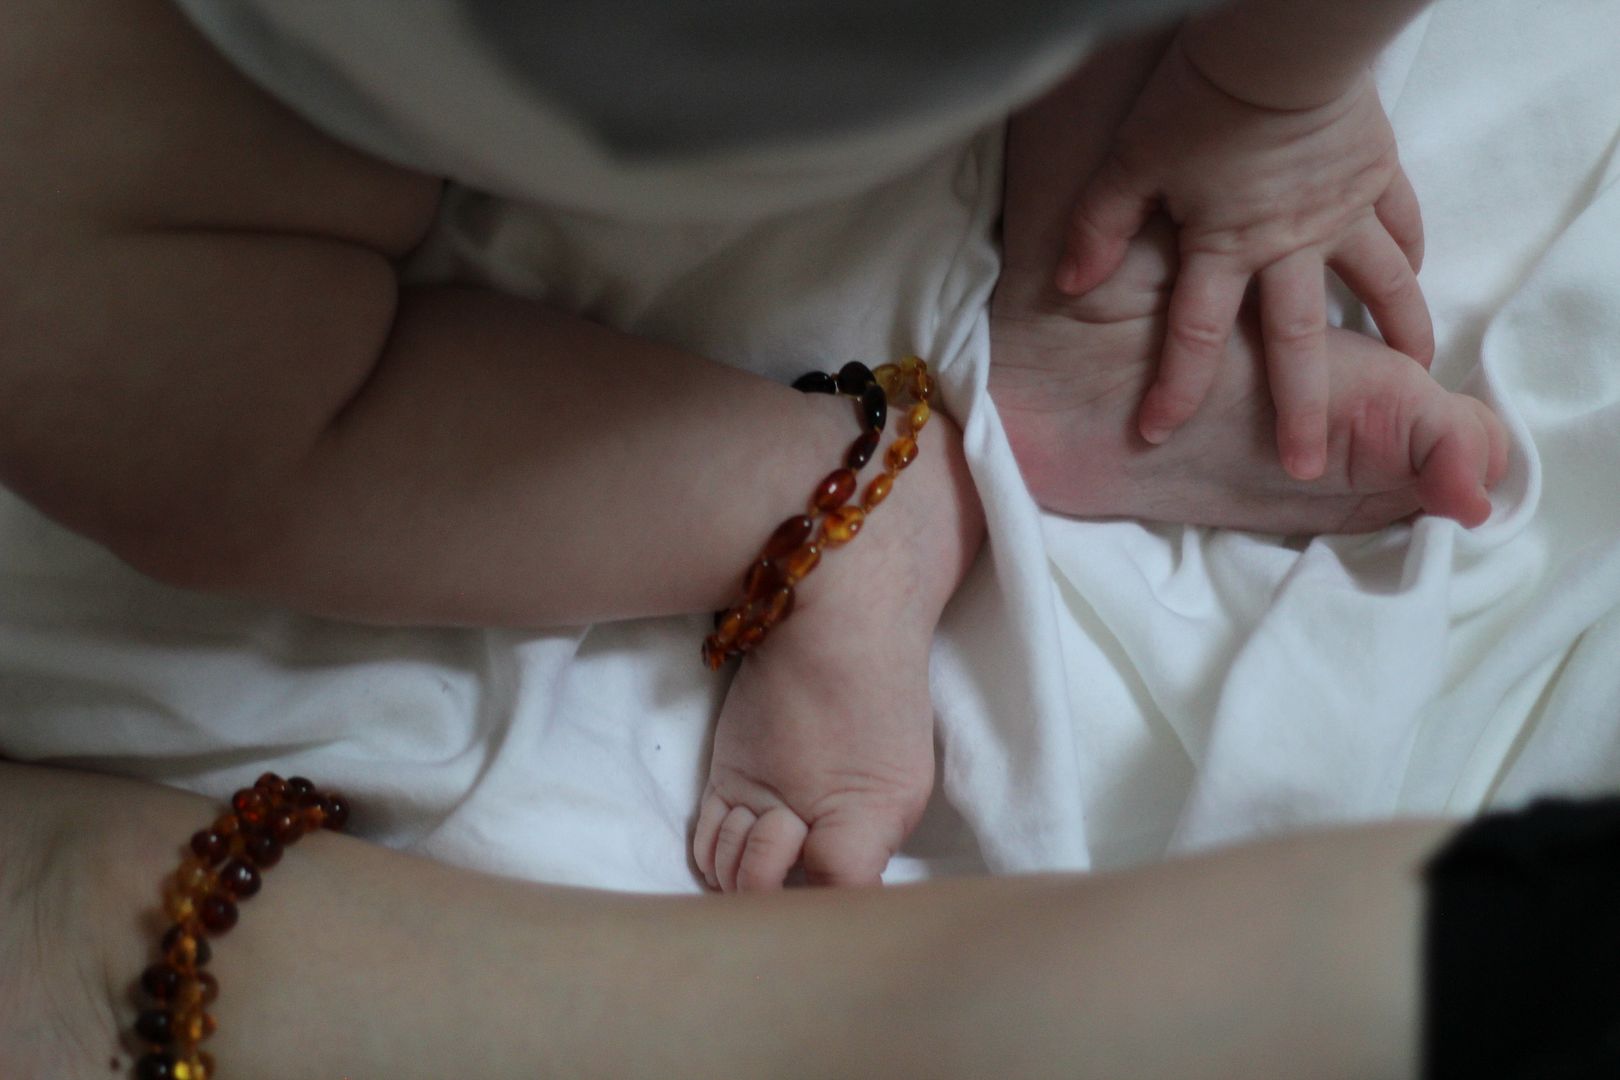
Some folks worry about strangulation, but they are made so that they will break if they are pulled on hard. Also, do not wear them on your child while sleeping. Only wear it on them while they are supervised. Or put it around their ankle inside their footy pajamas!
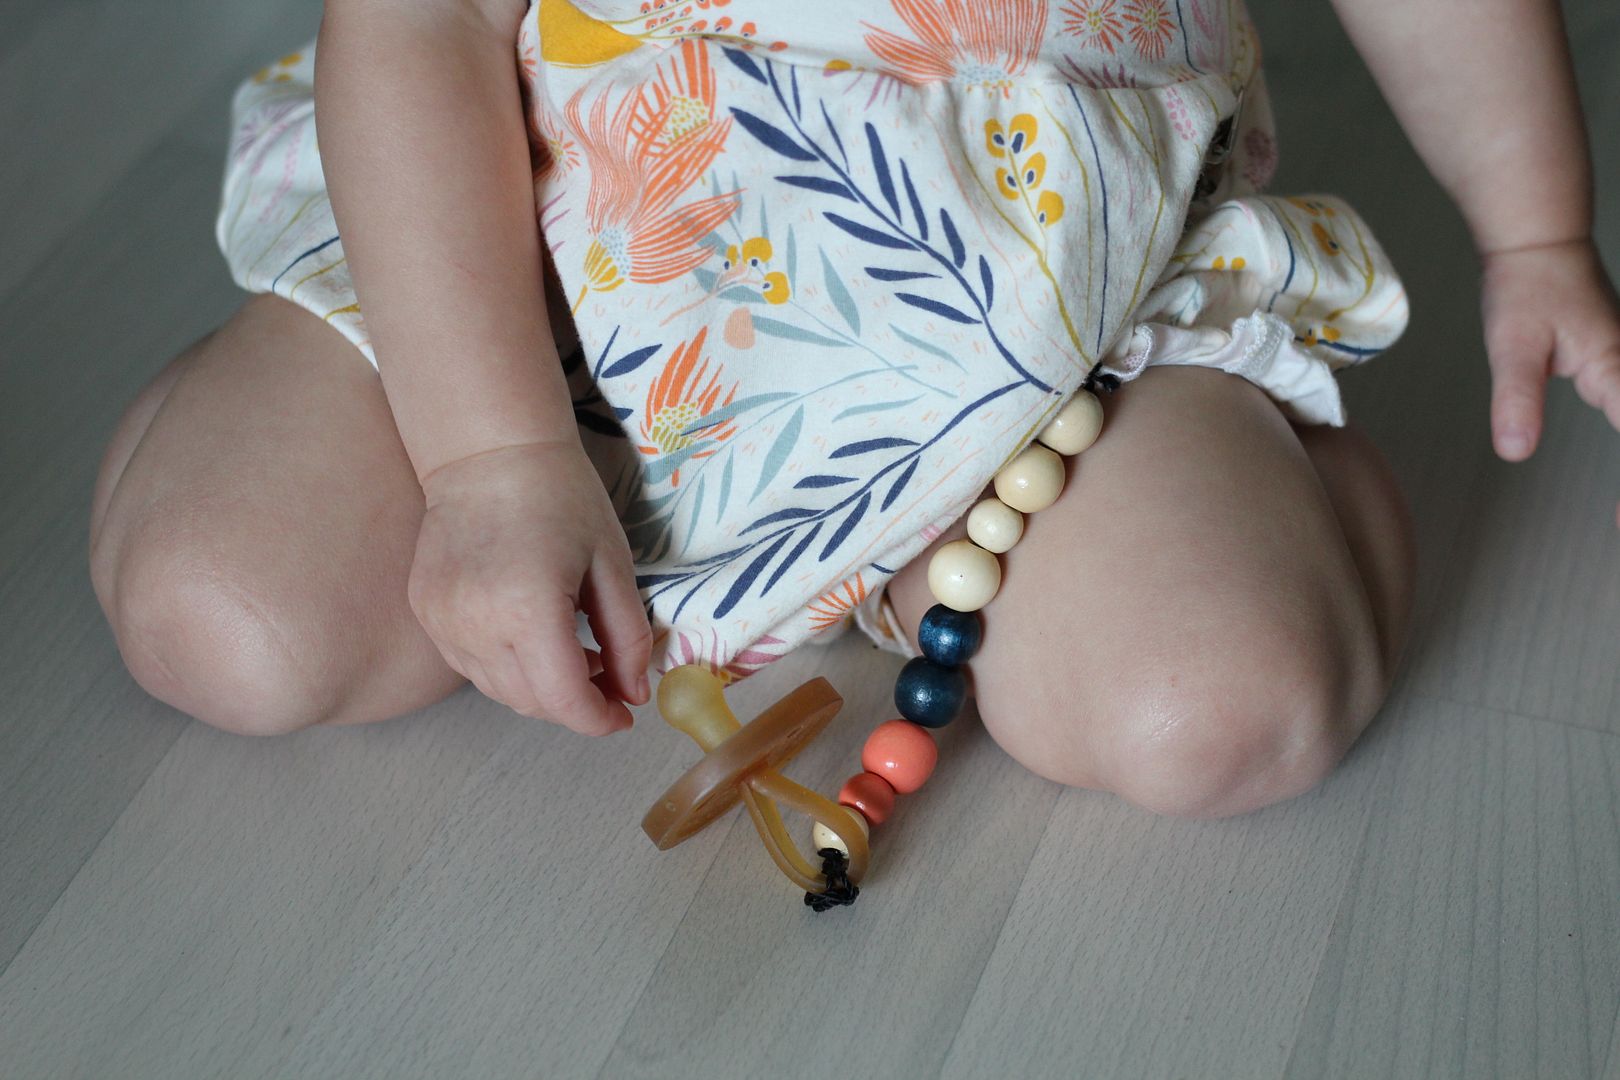
Some folks worry about choking hazard, but there is a knot between every bead, so in the event that it does break, they only can choke on one bead. And each bead is small enough that it would simply be swallowed. My baby comes across plenty of little things to put in her mouth, having big siblings, and I guess these small beads don't worry me as much as the Lego pieces and Barbie shoes she finds!
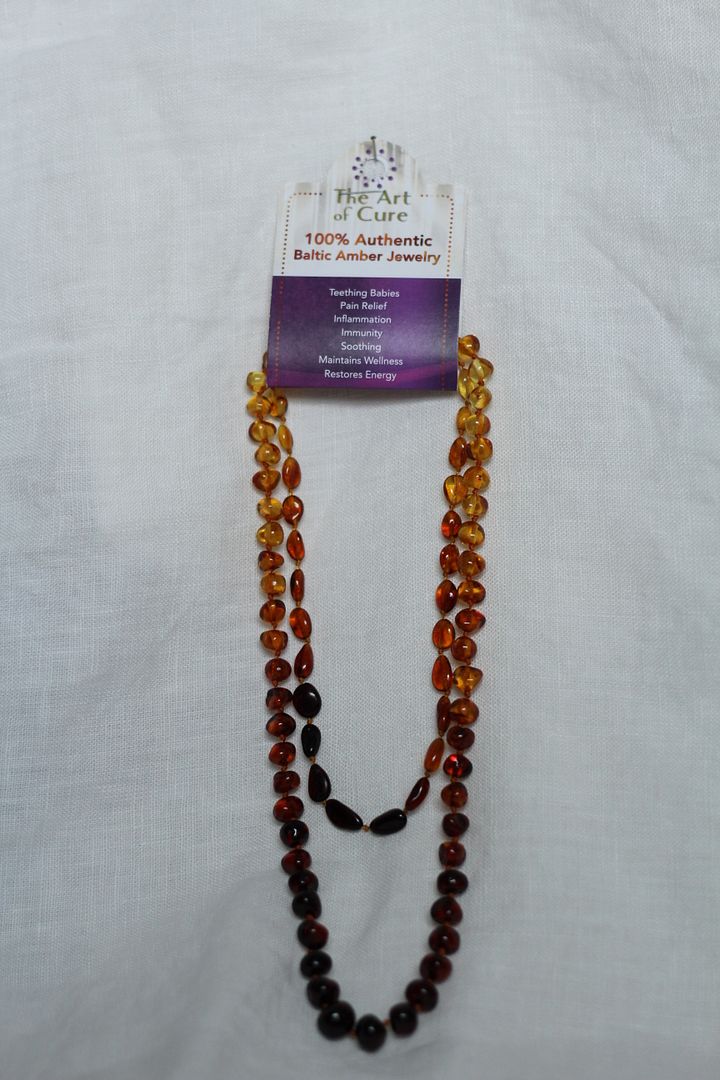
I have to warn you though, there are folks out there selling fake amber jewelry! If you are interested in trying them for your family, be sure to buy from a reputable source. The Art of Cure necklaces come with a certificate of authenticity. Plus, they're from Jennie, who is very kind and honest!
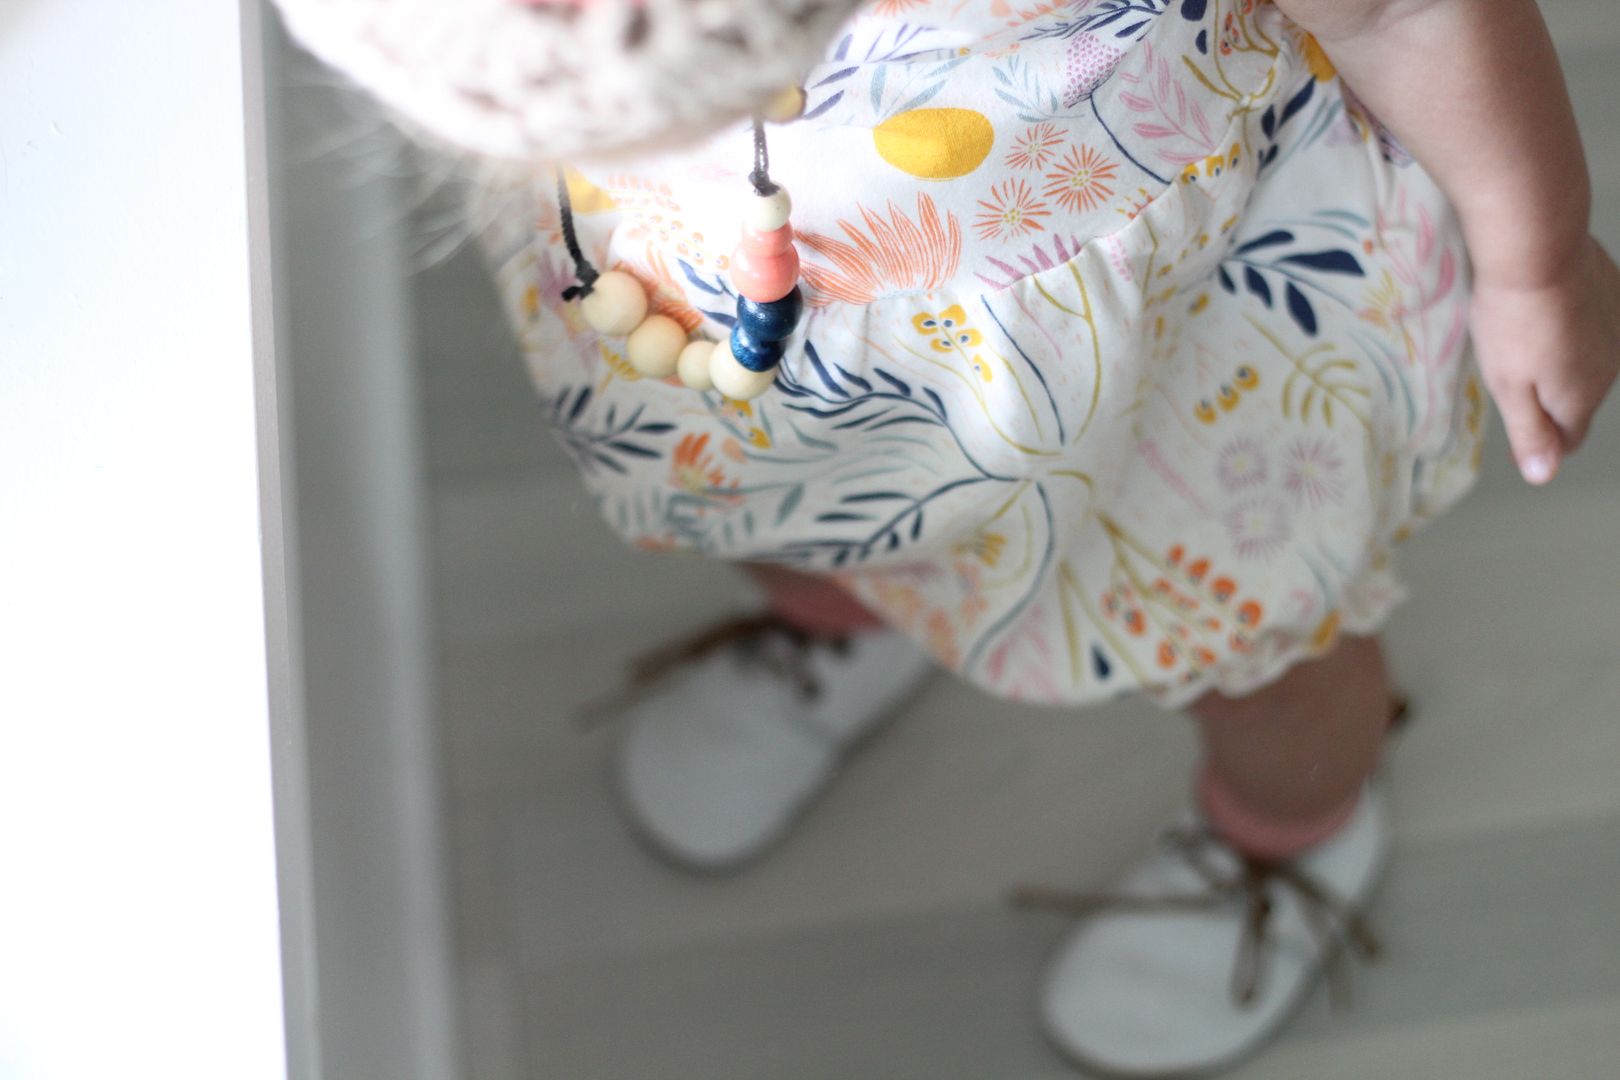
P.S. There are many colors you can choose from, and you can choose round or bean shape. Personally, I would choose bean shape for baby, as it lays flatter against the skin and is more comfortable!
If you still aren't sure, check The Art of Cure reviews on Amazon. Guys, she has hundreds and hundreds of good reviews on there!
Thanks for reading, my dears!
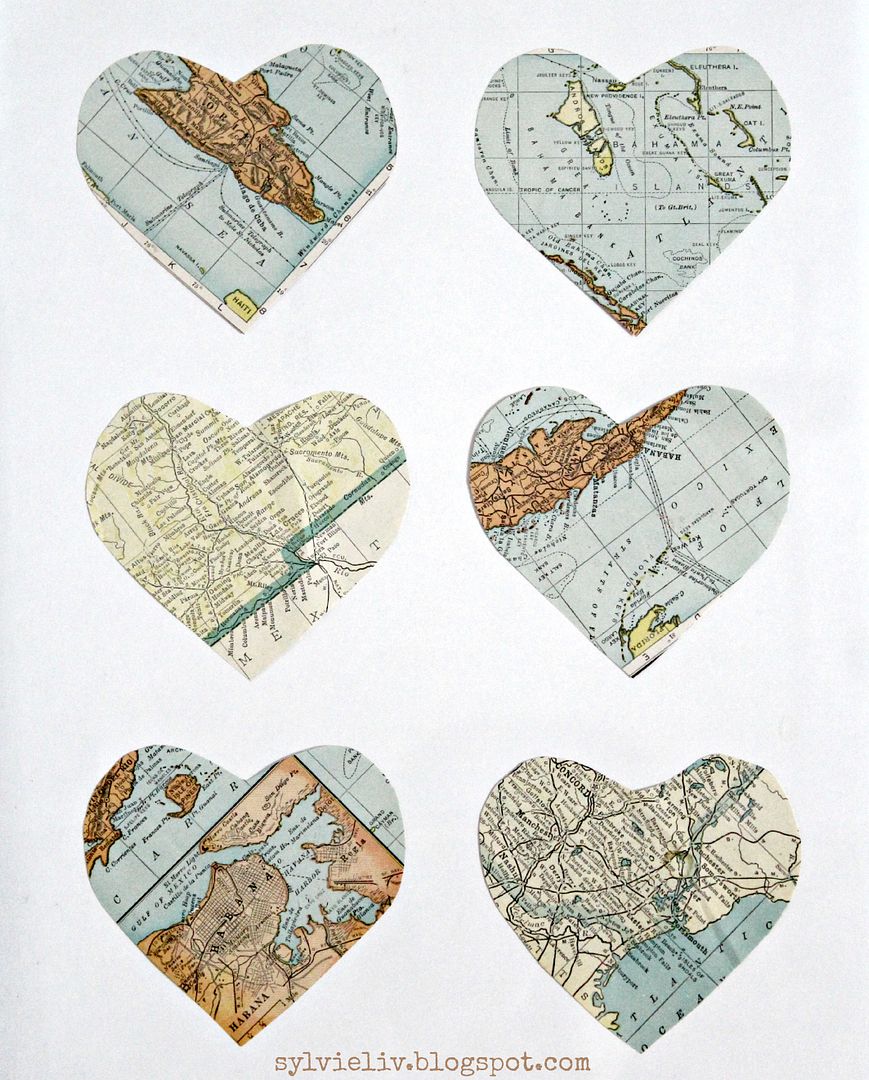
Sylvie
*Disclaimer: I was sent this product in exchange for my honest review. All opinions and thoughts are 100% my own.)