Tuesday, August 21, 2012

Washi Tape Cake Flags

Washi tape is a type of tape made from Japanese washi paper.
It really has been big in the crafting world lately. There are so many things that you can do with it, and there are so many varieties of it!
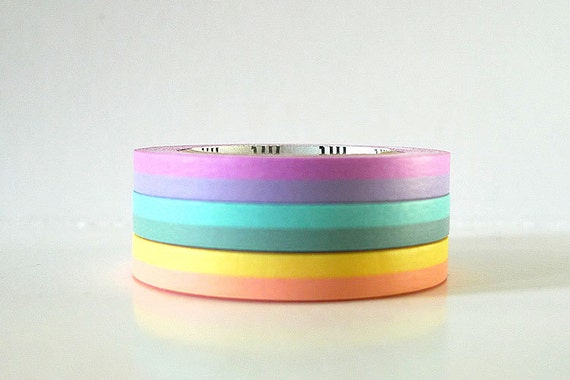
Pretty Pastel Colors Thin Washi Tape Duo Tone MT Masking Tape - set of 3
Here are some fun ones from Pretty Tape.

I recently ordered a couple rolls from Inkkit including this salmon roll:
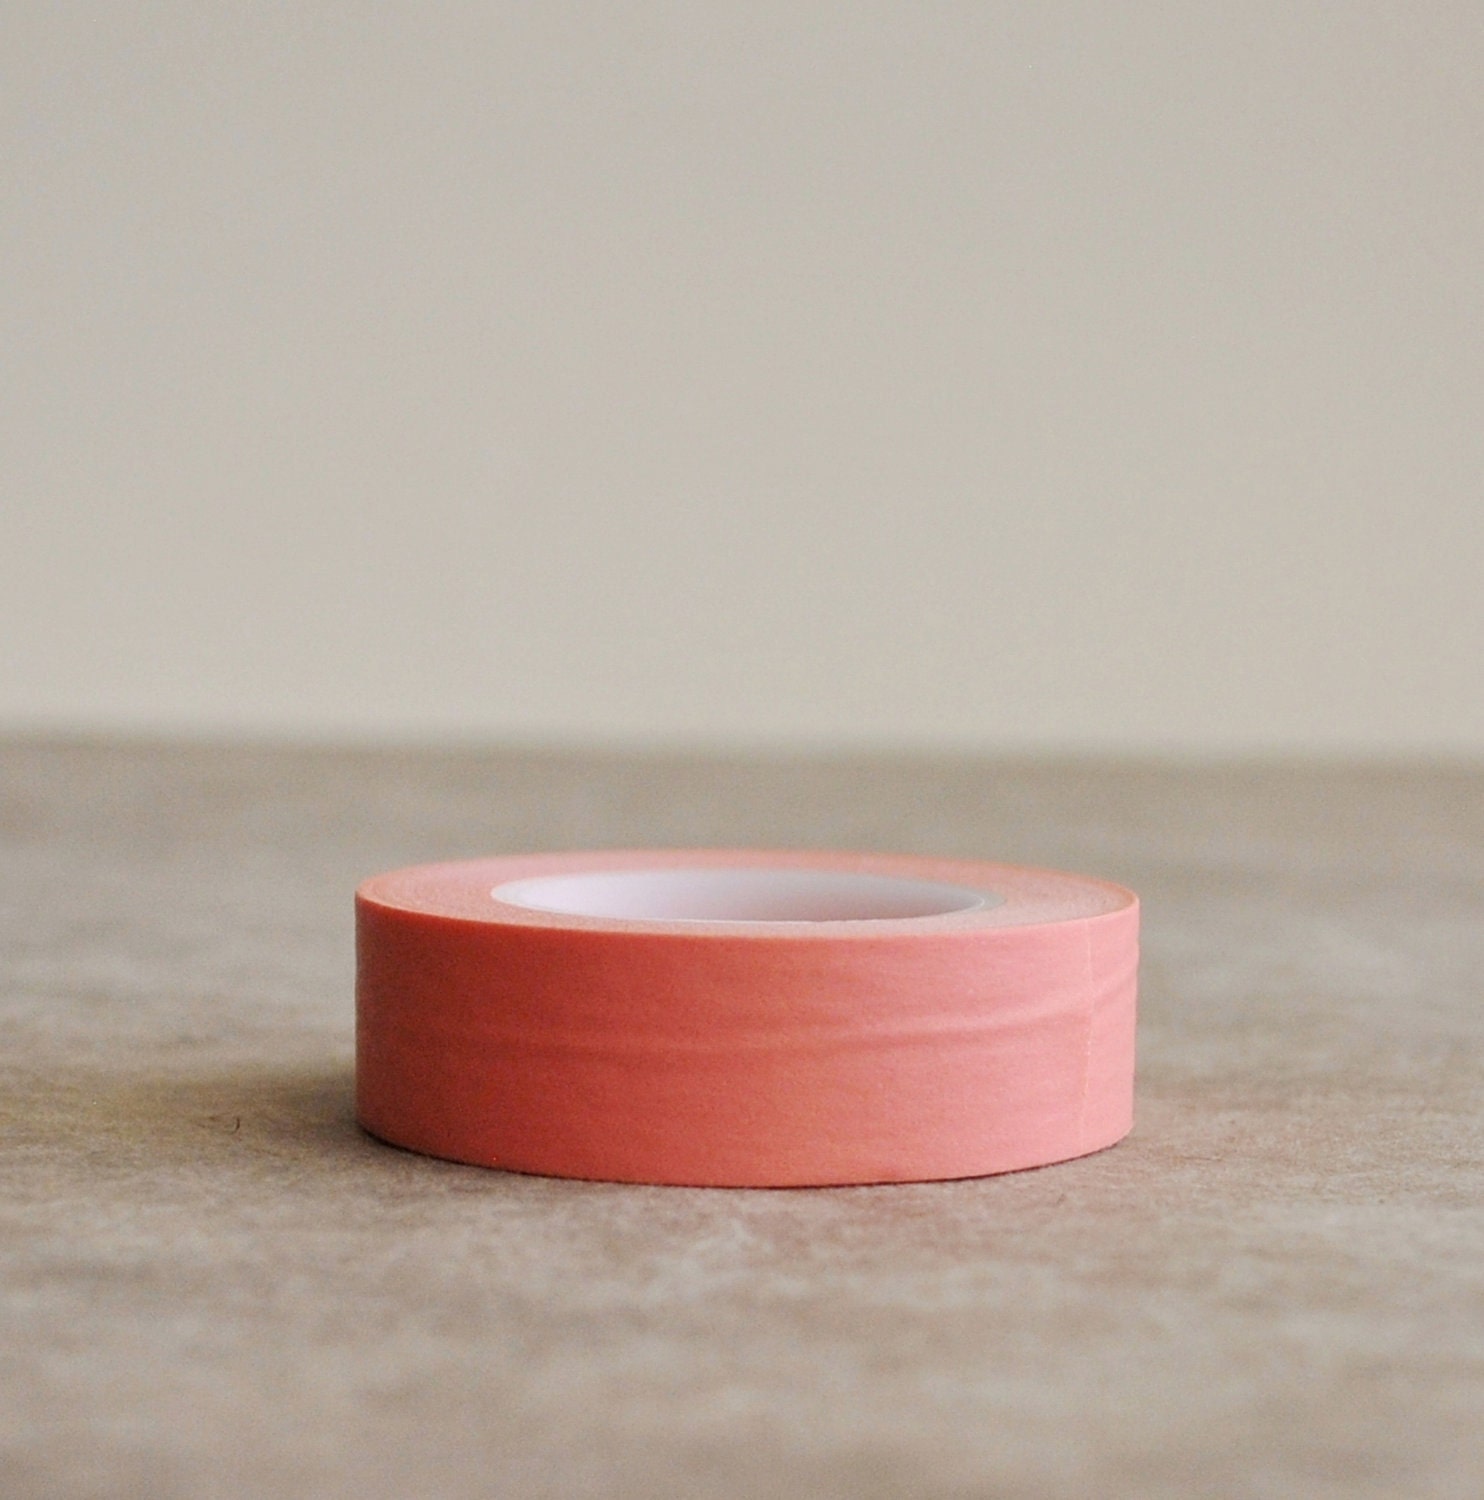
SALE washi tape- samon pink

This is the first project that I tried out with it and I love them!!
They were super easy and fun!

Want to make some of your own?

You will need:
Washi Tape
Toothpicks
Scissors

Here is how to make them...
First, rip off a piece of tape 2-3 inches long. Place a toothpick in the center, 
 fold the tape around the toothpick,
 and trim an arrow shape off of the ends of the tape using scissors.
 That's it! Repeat, repeat, repeat...
 Play with different colors and sizes of tapes to make different flags!
Aren't they a super easy, simple, and cute addition to a cupcake!?

Enjoy! :)

-Sylvie

Monday, August 20, 2012

Super Simple Spaghetti Squash In The Microwave

Spaghetti squash is a good, healthy, and easy alternative to pasta.
It is also a easy way to sneak a vegetable into your kids diet!

I make spaghetti squash in the microwave! 
It is easy, fast, and convenient. 
The squash texture is almost exactly the same as pasta. 
The flavor is very similar to pasta, but a little bit sweeter.

Here is what to do...

Cut your squash in half the short way and scrape out the seeds with a spoon.
Put about 1" of water in the bottom of a microwave safe casserole dish.
Place the halves open side down in the water. (Like the one on the right)
Microwave on high for 13-16 min (times will vary with different microwave strengths).
You know your squash is done when it looks wet 
and easily shreds into a spaghetti shape with a fork.
Using a fork, scrape all of the insides out with a fork, discarding the outer skin.
Use a splash of the leftover water to pour over the "pasta" 
to moisten any dry patches.
And that's it! :) Serve just as you would spaghetti from a box!
 I made mine with Maple Rosemary Carrots.
( I will share that recipe later this week...)
The kids didn't even notice all the veggies they were eating! :)

Enjoy!
-Sylv

Tuesday, August 14, 2012

Little Girls Ruffle Linen Skirt

We have been having cool fall weather around here...
That means less swimming and more sewing! :)

Today we have a new girls ruffle linen skirt in the shop!
Isn't it a darling lil thing!?
You can read more about it in here in our shop.

The first skirt like this that I made was for myself, 
and it continues to be a favorite item in the closet. 
Every time I wear it, I get compliments!
Makes me want to wear it everyday! ;)

Hopefully (if the weather stays cool) we'll have more inside days
and I can make a few more in different sizes...

Thank you for reading my blog! :)
-Sylv

Tall Girl Messenger Bag In The Shop

Do any of you own a shop with handmade lovelies in it?

Do you ever pour your blood, sweat, and tears for hours into something 
beautiful, and then list it for sale- with much hesitation?

That is what I just did...
I made this lovely purse for our shop, and well,
 I just might stay up all night making another for myself!! :) 
 Isn't she lovely!? This one was made for tall girls/women 
with an extra long strap. A shorter one will be coming soon!
We also sell a smaller version of this for women, as well as a 
mini one for little girls! You can find all of them in our shop here.

Thank you for reading my blog! :) 
-Sylvie

Monday, August 13, 2012

Quick Hat Redo

Here is a quick little nap time project I did today...
I picked up this lil girls hat for $0.20 at the thrift store! 
I didn't love the old ribbon, and the flowers are just not me... 
 So a quick makeover and now I love it! :) $0.20!!!
 The ribbon was just hot glued to the hat, so I pulled it off, and hot glued
a new ribbon on from my bin! I made the bow by folding a large loop 
in the ribbon, and then a small loop around that. I hot glued it all in place,
and that is it! :) From summer hat to fall, just like that! 
Here is an little girls fall outfit idea for what to wear with it...
Hat: Thrifted
Sweater & Shoes: Zara
Burlap Purse: SylvieLiv
Ruffle Tank & Leggings: TJMaxx
Skirt: Target


Have a good week!! :)

-Sylvie


Friday, August 10, 2012

Orange Inspiration

I really have a thing for orange lately.
Not the fruit, the color!

One moment I'm thinking "Oh how about nice crisp white and cream
for the birthday theme!" and next thing I know, the orange cupcake
liners are out and in the muffin tins! Impulses I tell ya! ;)


Here are a few of my favorite orange things from around the web...
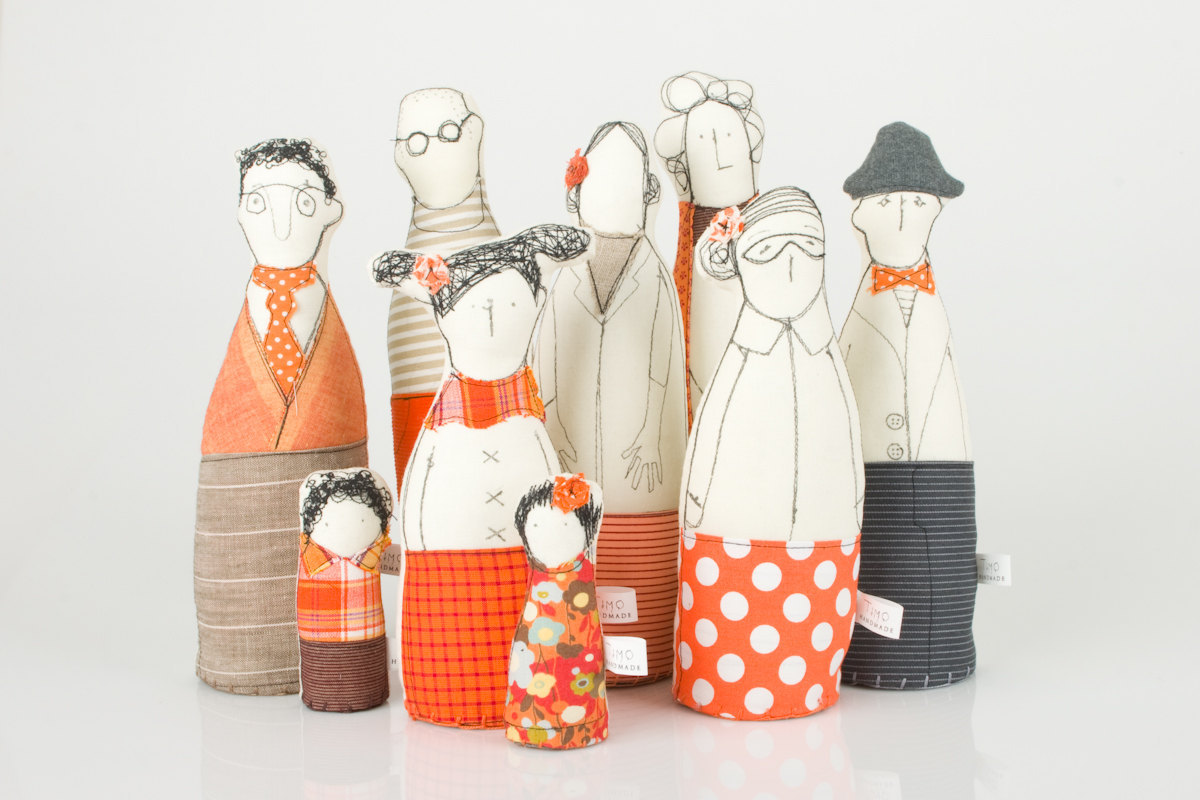
Family , ooak , art doll -  grandparents, parents ,uncle  and and children dressed in Orange and beige  , stripes   and polka dots -handmade
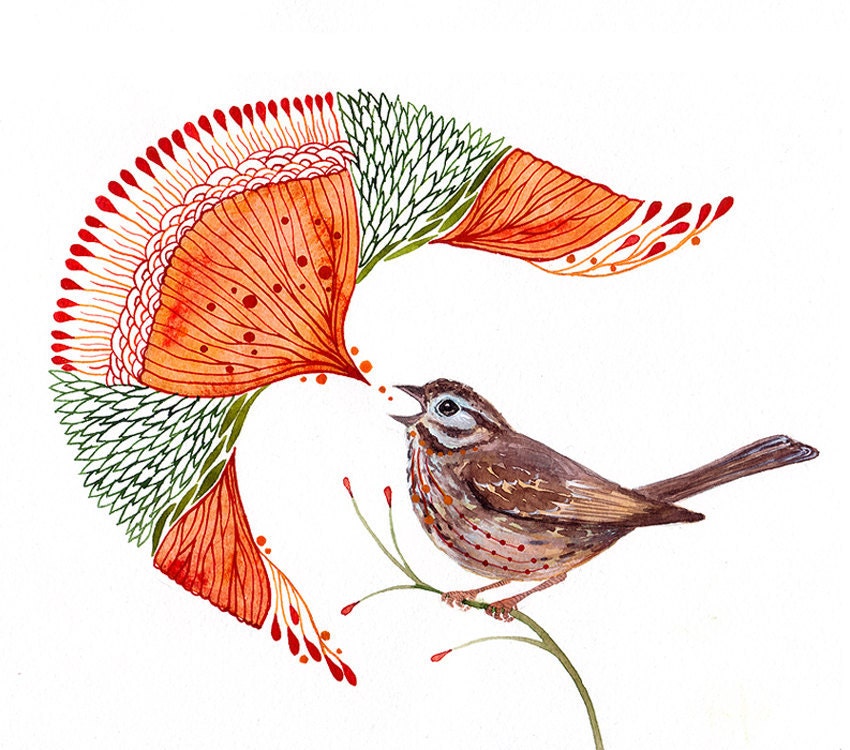
49 BUY 2 prints  and get 1 FREE, sale,  Sparrow bird artwork print "Singing Sparrow", size 10x8
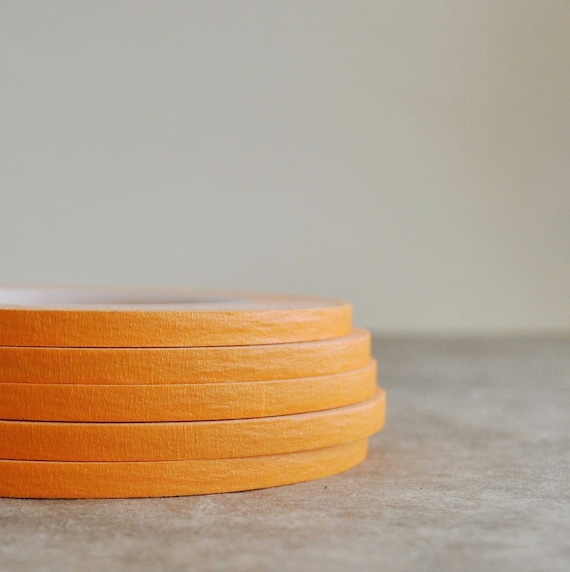
SALE orange - crepe masking tape - 60 yards
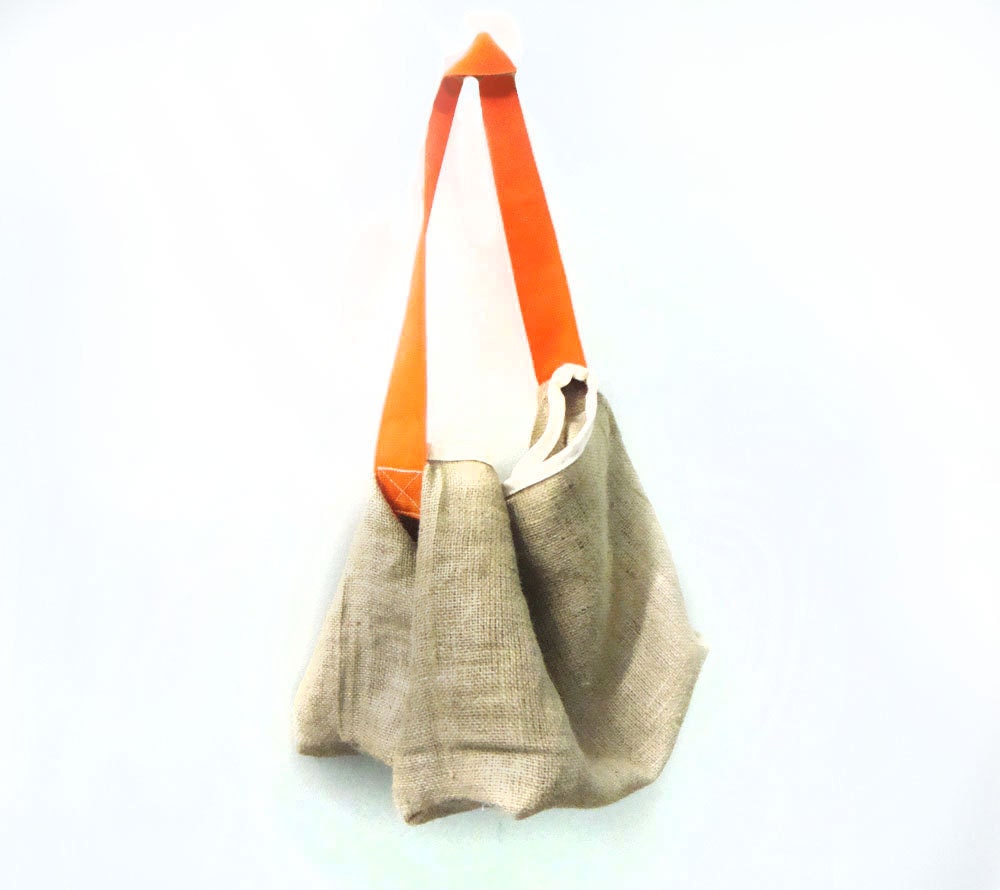
Saddle Farmers Market Tote, Beach Bag, Cross Body Bag  (Naked Jute, Tangerine) for Produce, Beach, Dog, Cat...


I actually just ordered a roll of the orange washi tape;
 I can't wait to get it in the mail! :)

What about you?
Do you have orange fever too?

-Sylv

Thursday, August 9, 2012

Chicken Broccoli Braid Recipe

Chicken Broccoli Braid is definitely a favorite around here.
It makes a perfect appetizer for parties or a meal for the family.

It isn't the fastest meal to make, but it is SO worth it; it is delicious!

Ingredients:

    2 Cups Chicken (cooked;chopped)
    1 Red, Yellow, or Green Pepper (finely chopped)
    3 Cups Broccoli Florets (finely chopped)
    2 Tbsp Dried Dill Weed
    1 Cup Mayonnaise
    2 Pkg Crescent Rolls
    1/2 tsp. Salt (opt.)
    2 Cups Shredded Cheddar

    1 Egg
    1/4 Cup Slivered Almonds (opt.)

Directions:

Preheat oven to 375 degrees.
Combine all ingredients but the egg and almonds.
Roll each pkg of crescent rolls out on a cookie sheet in one piece.
Press the triangular seams together to get rid of them.
Slice the dough along both sides about 1" apart (as shown below).
Pile half of the filling onto the middle of the dough (as shown).
"Braid" the dough by folding the sides that you cut inward.

Repeat with second package of crescent rolls.

Beat the egg and brush over the top of the braids.
Sprinkle almonds over top.
Bake at 375 degrees for 30 min.

Slice into 2-4 inch pieces and serve warm.

Enjoy! 
 I use a knife to cut the slits in the dough...
 Pinch the strips together in the center as you go.
I used green pepper in this one... red is prettier. :)
 Tonight we had them for dinner with corn on the cob!
 Enjoy!
-Sylvie

(Note: This recipe is loosely adapted from a pampered chef recipe.)

Friday, August 3, 2012

Birch Bark Cupcake Toppers Tutorial

Yesterday, I posted how to turn birch bark into paper.
As promised, today I am sharing with you an idea for your paper...

First I made cupcakes...
Good old Betty Crocker box mix is still my fave! :) 
Then I made Cloud Frosting.
I used this recipe from Always With Butter.
I actually made a half a batch and still had extra!
It is super yummy... like an extra fluffy marshmallow fluff!
I just put the frosting into a gallon size zip bag, snipped off the corner,
and piped it onto the cupcakes in a circular motion.
 Anyways, enough about the cupcakes! :) 

Here is how I made the flags...
fold it lengthwise, and cut small triangles along the fold.
 Then smear the entire backside of the diamond shape with a glue
stick, place a toothpick in the center, 
and fold the paper around the toothpick.
 Now repeat, repeat, repeat, repeat...
 And stuff them into your cupcakes or cake! :)
Enjoy! :)

-Sylv


Thursday, August 2, 2012

How To Turn Birch Bark Into Paper

Do you have birch trees near your home?
Did you know you can easily use their bark as paper?

Birch bark is so neat, and makes a really fun paper you can use for
crafts, cards, making baskets, and so many different things.

The Native Americans have been using birch bark 
for all sorts of things for many many years.

Now I am no professional, but here is how I did it and it worked well!

Peel a large chunk of bark from a tree. This will not hurt the tree;
notice it is peeling on its own in places already...
 Put a little bit of mild dish soap in your hands with a little bit of 
warm water, and scrub it around to make it sudsy.
 Then gently soap up both sides of the bark, with warm water 
running over it. Use your fingers to gently rub any dirt or film of 
old dark bark off of the outer/ lighter colored surface.
Once the bark is dampened, you should be able to peel the layers of bark apart.  
The piece I used peeled into three layers. 
 In between the layers, it is sort of chalky.
Wash the layers just as you did before.
Place the bark layers on a paper towel to dry. 
Stack paper towel on top of the bark, and place a book on top.
This helps the bark to dry flat rather than curled.
Remove the birch paper once dried, and you are finished! :)
You can fold, cut, glue, and write on it, just like paper! 
Tomorrow I will share what I did with mine...

Have fun! 
-Sylvie